A leaky ceiling is more than just an annoying drip; it's a sign of potential water damage that can lead to costly repairs if left unaddressed. From unsightly stains to structural weakening, the consequences of ignoring a leaking ceiling can quickly escalate. Fortunately, many minor leaks are manageable with a DIY approach, saving you time and money on professional repairs. Understanding the source of the leak is crucial, but equally important is knowing how to safely and effectively repair the damage to prevent further problems. Ignoring a small leak today could mean a much larger and more expensive problem tomorrow.
This guide provides a comprehensive, step-by-step approach to repairing a leaky ceiling, empowering you to tackle this common household issue with confidence. We'll walk you through identifying the leak's source, preparing the affected area, patching the hole, and finally, restoring the ceiling's appearance. Ready to reclaim your ceiling's integrity? Let's get started!
Preparation and Safety Guidelines
- Jab saw
- Autocut tool
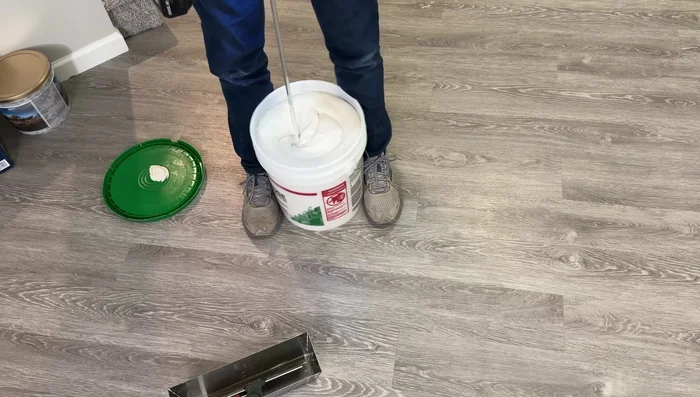
- Bucket
- Reamer
- 3/4 inch SharkBite fittings
- Manual crimper
- 5/8 inch drywall
- Jabsaw
- Vacuum
- Drywall knife (6in, 10in, 14in)
- All-purpose joint compound
- Drywall tape/Mesh tape
- Shellac primer
- Sanding sponge
- Wet rag
- Knockdown texture spray can
- Flat interior paint
- Always turn off the electricity to the affected area before beginning any repairs. Water and electricity are a dangerous combination.
- Wear appropriate safety gear, including gloves and eye protection, to protect yourself from potential hazards like mold, asbestos (if present), and sharp objects.
- If the leak is ongoing or you suspect significant water damage behind the ceiling, contact a professional plumber and/or contractor immediately. Attempting DIY repairs on extensive damage can worsen the problem and lead to further costs.
Step-by-Step Instructions
Leak Identification and Water Shut-off
- Locate the water leak. If there's an active leak, shut off the main water valve.
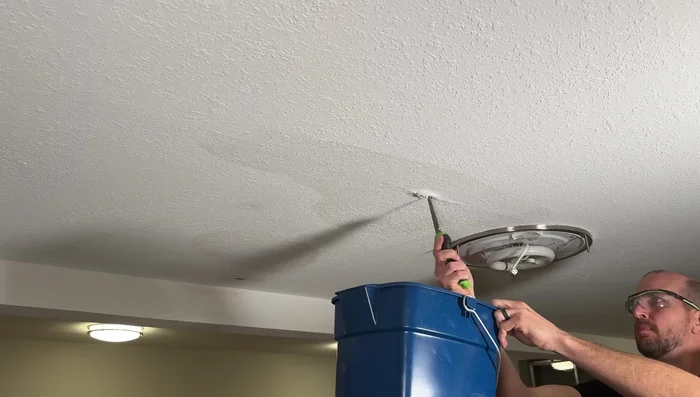
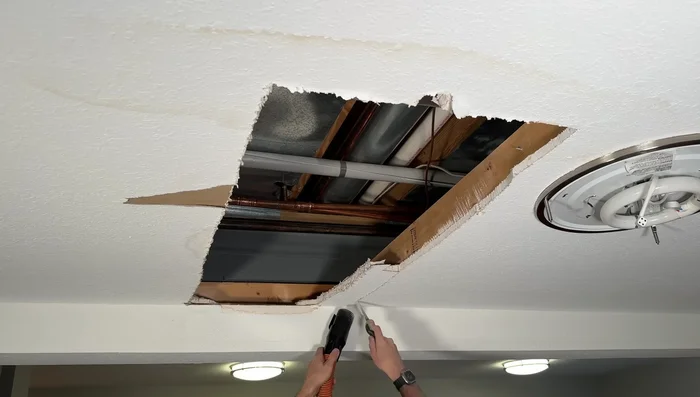
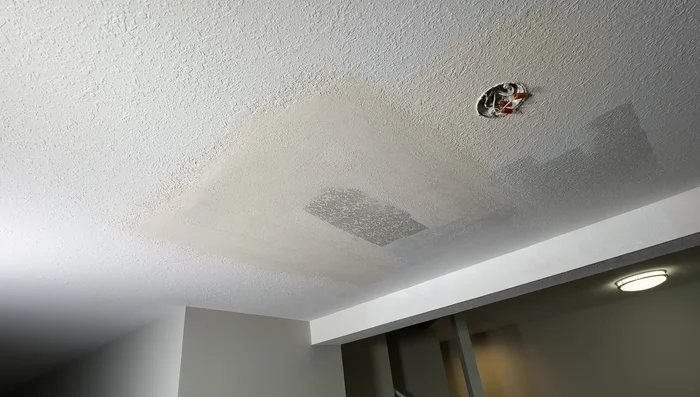
Initial Ceiling Access
- Cut small holes in the ceiling to drain standing water and assess the situation.

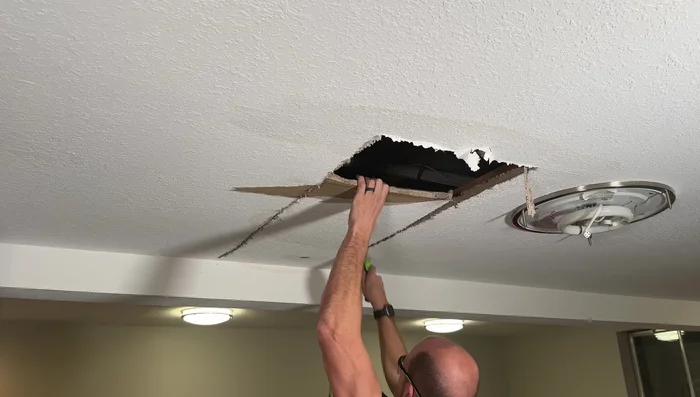
Initial Ceiling Access Leak Source Investigation
- Cut larger holes to access the leak source.
Leak Source Investigation Water Drainage and Main Valve Shut-off
- Turn off the main water valve and drain water from the lowest point in your home to minimize mess.
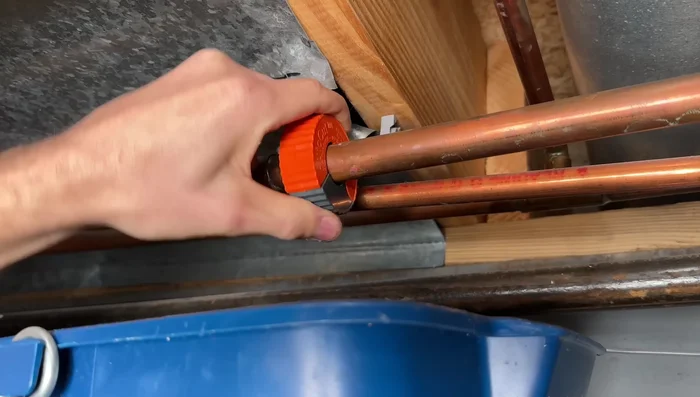
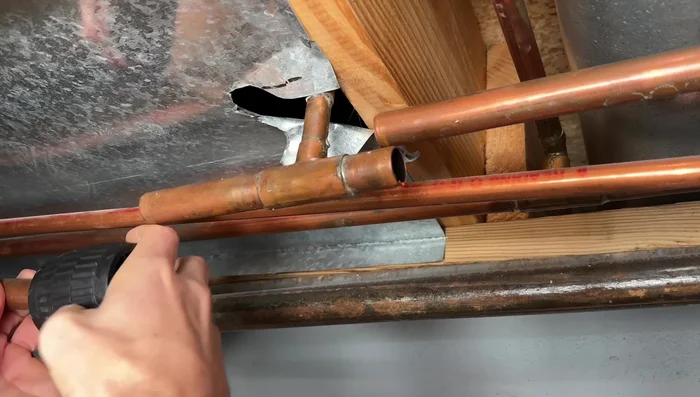
Water Drainage and Main Valve Shut-off Copper Pipe Repair
- Cut and remove the leaking section of copper pipe using an autocut tool.
- Clean and ream the cut ends of the copper pipes.
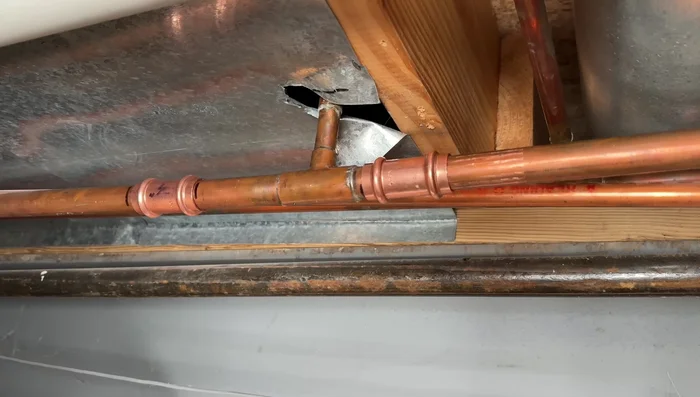
- Install SharkBite fittings (or other suitable couplings). Crimp securely ensuring a watertight seal.
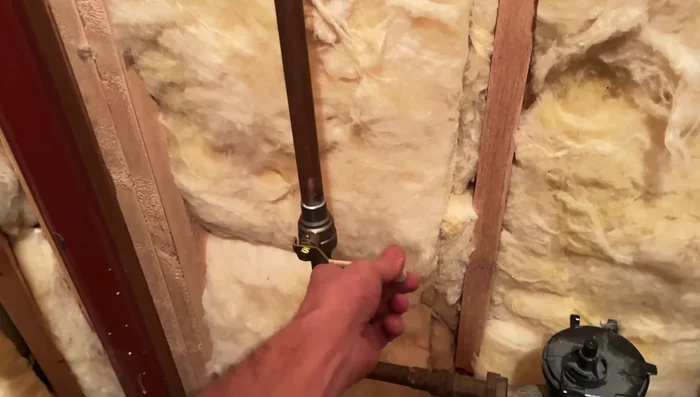
Copper Pipe Repair Damage Assessment
- Inspect the pipes and drywall for mold and water damage.
Drywall Removal
- Cut out damaged drywall, using a jig to ensure precise cuts.
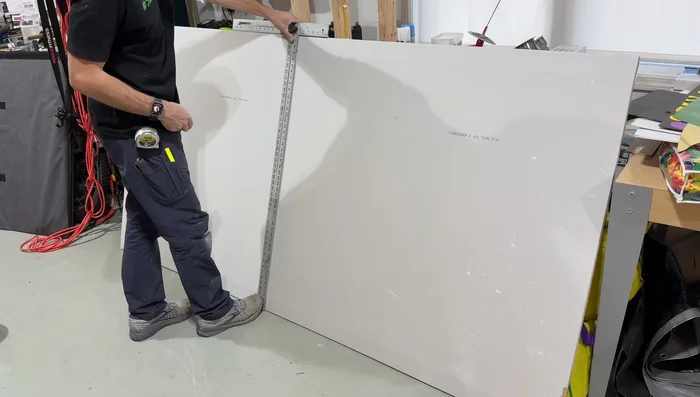
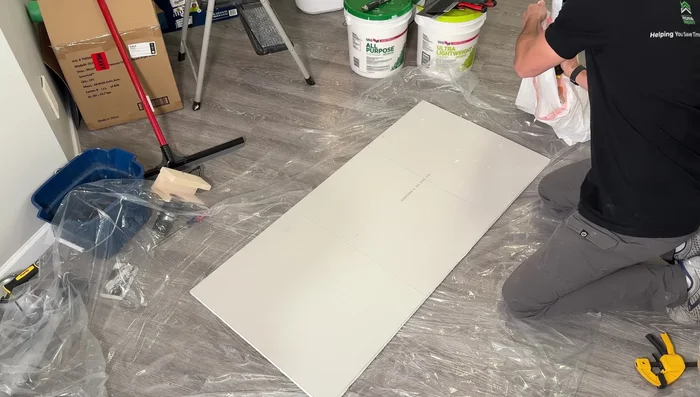
Drywall Removal Drywall Patch Installation
- Prepare and install a new drywall patch.
Drywall Patch Installation Priming the Patch
- Prime the patch with shellac.
Priming the Patch Mudding and Sanding
- Apply multiple coats of joint compound, allowing adequate drying time between coats. Sand lightly after each coat except the first.
Mudding and Sanding Knockdown Texture Application
- Apply knockdown texture, letting it set before knocking down with a wet knife.
Knockdown Texture Application Painting and Finishing
- Paint the repaired area to match the existing ceiling.
Painting and Finishing

Read more: Fixing Drywall Nail Pops: A Quick and Easy DIY Guide
Tips
- Minimize damage by using a jab saw to cut small holes initially.
- Use a compact tool like the autocut tool for working in tight spaces.
- Always ream copper pipes to remove burrs before installing fittings.
- Use a vacuum to minimize dust and mess during drywall cutting.
- Cut drywall patches to size, ensuring proper fitting and minimizing gaps.