A leaky roof is more than just an inconvenience; it's a significant threat to your home's structural integrity and your peace of mind. Water damage can lead to costly repairs down the line, impacting everything from your ceilings and walls to your insulation and even your foundation. Fortunately, many roof leaks are manageable with a bit of DIY know-how and the right tools. This doesn't necessarily require calling in expensive professionals; for many common issues, you can effectively tackle the problem yourself and save considerable money. Learning to identify the source of the leak and employing the correct repair techniques is key to a successful and long-lasting fix.
This article will guide you through a step-by-step process for efficiently repairing common leaky roof problems, empowering you to regain control of your home's maintenance and save on professional repair costs. From identifying the leak's origin to selecting the appropriate materials and executing the repair, we'll provide clear instructions and helpful tips to ensure a watertight and secure roof above your head.
Preparation and Safety Guidelines
- Roof tiles
- Felt
- Staples
- Scaffold tower (or full scaffolding)
- Construction grade foam
- Clips
- Always prioritize safety! Wear appropriate safety gear including a hard hat, safety glasses, sturdy work boots, and gloves. If working at height, use a secure harness and fall protection system.
- Never work on a roof in wet, icy, or windy conditions. Postpone repairs until the weather is safe and dry.
- If the roof damage is extensive or you feel uncomfortable performing the repairs, contact a qualified roofing professional immediately. Attempting complex repairs without experience can lead to further damage and potential injury.
Step-by-Step Instructions
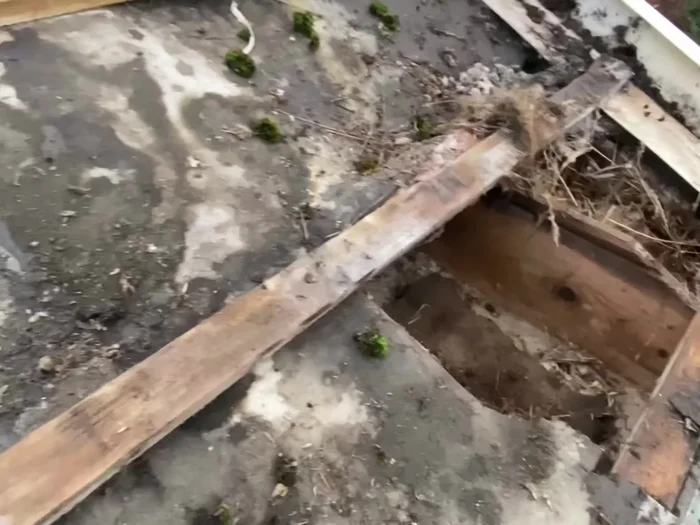
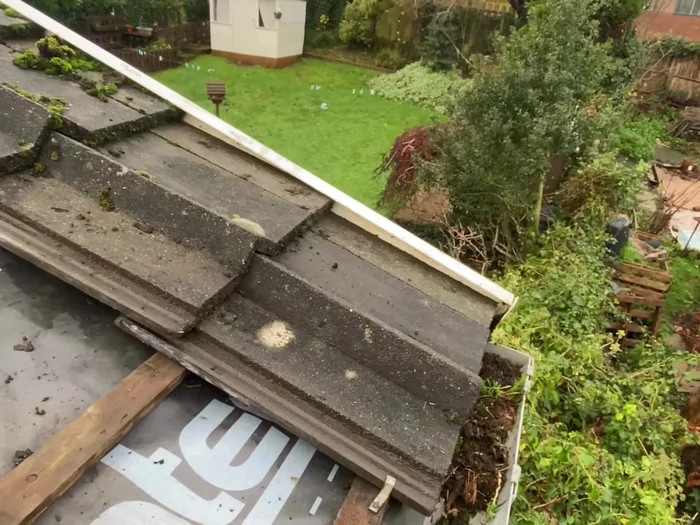
Prepare the Damaged Area
- Remove damaged roof tiles at the ends of the roof where water ingress is most likely.
- Remove the three layers of roof tiles in the affected area. Measure the distance between batons before removing them to ensure correct re-installation.

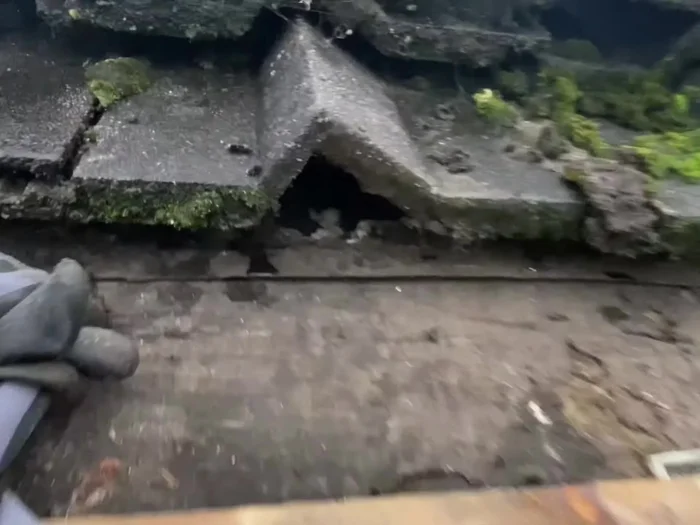
Prepare the Damaged Area Prepare the Fascia and Underlayment
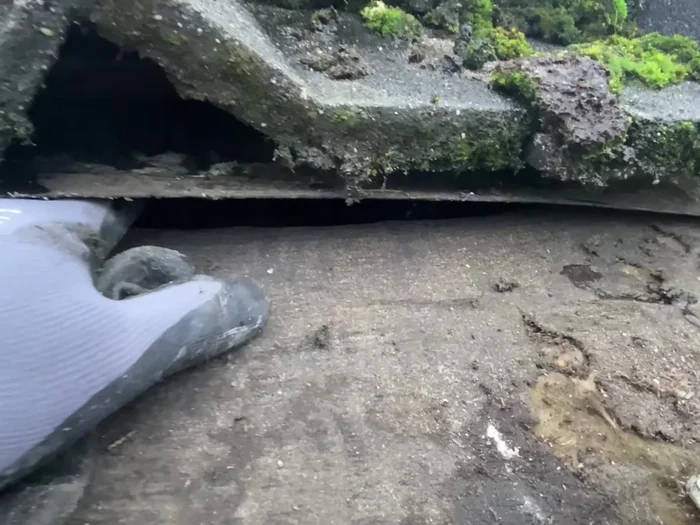
- Assess the fascia. If the fascia is too high, preventing proper felt installation, cut it back to be lower than the felt.
- Remove old, damaged felt.
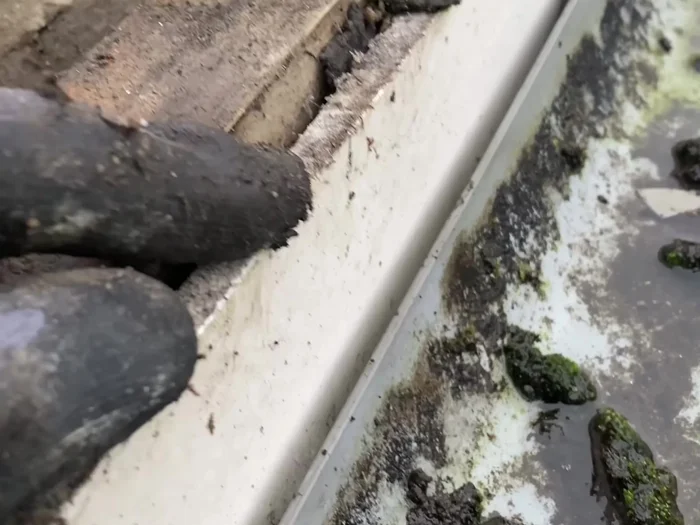
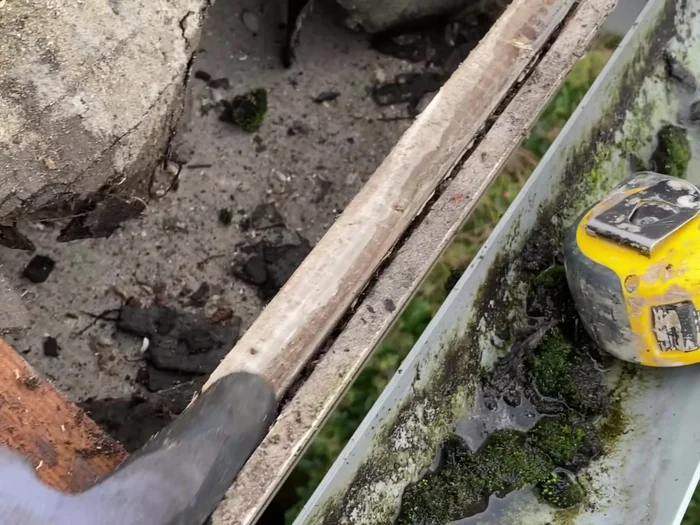
Prepare the Fascia and Underlayment Install New Underlayment
- Install new felt, tucking it at least 100mm under the existing felt. Secure it with staples, but avoid over-stapling.
Install New Underlayment Replace Battens
- Replace the batons.
Replace Battens Replace Roof Tiles
- Replace the roof tiles, ensuring proper alignment and cleaning joints as you go. Use construction-grade foam and clips to secure the tiles.
Replace Roof Tiles
Read more: DIY Roof, Shingle, Fence, and Flashing Repair with Henry Wet Patch 208
Tips
- Use full scaffolding for optimal safety; a tower is acceptable but ensure it’s secure.
- Don't over-staple the felt; use just enough to hold it in place.
- Leave the guttering in place for easier access and tool storage during the repair process.