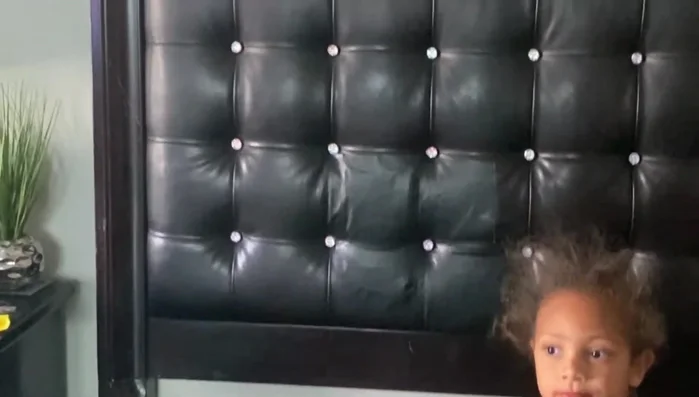
Leather headboards add a touch of luxury to any bedroom, but their elegance can be easily marred by scratches, tears, or discoloration. These seemingly minor imperfections can significantly detract from the overall aesthetic, leaving you staring at a damaged piece of furniture instead of enjoying a peaceful night's sleep. Fortunately, many leather headboard repairs are surprisingly simple and achievable with readily available materials and a little patience. You don't need to replace the entire headboard or call in expensive professionals for a quick fix.
This guide focuses on providing effective, DIY solutions for common leather headboard damage, focusing on quick and visually appealing repairs. We'll explore several techniques for addressing various types of damage, from small scratches to more substantial tears. Ready to restore your headboard's former glory? Let's dive into the step-by-step instructions and get started on your repair project.
Preparation and Safety Guidelines
- Leather repair kit (purchased from Facebook Marketplace)
- Scissors
- Trash can
- Vacuum cleaner
- Always test any cleaning solution or repair product on an inconspicuous area of the headboard first to avoid damaging the leather further.
- Use appropriate safety gear, such as gloves, when working with cleaning solutions or adhesives. Some chemicals can irritate skin.
- Avoid using abrasive cleaners or tools that could scratch the leather. Gentle cleaning and repair methods are crucial for preserving the leather's condition.
Step-by-Step Instructions
Preparation
- Remove mattresses and vacuum under the bed to clean the area.
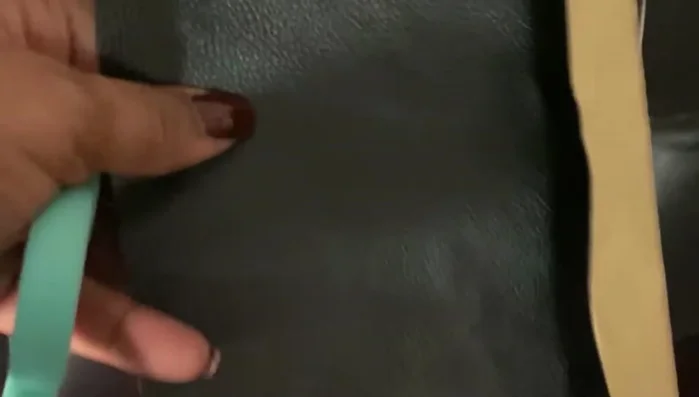
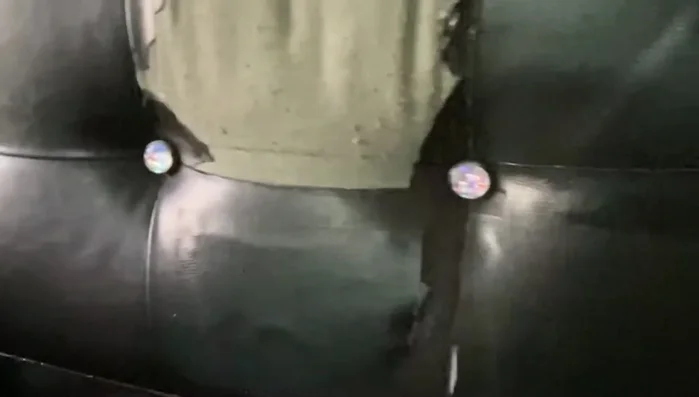
- Expose the damaged area of the headboard. The speaker had purchased a leather repair kit beforehand.
- Prepare the repair kit and materials.

Preparation Patch Application
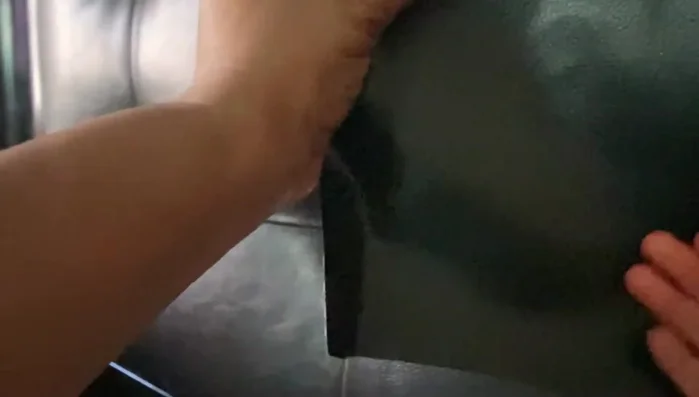
- Apply the repair patch to the damaged area, carefully aligning and smoothing it down.
- Cut away excess material and remove any loose debris.
- Apply additional patches as needed to completely cover the damaged area.
- Firmly press the patches to ensure adhesion.
Patch Application Cleanup and Restoration
- Clean up any excess material and debris.
- Replace pillows and bedding to cover the repair area.
Cleanup and Restoration


Read more: Silence that Squeaky Bed: A Complete Fix-It Guide
Tips
- Clean the area thoroughly before beginning the repair.
- Use a helper to assist with holding and positioning materials for a more efficient process.
- Work carefully and methodically to ensure a seamless repair.
- Consider adding decorative elements like bling to enhance the look of the repaired area and match the overall style.