The mid-century modern aesthetic, with its clean lines, tapered legs, and understated elegance, continues to captivate homeowners. But achieving this stylish look in your bathroom can often come with a hefty price tag. Fortunately, you don't need to break the bank to transform your bathroom into a mid-century haven. This guide reveals a surprisingly affordable and rewarding DIY project: creating a stunning mid-century modern bathroom vanity from a vintage dresser. With a little creativity and elbow grease, you can achieve a unique and personalized touch that reflects your individual style while saving significant money.
This project is perfect for those with some DIY experience, offering a rewarding way to upcycle a thrifted dresser into a show-stopping bathroom vanity. From selecting the perfect dresser to installing the plumbing, we’ll walk you through each step of the process, equipping you with the knowledge and confidence to tackle this transformation. Ready to get started? Let's dive into our step-by-step guide to creating your own custom mid-century modern bathroom vanity.
Preparation and Safety Guidelines
- Dresser
- Dremel Ultra Saw
- Oscillating Multi-Tool
- Wood Glue
- Trim Nails
- Plastic Floor Protectors
- Polyurethane
- Square Feet
- Wood Shims
- Brad Nails
- Nail Gun
- Countertop
- Sink
- Faucet
- Clamps
- Baby Wipes
- Electrician's Pliers
- Half-inch Plywood Scraps
- Square Molding
- Always disconnect the power to the bathroom's electrical circuits before beginning any wiring work. Failure to do so could result in serious injury or death.
- Use appropriate safety gear, including gloves and eye protection, when handling tools and materials. Some materials, such as paints and stains, can be hazardous.
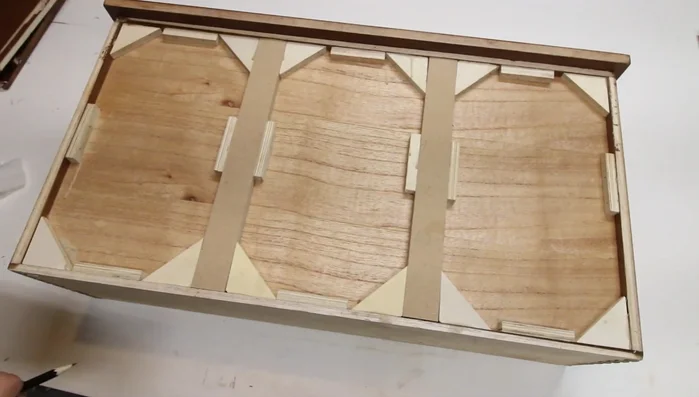
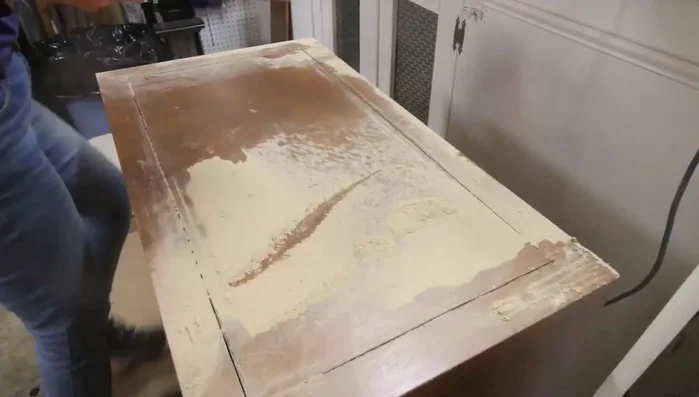
- Ensure the dresser is structurally sound and stable enough to support the weight of a bathroom vanity. Reinforce weak areas as necessary before installation.
Step-by-Step Instructions
Prepare the Dresser
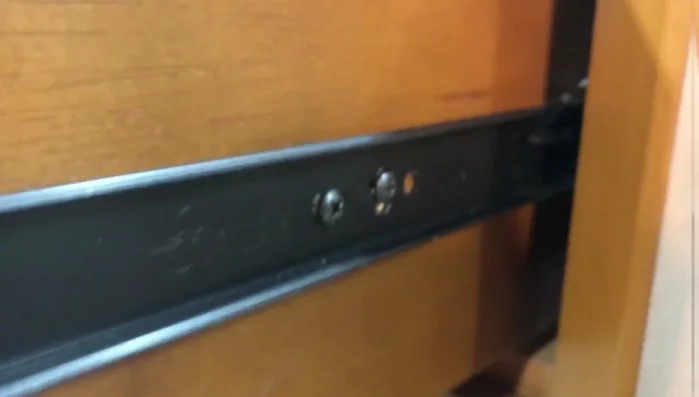
- Remove the top drawer and its slides. Save the slides for another project.
- Remove the drawer knobs to disconnect the drawer face from the drawer box. Set the top drawer face aside.
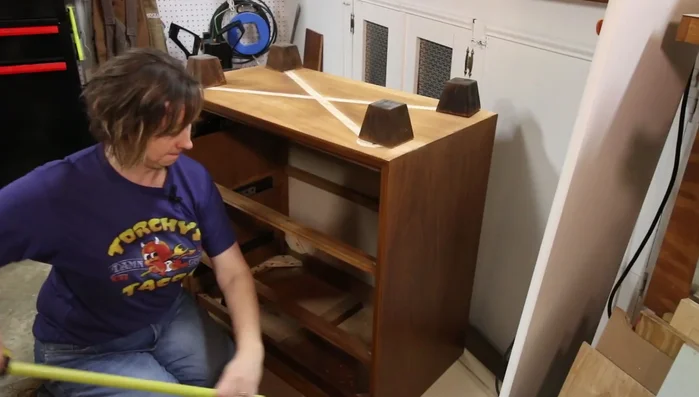
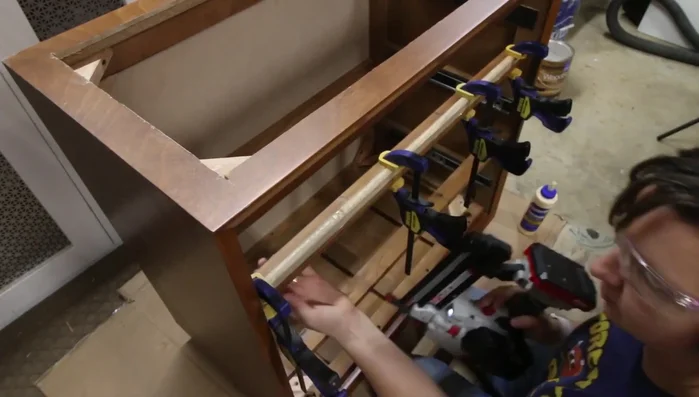
- Remove the dresser legs and replace them with square feet, securing them with wood glue and trim nails.

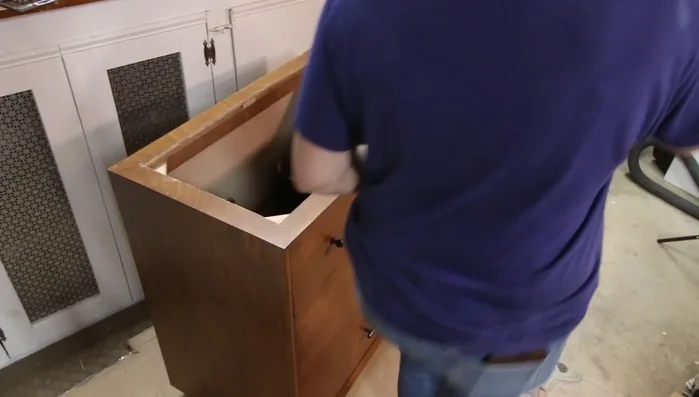
Prepare the Dresser Modify the Drawer for Plumbing
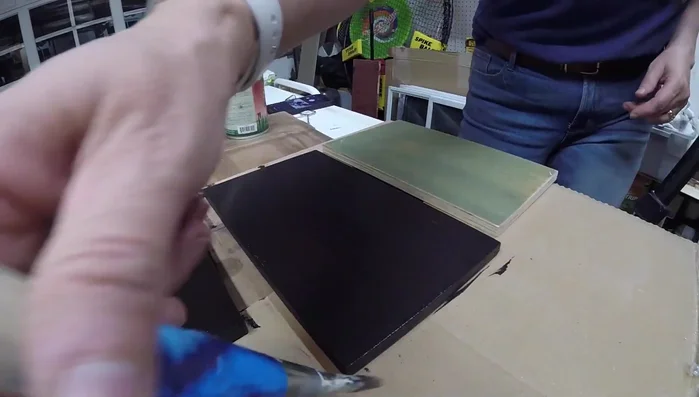
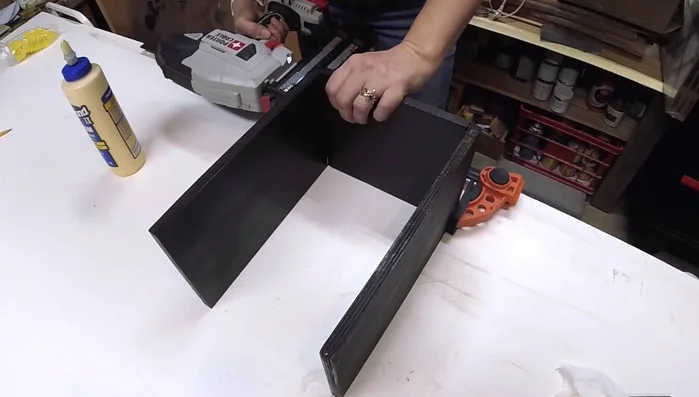
- Modify the second drawer to accommodate plumbing by creating a U-shaped cutout in the bottom and adding new side supports.
- Paint the inside of the modified drawer black to hide the modifications.
- Assemble and secure the cutout section of the drawer with wood glue and brad nails.
Modify the Drawer for Plumbing Protect and Prepare the Base
- Coat the feet and the bottom of the dresser with polyurethane for water protection. Add plastic floor protectors to the bottom for added protection.
Install the Countertop
- Install a new countertop on the dresser top.
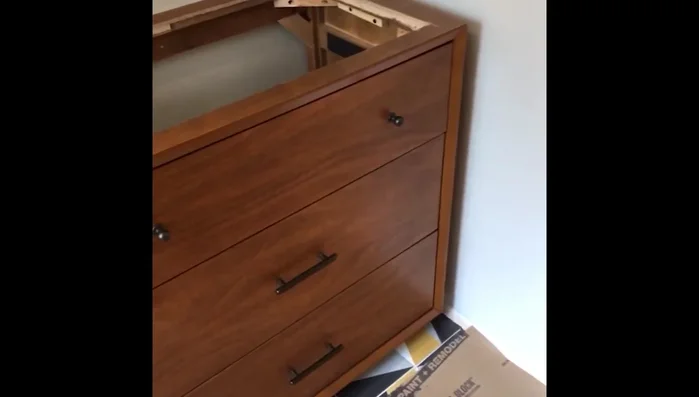
Install the Countertop Reinstall and Modify the Top Drawer
- Secure the top drawer face using square molding and shims for even spacing, then attach it with brad nails and screws.
- Shorten the drawer knobs using electrician's pliers to fit the modified drawer.
Reinstall and Modify the Top Drawer Plumbing and Installation
- Check sink fit and make necessary adjustments to the back of the dresser for plumbing.
- Install the sink and faucet.
Plumbing and Installation
Read more: DIY Upcycled Bed Frame: A Step-by-Step Guide
Tips
- Use a countertop for the dresser top to prevent water damage.
- Check for remnant countertops from fabricators for budget-friendly options.
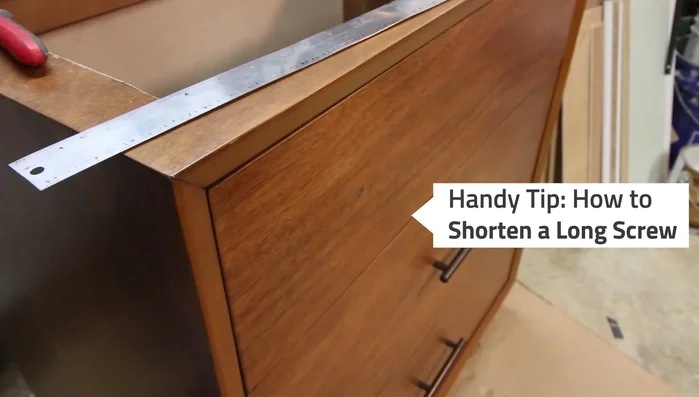
- Use electrician's pliers to easily shorten screws without stripping the threads.