Bring the rustic charm and practicality of a log cabin inside your home, or enhance your outdoor space, with a stunning DIY multi-use log bench! This versatile project combines natural beauty with exceptional functionality, offering a comfortable seating solution for any setting. Imagine the cozy ambiance created by a handcrafted bench crafted from reclaimed wood or freshly sourced logs, adding a touch of wilderness to your living room or a welcoming spot to relax on your porch. Whether you prefer a sleek modern design or a more rugged, traditional look, this project offers the flexibility to personalize your creation.
This detailed guide will walk you through each stage of constructing your own unique multi-use log bench, from material selection and preparation to the final assembly. Ready to transform your space and enjoy the rewarding experience of building something beautiful and practical? Let's begin with the step-by-step instructions, covering everything from measuring and cutting the logs to securing the sturdy base and finishing touches.
Preparation and Safety Guidelines
- Miter saw
- Drill
- 1 1/2 inch Tenon cutter kit (Lumberjack Tools)
- Half-inch power drill (corded)
- Machete or drawknife
- Oscillating saw
- Hammer and chisel
- Flush cut saw
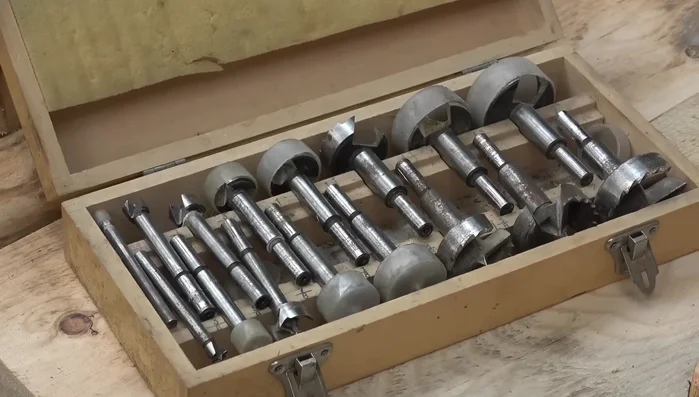
- Forstner bits (various sizes)
- Wood glue
- Polyurethane stain and varnish
- Clamps
- Cinder block
- Always use appropriate safety gear, including eye protection and work gloves, when using power tools and handling lumber.
- Ensure the log sections are properly secured and stabilized to prevent shifting or tipping. Use appropriate fasteners and consider adding bracing for added stability.
- Check local building codes and regulations before constructing and placing your log bench. Consider weight limits and potential environmental impacts.
Step-by-Step Instructions
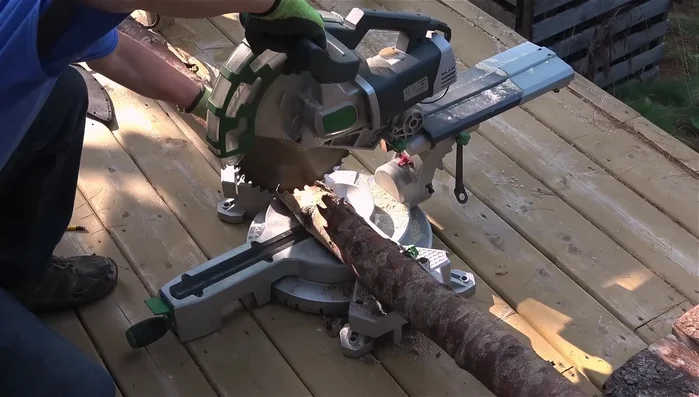
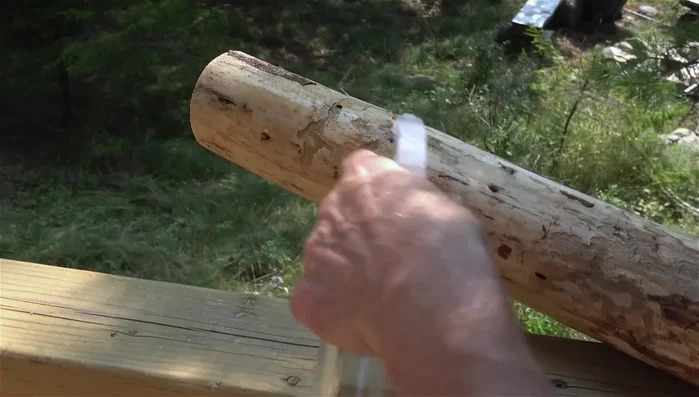
Prepare the Logs
- Cut sapling trunks to size.
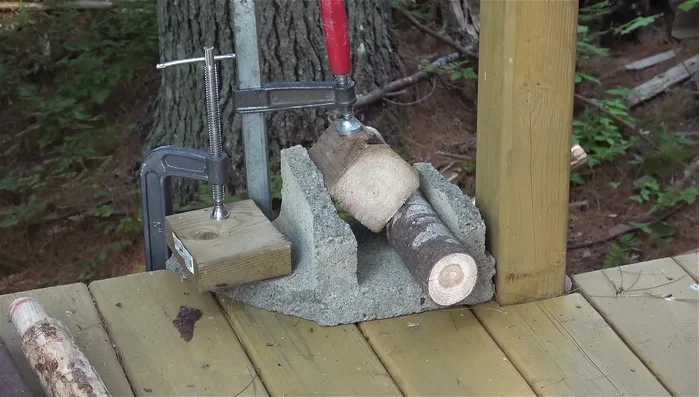
- Improvise a log vise using a cinder block, wood ends, and clamps.
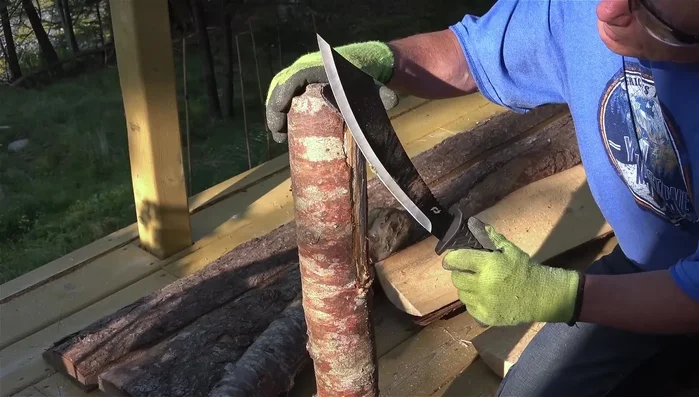
- Remove bark using a machete or draw knife (be careful!).
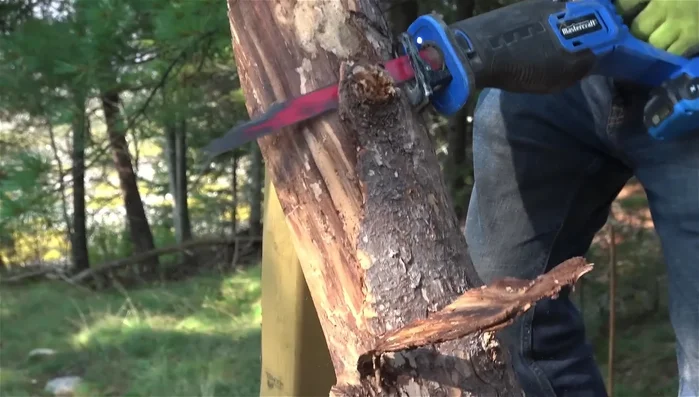
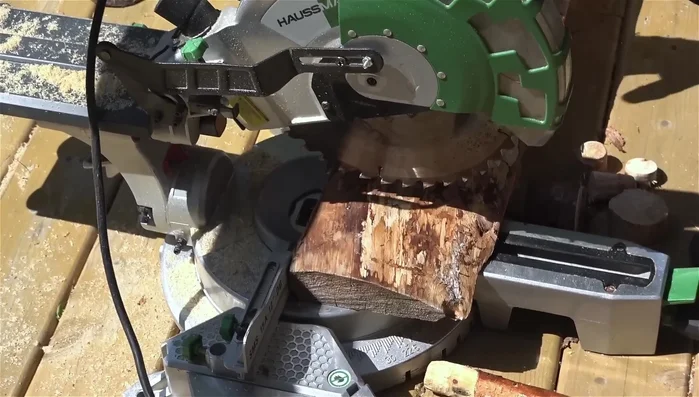
- Remove knots with an oscillating saw.

Prepare the Logs - Spray wood with diluted bleach to kill beetle larvae.
Prepare the Logs Prepare the Seat Boards
- Cut slab boards to length (52 inches).
- Create notches in the slab boards using a miter saw to create guidelines and a chisel to carve the curve.
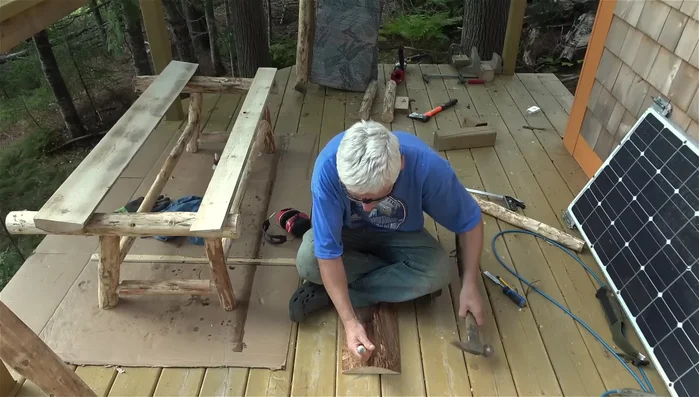
Prepare the Seat Boards Assemble the Bench Frame
- Glue and assemble the bench base.
- Create and install the back posts, drilling perpendicularly then angling the cut.
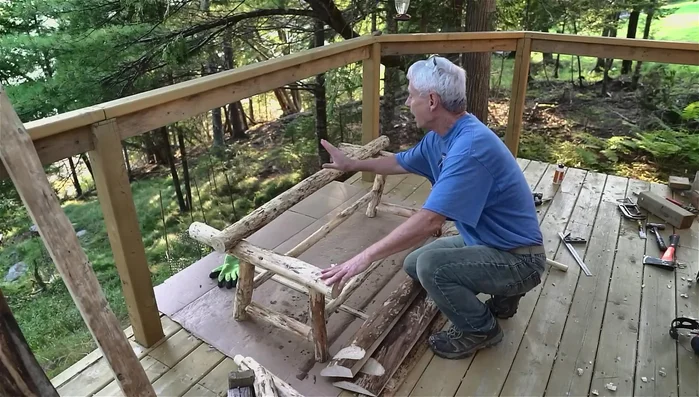
Assemble the Bench Frame Attach the Seat
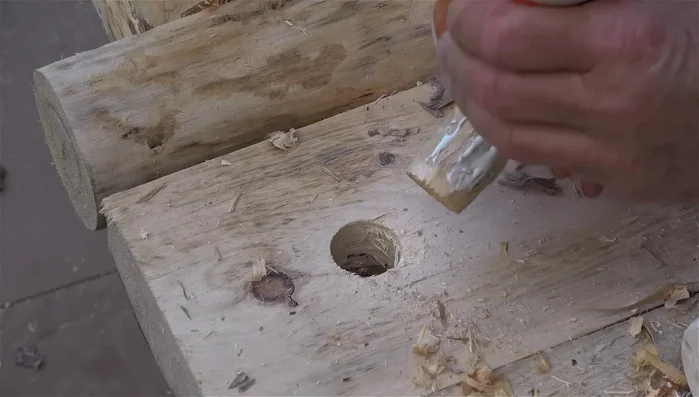
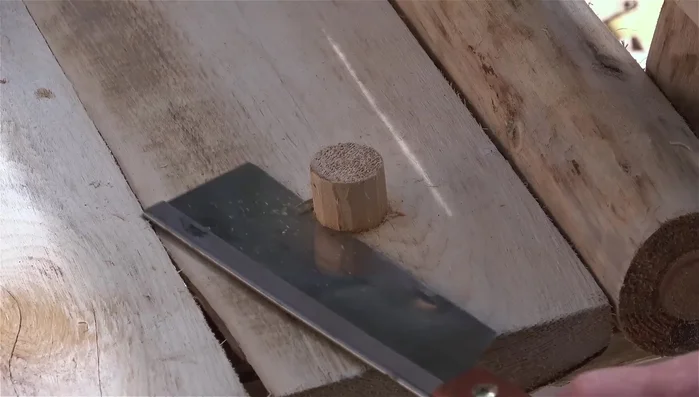
- Make pegs from whittled saplings and drill holes for them using Forstner bits.
- Glue and install the pegs to join the seat to the frame.
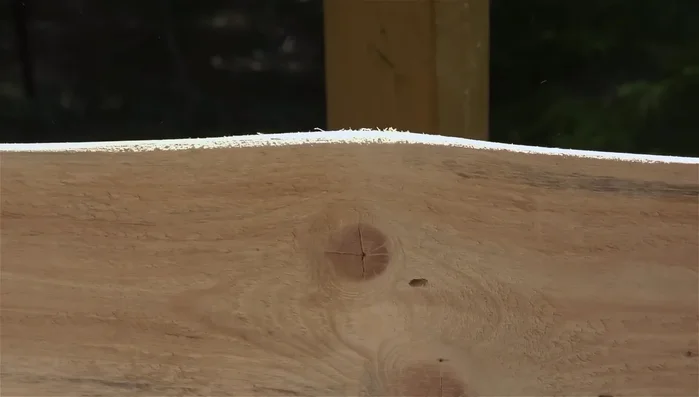
- Cut off excess pegs using a flush cut saw.
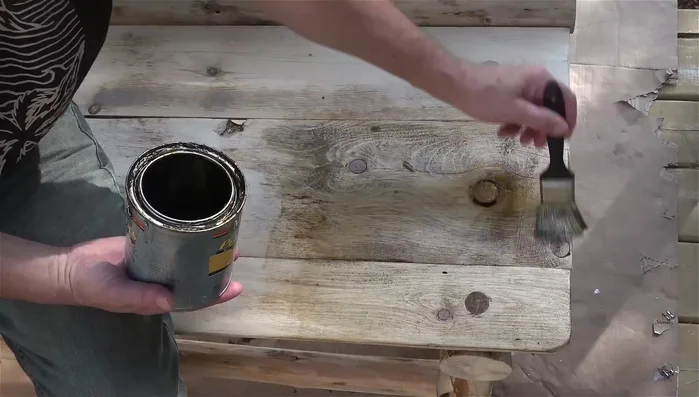
Attach the Seat Finish the Bench
- Sand the bench.
- Apply polyurethane stain and varnish for protection and aesthetics.
Finish the Bench
Read more: DIY Upcycled Bed Frame: A Step-by-Step Guide
Tips
- Peel off bark before leaving wood outside to prevent beetle larvae infestation.
- Use a larger Forstner bit if the kit's bit is too loose for the wood.
- Use a miter saw to create accurate guidelines when notching boards.