Tired of those old, discarded doors gathering dust in the garage or shed? Don't let them gather anymore! With a little creativity and some DIY know-how, you can transform these forgotten relics into a truly stunning and unique outdoor table, adding rustic charm to your patio, garden, or backyard. Imagine the compliments you'll receive on your one-of-a-kind piece, crafted from materials destined for the landfill. This project is surprisingly simple, offering a rewarding experience for both seasoned DIY enthusiasts and weekend warriors alike.
The beauty of repurposing lies not only in its sustainability but also in the unparalleled character it lends to your finished piece. Each door carries its own history, manifested in its unique grain, paint chips, and subtle imperfections, all contributing to the overall charm of your new outdoor table. Ready to breathe new life into those old doors and create a centerpiece for your outdoor space? Let's dive into the step-by-step guide to building your breathtaking repurposed door table.
Preparation and Safety Guidelines
- Circular saw
- Sawhorses
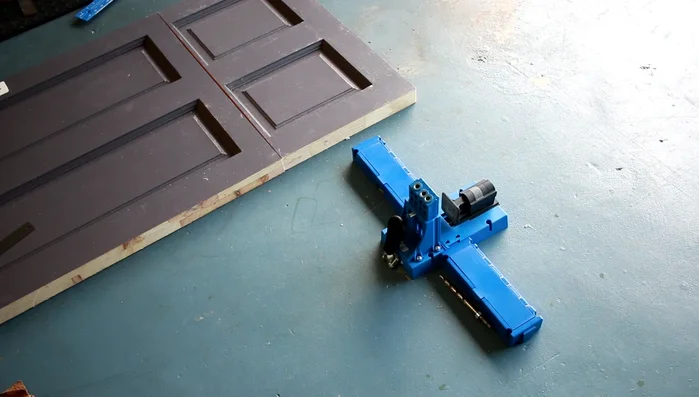
- Pocket hole jig
- Screws
- Wood glue
- Sawdust
- Wood putty
- 1x4 lumber
- 1x6 lumber
- Clamps
- Waterproof exterior wood glue
- Pull saw
- Table saw
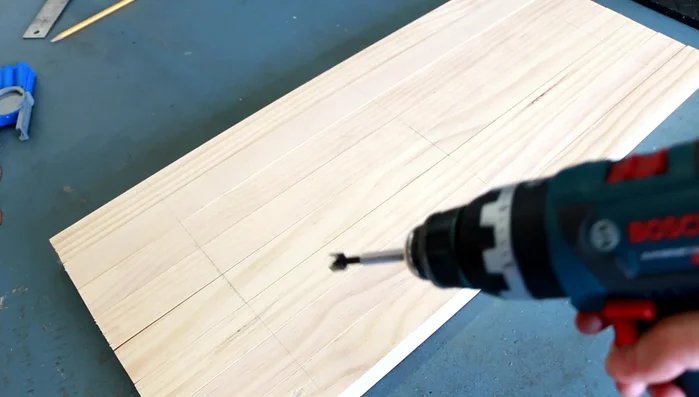
- Forstner bit
- Sandpaper (600, 800, 1000, 1200, 1500 grit)
- Sanding sponges
- Spar urethane
- Wax
- Always wear appropriate safety gear, including safety glasses and gloves, when working with tools and old wood. Splinters and sharp edges are common.
- Ensure the door is properly cleaned and treated for outdoor use before construction. This includes addressing any rot or pest damage and applying a weather-resistant sealant.
- Use sturdy support structures for the table legs and ensure they are securely attached to the door to prevent wobbling or collapse. Consider the weight capacity of your finished table.
Step-by-Step Instructions
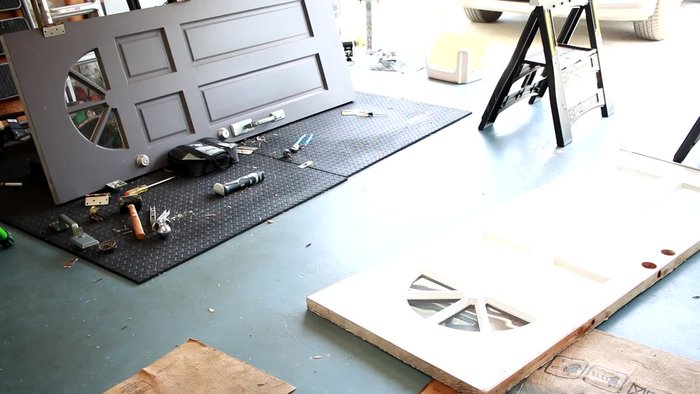
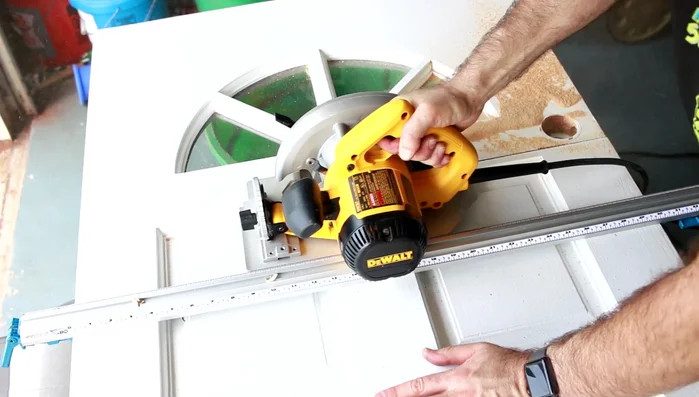
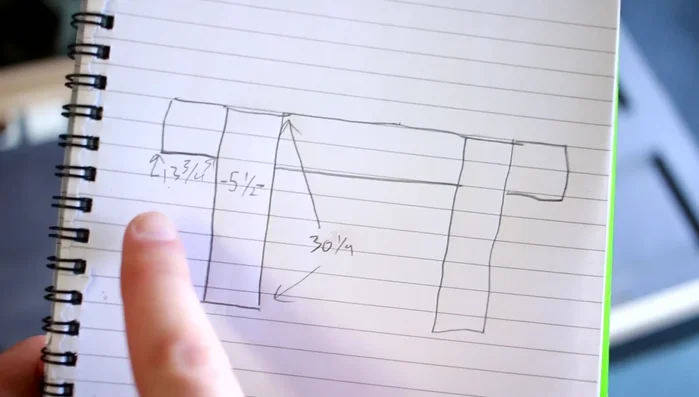
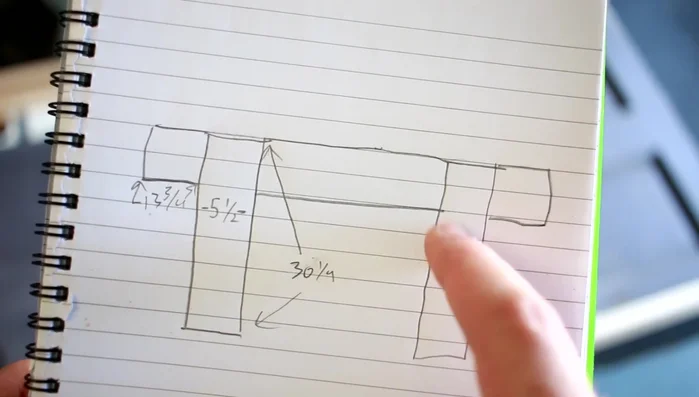
Prepare the Doors
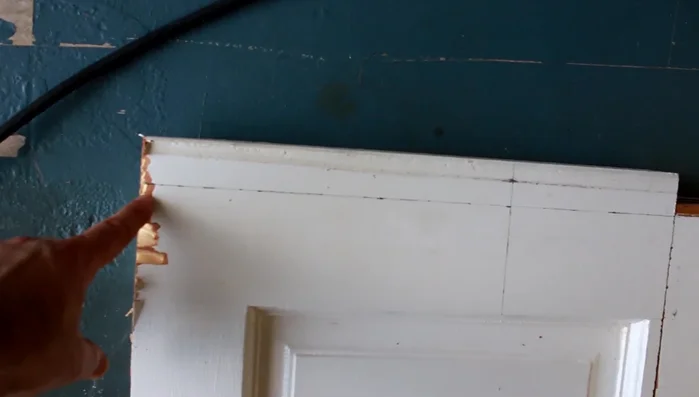
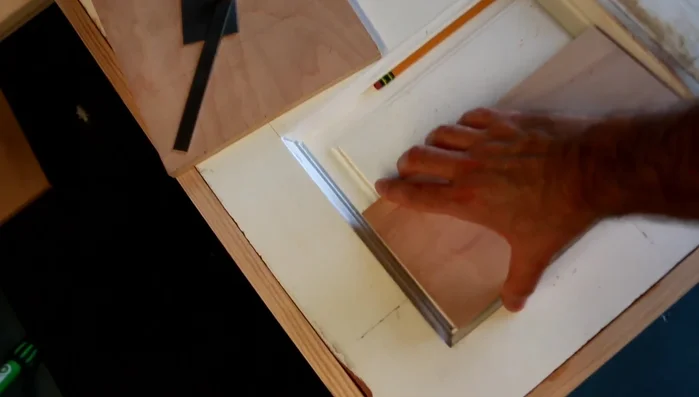
- Trim down the doors to the desired dimensions.
- Cut out the window portion from one door.
- Remove hardware from the second door.

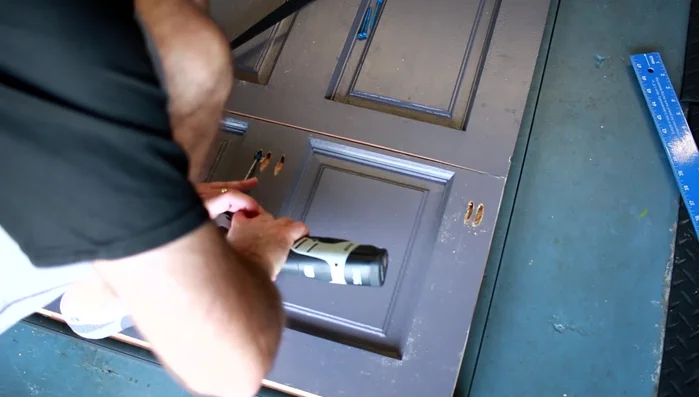
Prepare the Doors Join the Doors
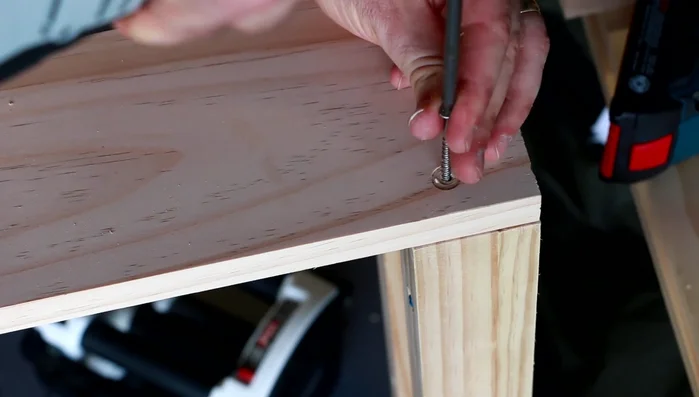
- Join the doors using pocket screws.
- Fill gaps and holes with a mixture of sawdust and wood glue.
- Trim a 3-inch border around the joined doors.
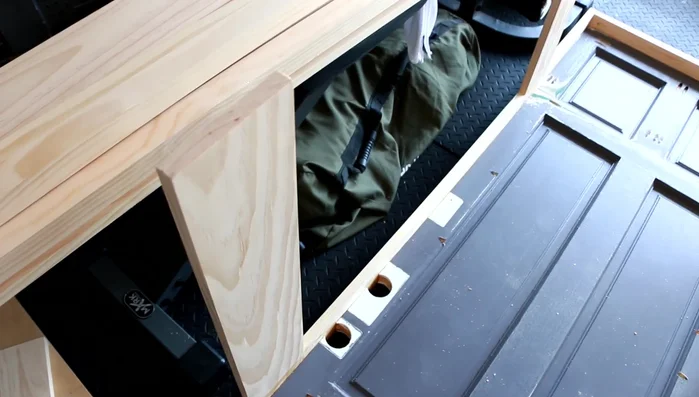
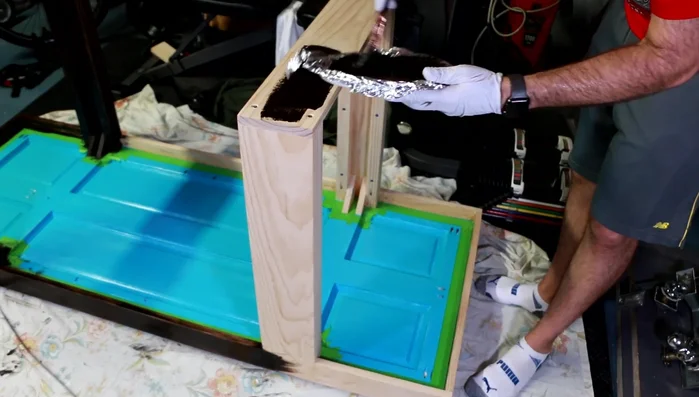
Join the Doors Create the Frame
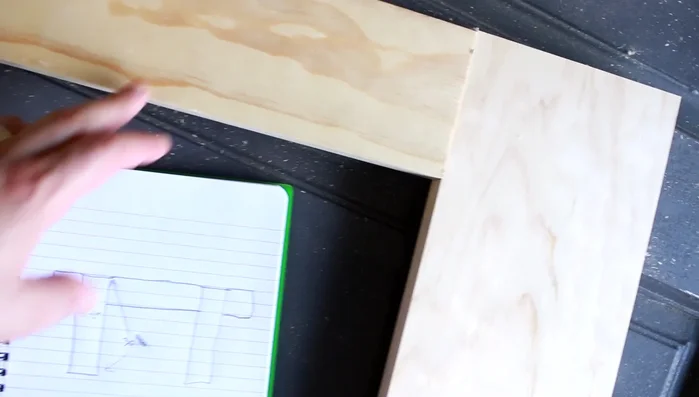
- Attach 1x4 lumber around the table edges for a clean finish.
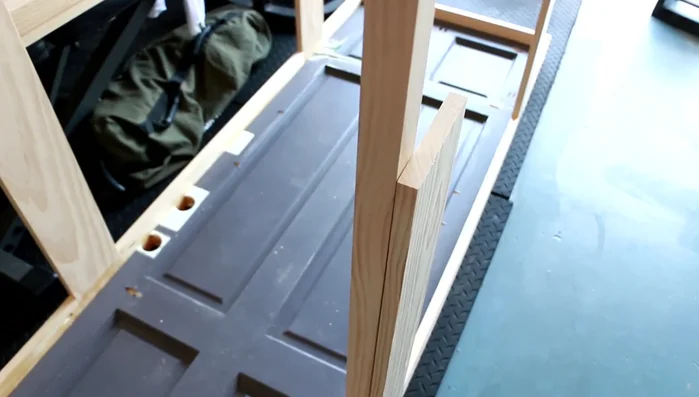
- Construct table legs using doubled 1x6 lumber.
- Attach legs to the side skirts.
Create the Frame Reinforce and Attach Legs
- Reinforce the legs by attaching 2x2 lumber to the sides of the 1x6 legs.
- Fill the old deadbolt holes with dowel stock.
- Attach the leg reinforcements using screws.
- Attach the bottom plates.
Reinforce and Attach Legs Level the Table Top
- Create and inset 1/2 inch plywood panels to fill the depressions on the table surface.
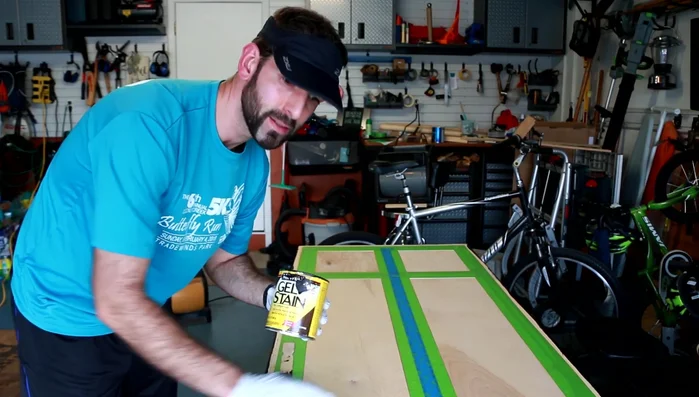
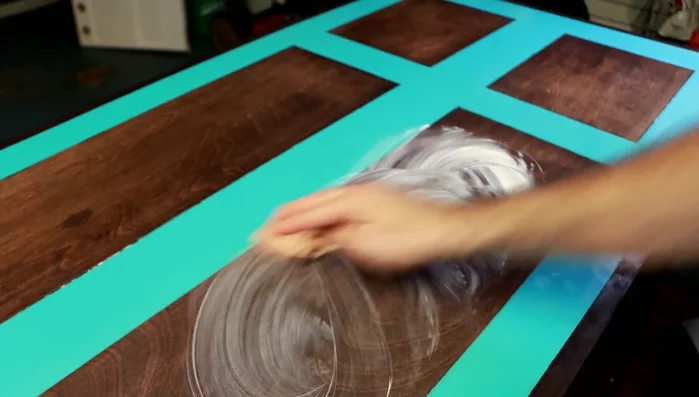
Level the Table Top Apply Finish (Stain)
- Apply stain to the pine boards.
- Tape off and stain inner panels and edges.
Apply Finish (Stain) Apply Finish (Paint)
- Paint the white areas.
Apply Finish (Paint) Seal and Protect
- Apply three coats of spar urethane for outdoor protection.
- Sand with wet/dry sandpaper (600-1500 grit) for a smooth finish.
- Add a final wax coat.
Seal and Protect

Read more: DIY Upcycled Bed Frame: A Step-by-Step Guide
Tips
- Pay attention to sawhorse placement to avoid damaging the wood.
- Use face clamps for smooth face joining.
- Remove glue from clamps to avoid dents.
- Use a Forstner bit to countersink screw holes for a clean look.