Transforming discarded pallets into stunning outdoor furniture is a rewarding and surprisingly simple project. The rustic charm of reclaimed wood lends itself perfectly to creating unique pieces, and a sturdy outdoor table is a fantastic example. This inexpensive alternative to store-bought furniture allows you to personalize your patio, deck, or garden with a piece that reflects your own style and creativity. The possibilities are endless; you can tailor the size, shape, and finish to perfectly complement your existing outdoor décor. Forget expensive, mass-produced options and embrace the satisfaction of crafting something beautiful and functional yourself.
This guide provides a comprehensive, step-by-step process for building your own DIY pallet outdoor table. From selecting the right pallets and preparing the wood, to assembling the table frame and adding the finishing touches, we'll walk you through each stage with clear instructions and helpful tips. So grab your tools, and let's get started!
Preparation and Safety Guidelines
- Hammer
- Pry bar (optional)
- Power tools (optional)
- Screws
- Pocket hole jig (optional)
- Sandpaper
- Wood stain
- Outdoor waterproof deck stain
- Clamps
- Always wear safety glasses and gloves when handling pallets. Wood splinters and nails are common hazards.
- Thoroughly inspect pallets for any loose nails, protruding hardware, or signs of rot or pest infestation before using them. Remove or secure any hazards.
- Ensure the work area is well-ventilated, especially when using wood stains, sealants, or paints. Follow the manufacturer's safety instructions for any chemicals used.
Step-by-Step Instructions
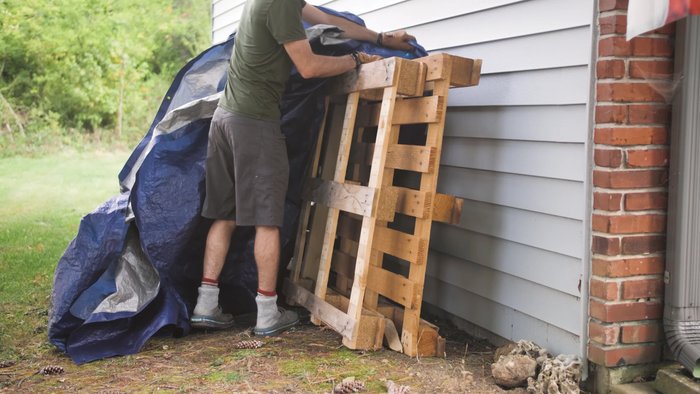
Disassemble Pallets
- Disassemble the pallets.

Disassemble Pallets Prepare Table Legs
- Prepare the legs (30 inches high).
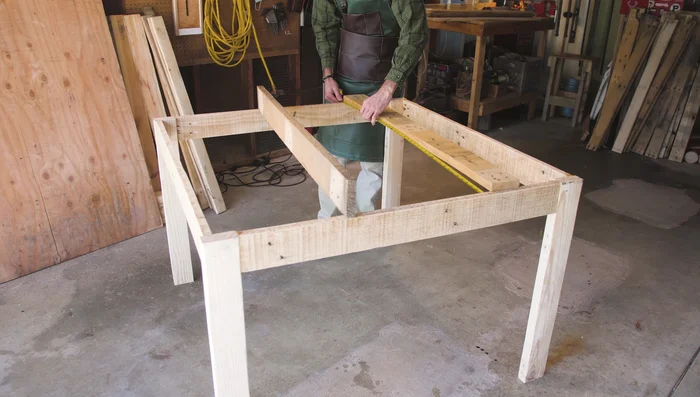
Prepare Table Legs Assemble Table Frame
- Assemble the table frame using stronger pallet wood.
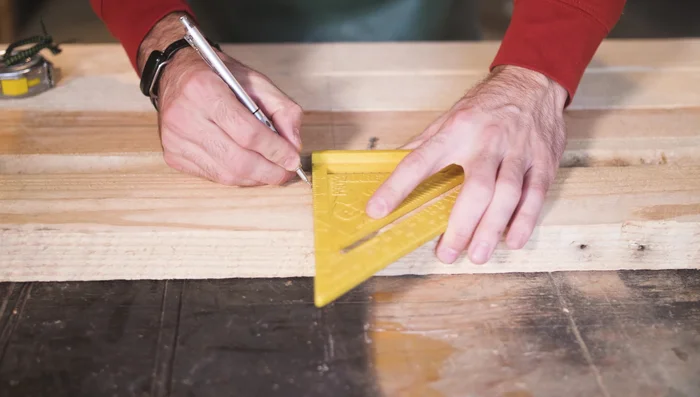
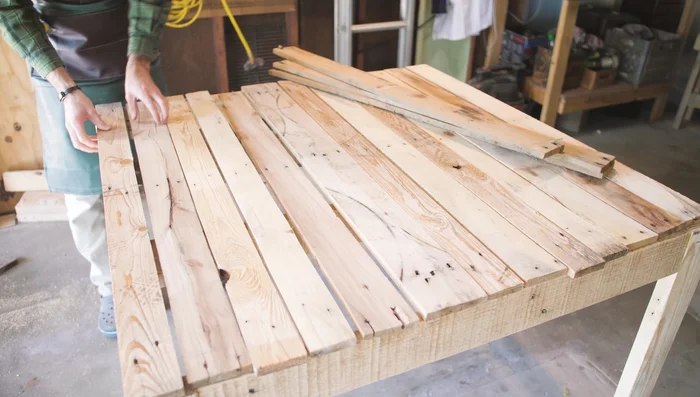
- Trim boards to create a square table top (approximately 45 inches).
- Rough sand the frame for easier access.
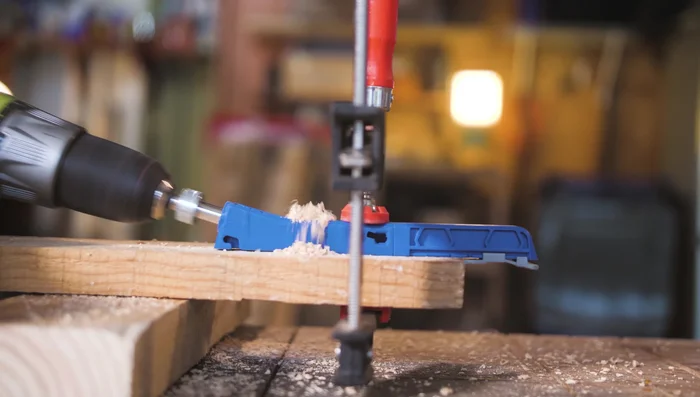
Assemble Table Frame Connect Frame
- Connect the frame using pocket holes and screws. (Consider adding glue for extra strength.)
Connect Frame Add Tabletop Supports
- Add support beams to the underside of the table top to prevent sagging.
Add Tabletop Supports Attach Tabletop
- Arrange and secure the tabletop boards. (Use glue and clamps where necessary, screws for added strength as needed.)
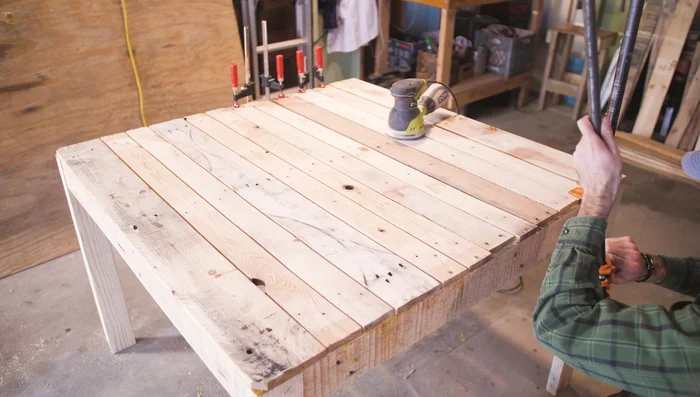
Attach Tabletop Sanding
- Sand the finished table.
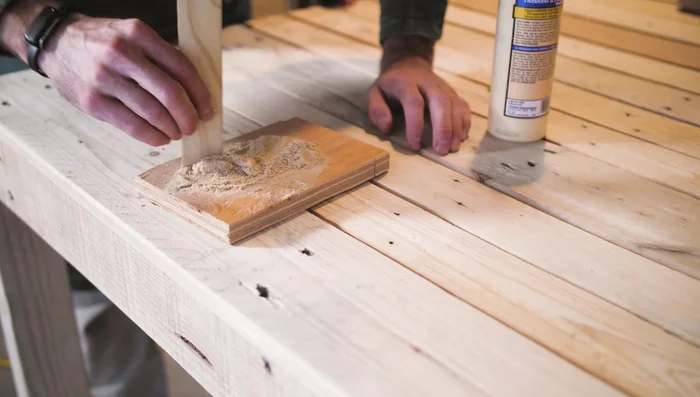
Sanding Fill Holes
- Fill holes that could cause splinters.
Fill Holes Apply Stain
- Apply wood stain.
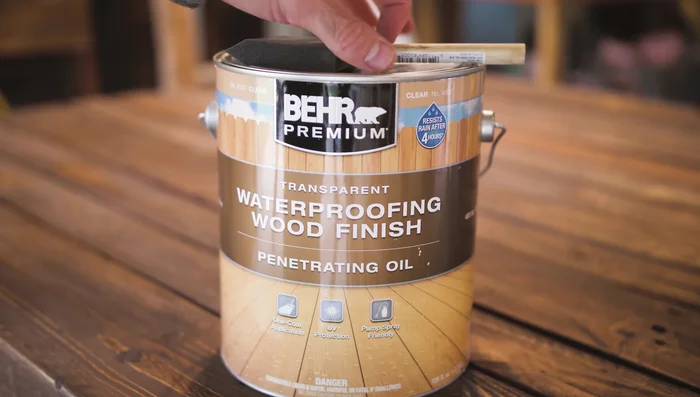
Apply Stain Apply Outdoor Finish
- Apply outdoor waterproof deck stain.
Apply Outdoor Finish


Read more: DIY Upcycled Bed Frame: A Step-by-Step Guide
Tips
- Resist the urge to pry apart pallets with the back of a hammer; you'll split the boards.
- Remove all nails before using power tools.
- Using glue in addition to screws significantly increases the strength and stability of the table.
- Sanding before assembling makes access to all areas much easier.
- Consider the placement of support beams to accommodate future additions like an umbrella.