Transforming old, discarded drawers into charming and functional shelving is a fantastic way to embrace the rustic farmhouse aesthetic while practicing sustainable living. Upcycled drawer shelving offers a unique blend of character and practicality, adding a touch of vintage charm to any room in your home. This DIY project is surprisingly simple, perfect for both seasoned crafters and enthusiastic beginners, and allows for incredible customization based on your available materials and personal style preferences. You can easily adapt this project to suit different spaces, from a cozy kitchen to a rustic bathroom or even a stylish entryway.
This guide will provide you with a detailed, step-by-step process to create your own stunning upcycled drawer shelving, breathing new life into old furniture and adding a unique focal point to your home. Let's dive in and uncover the simple techniques and creative ideas that will turn unwanted drawers into beautiful, functional, and environmentally conscious rustic farmhouse decor.
Preparation and Safety Guidelines
- Dresser drawers
- Paint stripper
- Sander
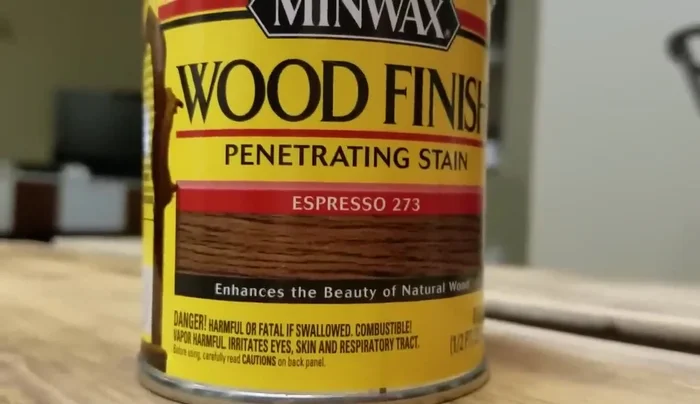
- Stain (red-based and a darker stain)
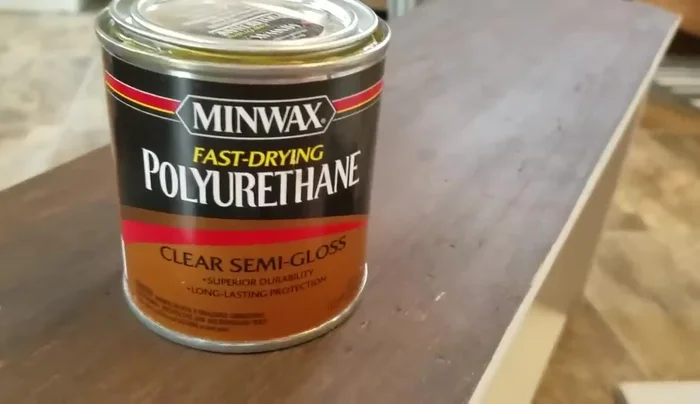
- Polyurethane
- Paint (off-white or color of your choice)
- Wood pieces for shelving
- Hammer
- Nails
- Antique drawer pulls
- Always wear safety glasses and a dust mask when sanding and sawing old drawers. Wood dust is a respiratory irritant.
- Ensure drawers are thoroughly cleaned before upcycling. Remove any lingering paint, varnish, or potentially harmful residue.
- Check the structural integrity of the drawers before assembling your shelving unit. Reinforce weak areas with wood glue and screws if necessary.
Step-by-Step Instructions
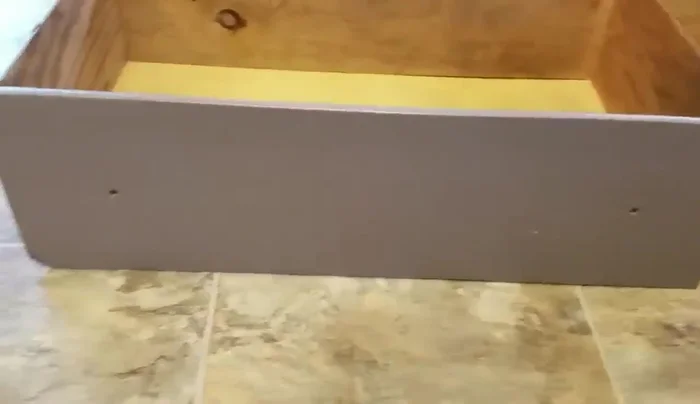
Drawer Preparation
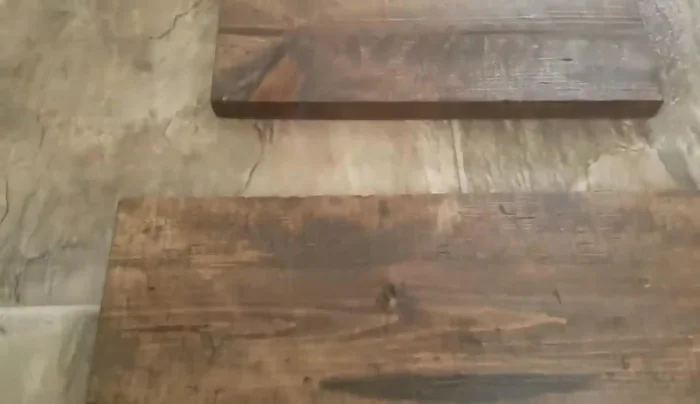
- Strip the paint from the top of the drawers.
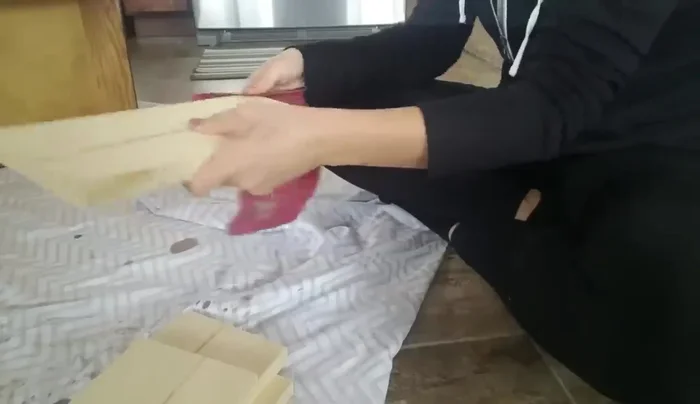
- Sand the drawer surface to smooth it out.

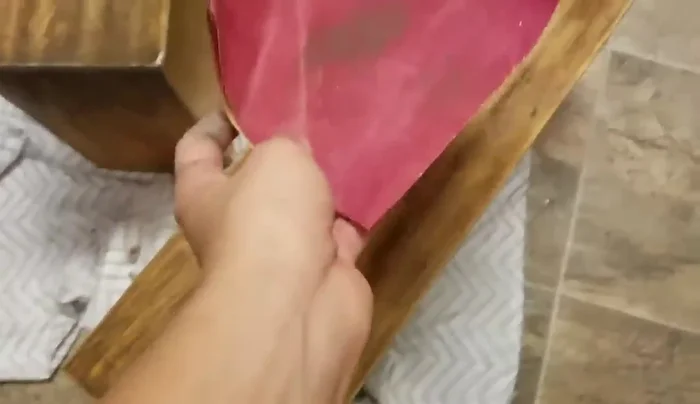
Drawer Preparation Staining and Finishing
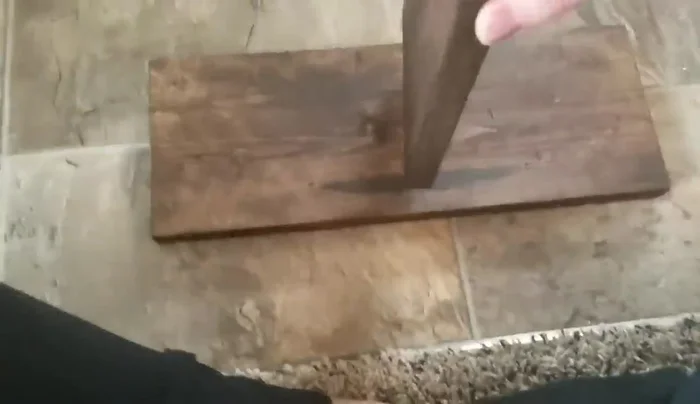
- Stain the entire drawer, allowing for variations in wood color for a rustic look.
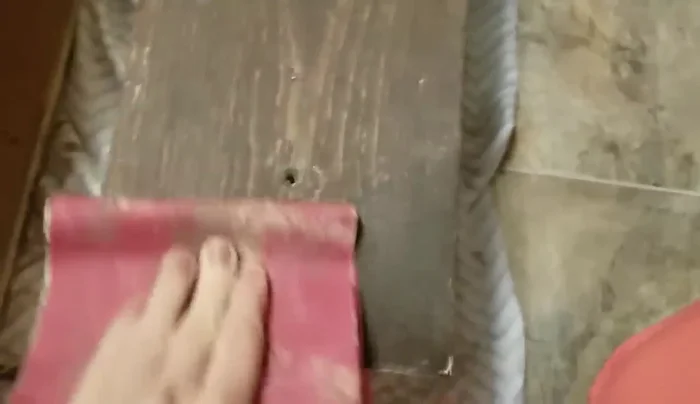
- Sand the stained drawer again, pressing harder in some areas for an aged effect. Apply a red-based stain, quickly wiping it off for added depth.
- Apply a coat of polyurethane to protect the stain.
Staining and Finishing Interior Painting
- Paint the inside of the drawer a chosen color (consider a pop of color).
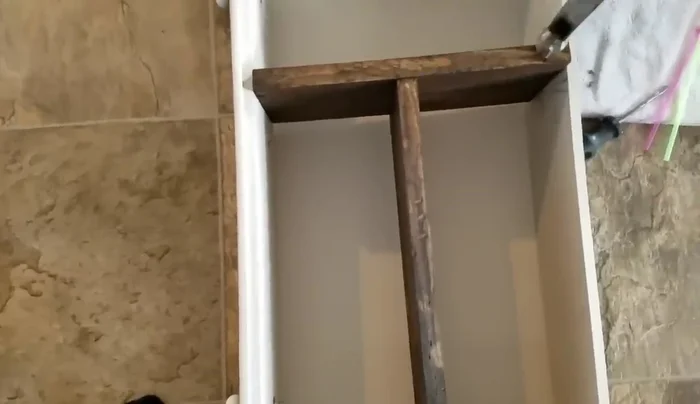
Interior Painting Interior Shelf Preparation
- Prepare additional wood pieces for interior shelving, distressing them to match the aged look of the drawer (scraping, hammering, light scratching).
- Stain the new wood pieces to match the drawer.
Interior Shelf Preparation Interior Shelf Assembly and Installation
- Assemble the interior shelves by connecting the wood pieces using nails (or screws/wood glue).
- Attach the shelves to the inside of the drawer using nails.
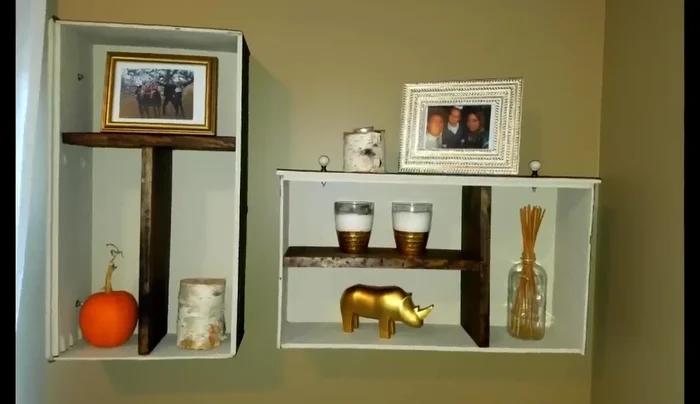
Interior Shelf Assembly and Installation Finishing Touches
- Install antique drawer pulls.
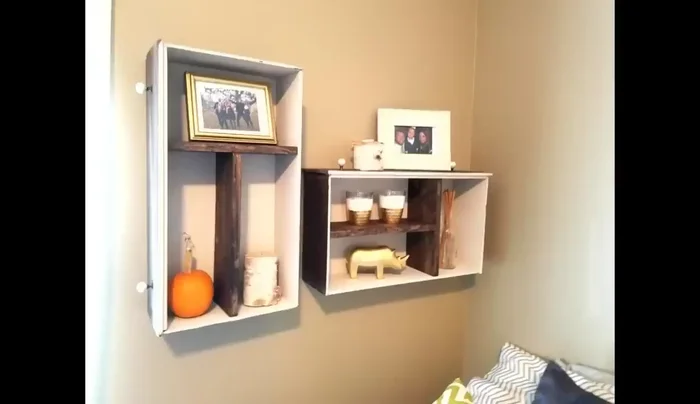
Finishing Touches Wall Mounting
- Hang the shelves on the wall, experimenting with vertical or horizontal orientations.
Wall Mounting
Read more: DIY Upcycled Bed Frame: A Step-by-Step Guide
Tips
- Embrace the imperfections and variations in wood color for a more authentic rustic look.
- Use a pop of color for the inside of the drawer to add visual interest.