A leaky shed roof can quickly turn a valuable storage space into a damp, unusable mess. Ignoring minor roof problems can lead to costly structural damage down the line, making timely repairs essential. Whether it's a few missing shingles, damaged flashing, or rotted wood, many shed roof repairs are manageable DIY projects, saving you significant expense compared to hiring a professional. With the right tools and a bit of know-how, you can restore your shed's integrity and protect its contents from the elements.
This guide provides a comprehensive, step-by-step process for tackling common shed roof repairs. From assessing the damage and gathering the necessary materials to safely completing the repairs, we'll walk you through each stage, empowering you to tackle this project with confidence. Let's get started and transform that leaky roof into a dependable shelter once more.
Preparation and Safety Guidelines
- Screws
- Wood (4x6 or similar)
- Wood Preserver
- Roofing Felt
- Always disconnect electricity to any nearby power lines or outlets before starting any work on your shed roof. Electrocution is a serious risk.
- Wear appropriate safety gear, including sturdy work boots, gloves, safety glasses, and a hard hat. Falling debris or tools can cause serious injury.
- Use a stable ladder or scaffolding that extends at least 3 feet above the roofline to prevent falls. Never overreach.
Step-by-Step Instructions
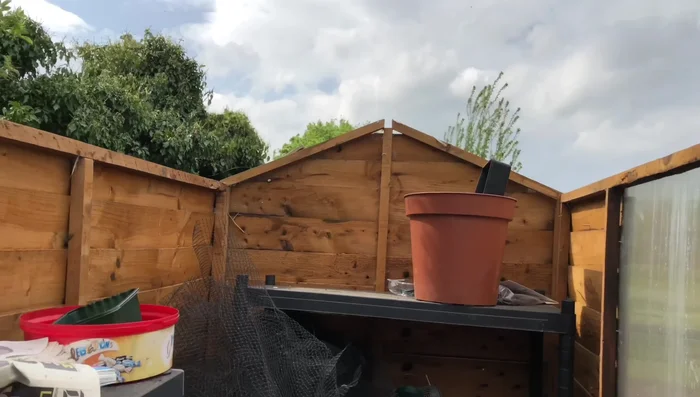
Remove Old Roofing
- Remove the old roof. There were only four screws holding it on.

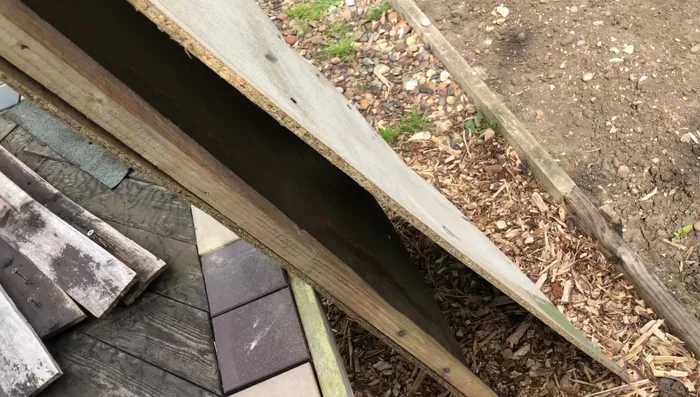
Remove Old Roofing Assess and Repair Shed Structure
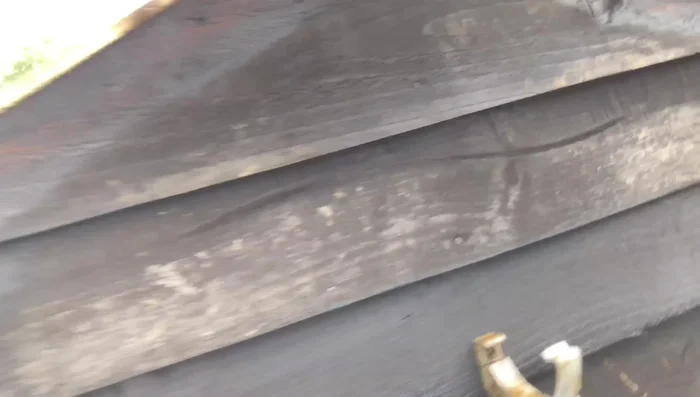
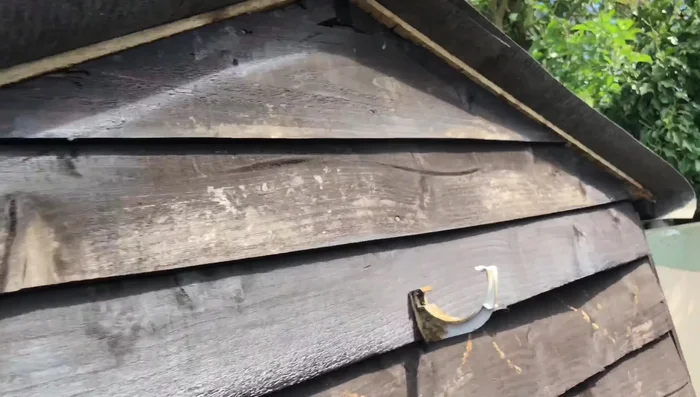
- Assess the condition of the existing wood. Replace damaged or warped sections.
- Install new pieces of wood. Ensure they are straight and properly sized. This step might involve some cutting.
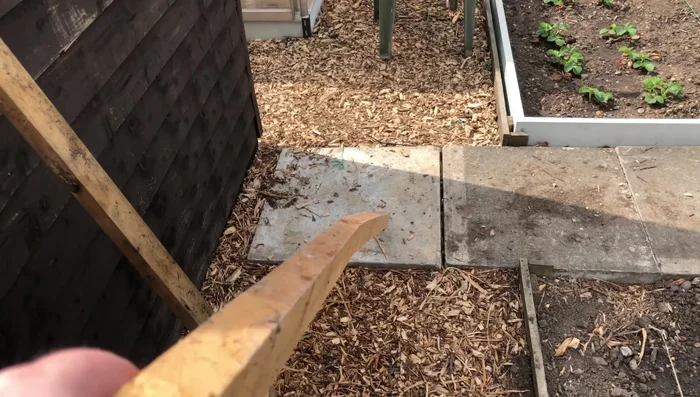
Assess and Repair Shed Structure Treat and Secure New Wood
- Apply wood preserver to the repaired beams.
- Reattach the new wood to the shed frame using significantly more screws than before (approximately 20).
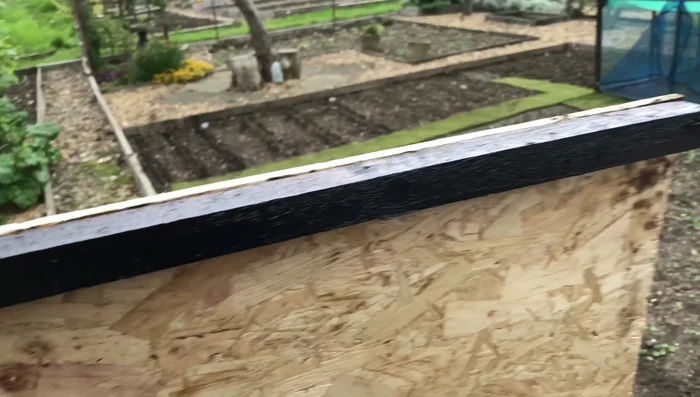
Treat and Secure New Wood Install Roofing Felt
- Install roofing felt, ensuring the edges are folded over completely to prevent water ingress.
Install Roofing Felt
Read more: Installing an Outdoor GFCI Receptacle: A Step-by-Step Guide
Tips
- Use ample screws to secure the new roof for better wind resistance.
- Fold the edges of the roofing felt completely over to prevent water from seeping under.