Are you tired of tripping over shoes scattered around your entryway or struggling to find a matching pair each morning? A cluttered shoe collection isn't just unsightly; it wastes valuable space and adds to daily frustration. The solution? A stylish and functional DIY shoe storage bench! This isn't just about tidying up; it's about creating a welcoming and organized space, adding a touch of personalized charm to your home, and potentially saving a significant amount of money compared to buying pre-made options. Imagine the satisfaction of building something beautiful and practical with your own hands.
This comprehensive guide will walk you through the process of creating your own custom shoe storage bench, from selecting the right materials to the final finishing touches. We'll equip you with time-saving tips and tricks to ensure your project is both efficient and enjoyable. Ready to transform your entryway and conquer your shoe chaos? Let's dive into the step-by-step instructions!
Preparation and Safety Guidelines
- 2x2 material
- Plywood (1/4 inch and 3/4 inch)
- 1x4s
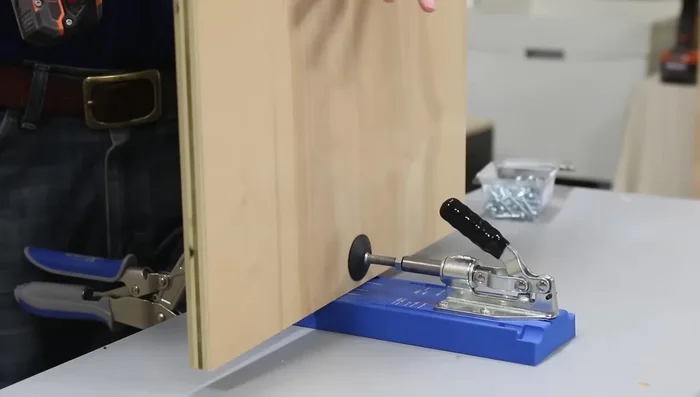
- Pocket hole jig
- Screws
- Wood glue
- Playing cards
- Sandpaper (150 grit and 220 grit)
- Paint (semigloss latex)
- Foam roller
- Walnut board
- Clamps
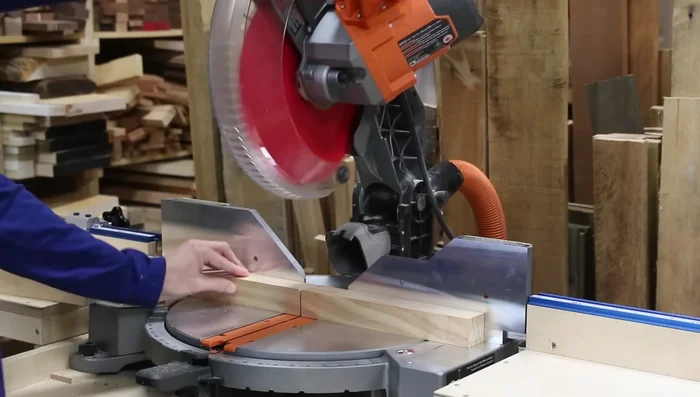
- Miter saw
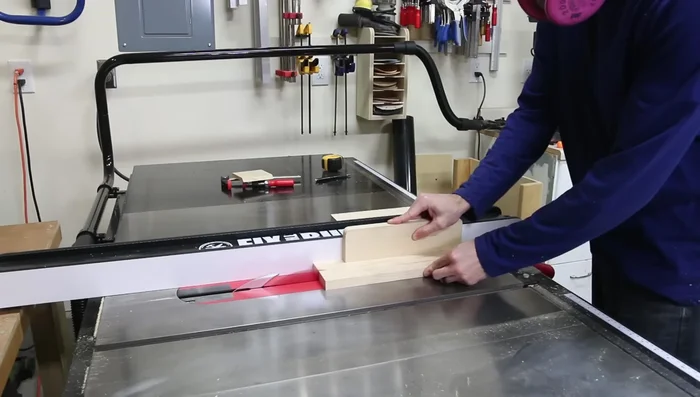
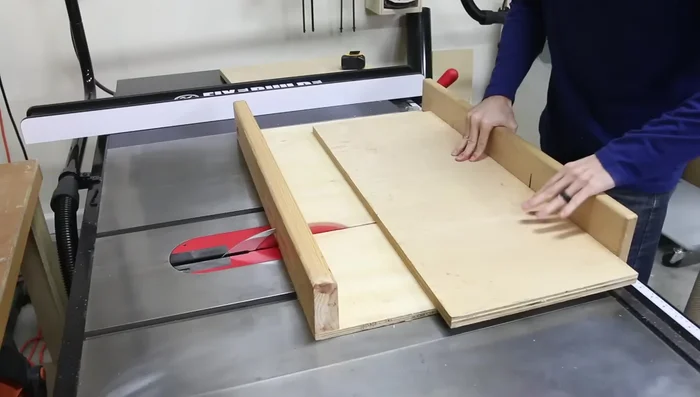
- Table saw
- Planer (optional, jointer optional)
- Drum sander (optional)
- Satin polyurethane finish
- Mineral spirits
- Brad nailer
- Shelf pins
- Epoxy
- Popsicle stick
- Card scraper
- Block plane
- Chamfer bit (optional)
- Always use appropriate safety gear, including safety glasses and a dust mask, when using power tools and working with wood.
- Ensure adequate ventilation when using paints, stains, or adhesives. Follow manufacturer instructions carefully regarding drying times and potential hazards.
- Ensure the bench is stable and secure before placing any weight on it. Check all joints and screws regularly for tightness.
Step-by-Step Instructions
Build the Side Assemblies
- Cut legs to size from 2x2 material. Create a recess in the back legs to hold plywood back.
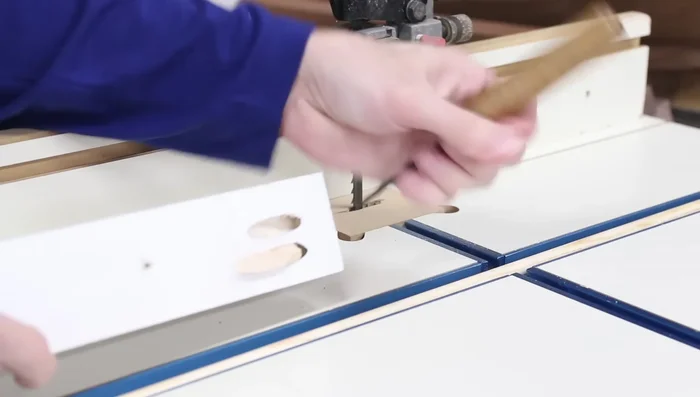
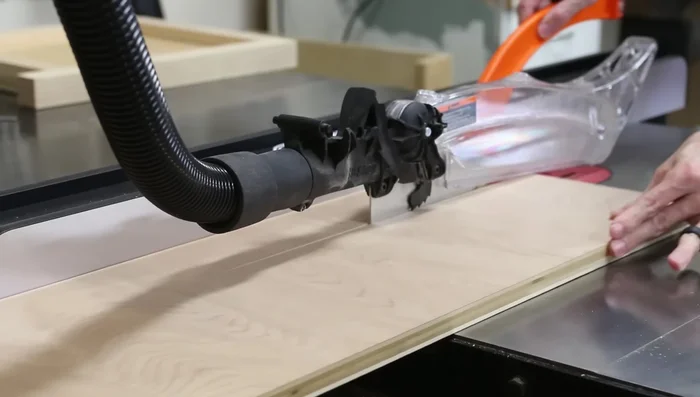
- Cut and rip 1x4s to create side rails. Drill pocket holes in the rail ends.
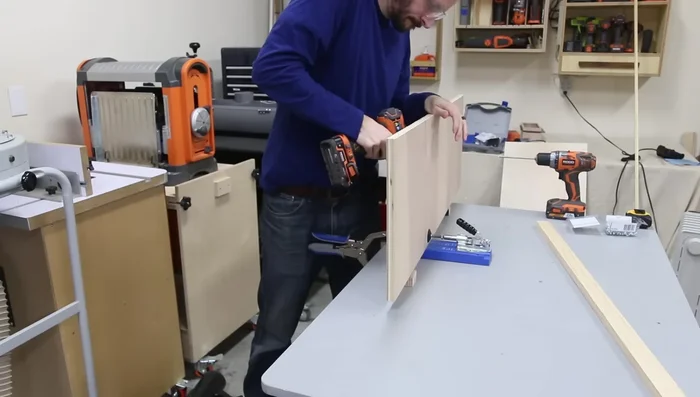
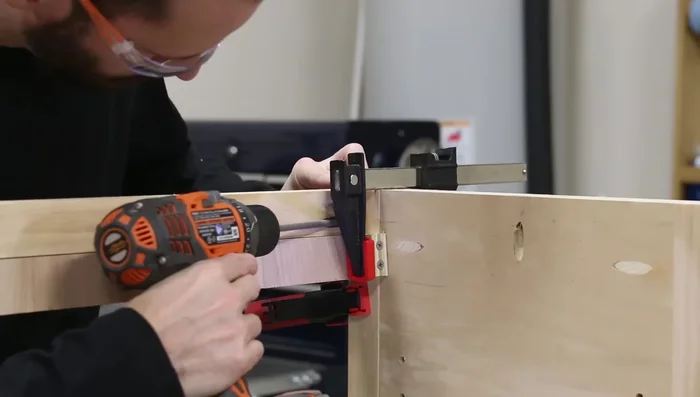
- Attach rails and legs with screws, then use plywood panels to position the lower rail precisely.
- Attach side panels to the frame using pocket holes and shims (playing cards) to ensure flushness.

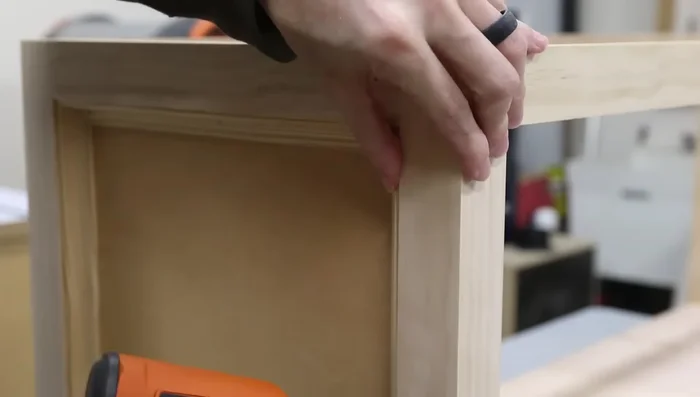
Build the Side Assemblies - Sand and chamfer the bottom of legs.
Build the Side Assemblies Prepare the Base
- Fill pocket holes (using dowels and a hammer is recommended over wood plugs and scratch awls).
Prepare the Base Construct the Shelves
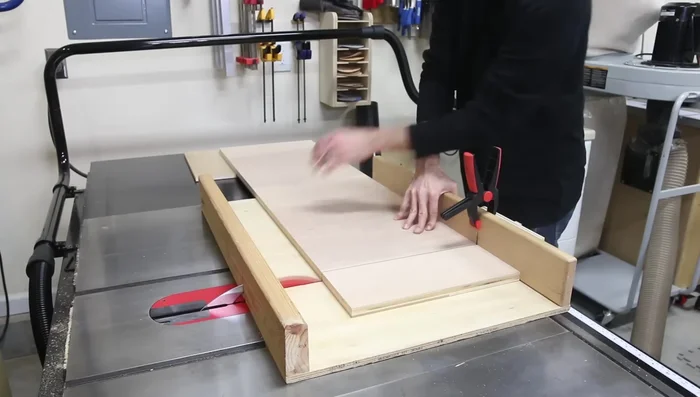
- Cut lower and adjustable shelves and trim pieces from plywood and 1x4s. Attach trim to shelves.
- Attach lower shelf to the side assemblies using pocket holes.
- Cut and trim adjustable shelf. Attach using pocket holes and shelf pins for added security.
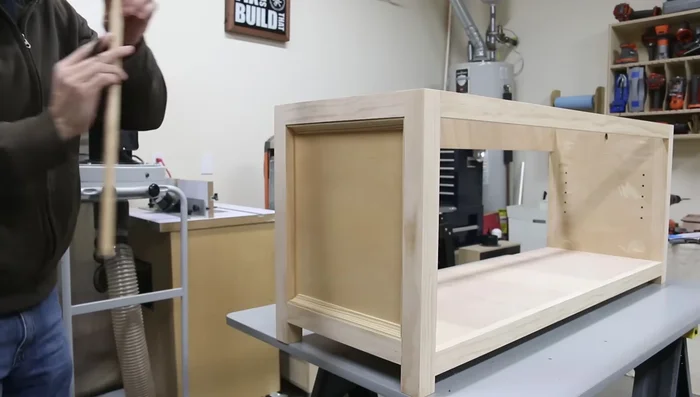
Construct the Shelves Assemble the Base
- Cut and attach back stretcher to base.
- Attach front and back stretchers, then the lower shelf, ensuring even spacing.
Assemble the Base Finishing Touches on the Base
- Add cove molding to the inside of side panels.
- Cut and attach the plywood back panel.
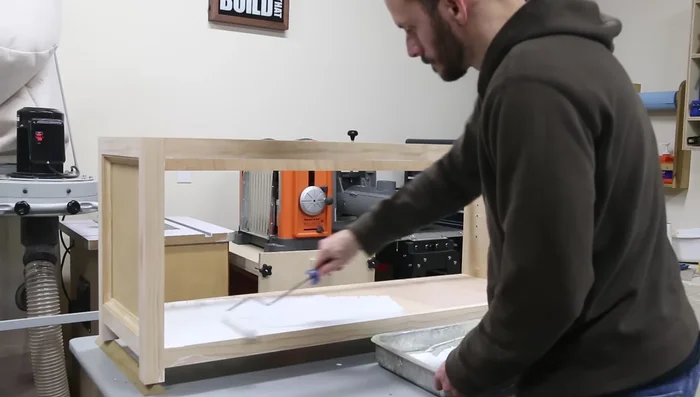
- Sand, prime and paint the base.
Finishing Touches on the Base Prepare the Walnut Top
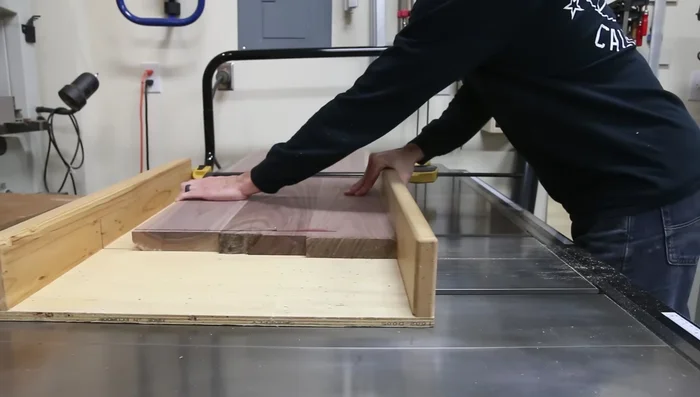
- Mill and flatten, join boards with glue and clamps.
- Fill bug holes with epoxy and sand smooth.
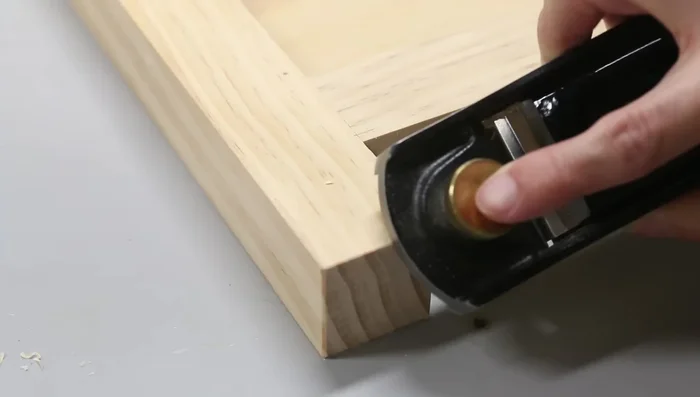
- Cut top to final size, add bevel to underside using a saw (or a router if you have a suitable chamfer bit).
- Sand the top to 220 grit and apply polyurethane finish.
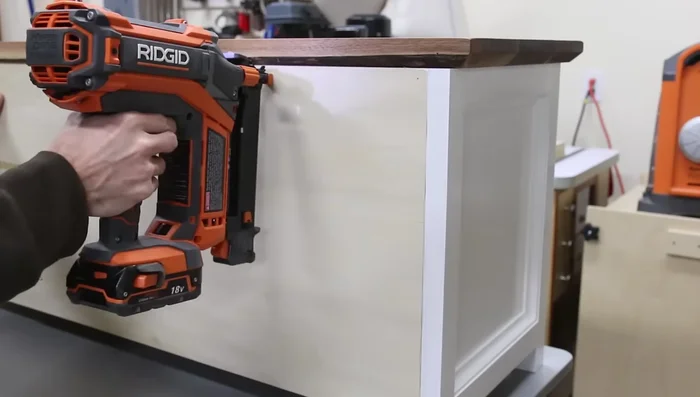
Prepare the Walnut Top Attach the Top and Back Panel
- Attach the walnut top to the base, ensuring consistent reveal and allowing for wood movement.
- Attach the back panel.
Attach the Top and Back Panel Final Assembly
- Install the adjustable shelf.

Read more: DIY Upcycled Bed Frame: A Step-by-Step Guide
Tips
- Use playing cards to shim panels for a perfectly flush finish.
- Use a hammer to tap dowels into pocket holes, rather than a scratch awl, for smoother results.
- A drum sander significantly speeds up the final flattening of the walnut top.
- Oversize screw holes in the stretchers to accommodate wood movement.