Is your shower grout looking a little worse for wear? Discolored, stained, and perhaps even harboring unwelcome mildew? A dingy shower grout can significantly detract from the overall aesthetic of your bathroom, leaving it feeling less clean and inviting than it should be. Fortunately, you don't need to call in expensive professionals to restore its pristine condition. With the right tools and a little elbow grease, you can revitalize your shower's appearance and extend its lifespan through a DIY grout cleaning and resealing project. This is often a much more affordable and satisfying solution than a complete renovation.
This simple guide offers a practical, step-by-step approach to tackling this common bathroom chore. We'll walk you through the process of cleaning, preparing, and resealing your shower grout, ensuring a sparkling clean and long-lasting result. Ready to transform your shower from drab to fab? Let's dive into the step-by-step process!
Preparation and Safety Guidelines
- Aquamix Heavy Duty Tile and Grout Cleaner
- Scrub brushes (small and long-handled)
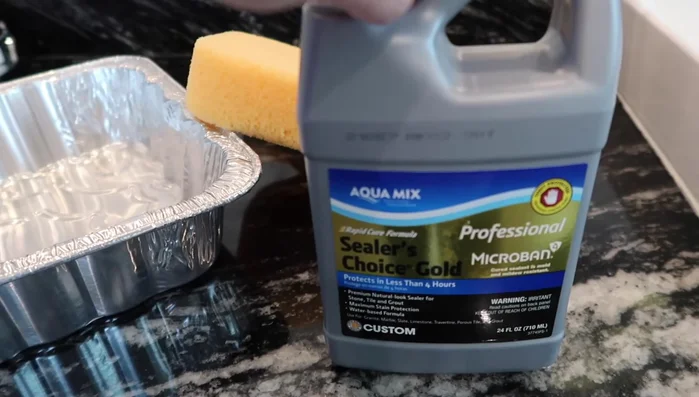
- Sponge
- Old towels
- Gloves
- Bucket
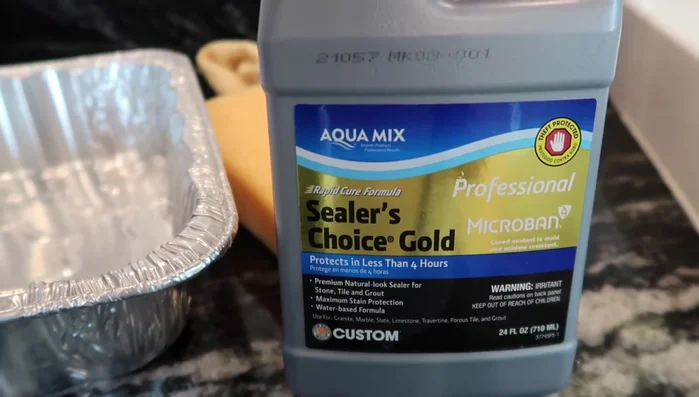
- Aquamix Sealers Choice Gold sealer
- Paintbrush (optional)
- Vacuum or broom
- Always wear appropriate safety gear, including gloves and eye protection, when working with cleaning solutions and sealants. These products can be harsh and irritating.
- Ensure adequate ventilation in your bathroom. Use a fan or open a window to avoid inhaling fumes from cleaning agents and sealants.
- Test any cleaning solution or sealant in an inconspicuous area first to check for discoloration or damage to your shower tiles before applying it to the entire surface.
Step-by-Step Instructions
Prepare the Shower Floor
- Vacuum or sweep the shower floor to remove loose dirt and dust.

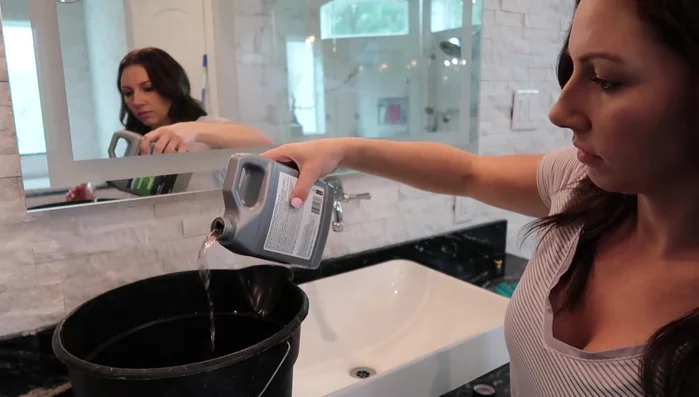
Prepare the Shower Floor Mix the Cleaning Solution
- Mix the Aquamix Heavy Duty Tile and Grout Cleaner with water according to the instructions on the bottle (a 1:3 ratio of cleaner to water is suggested for moderately dirty grout).
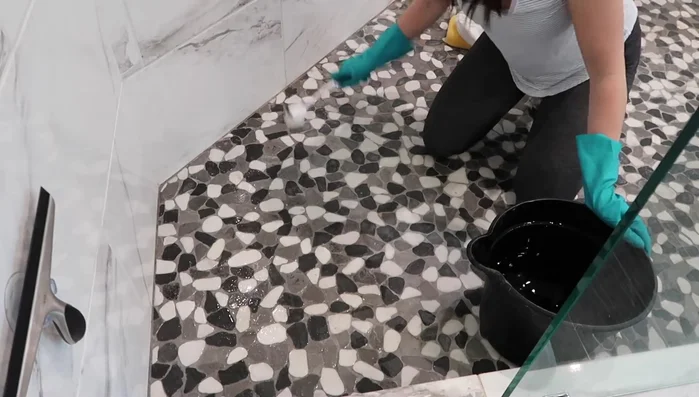
Mix the Cleaning Solution Clean the Grout and Tile
- Apply the cleaning solution to small sections of the shower floor, scrubbing for 3-5 minutes per section with a sturdy brush to ensure thorough cleaning. Keep the area moist to prevent the cleaner from drying.
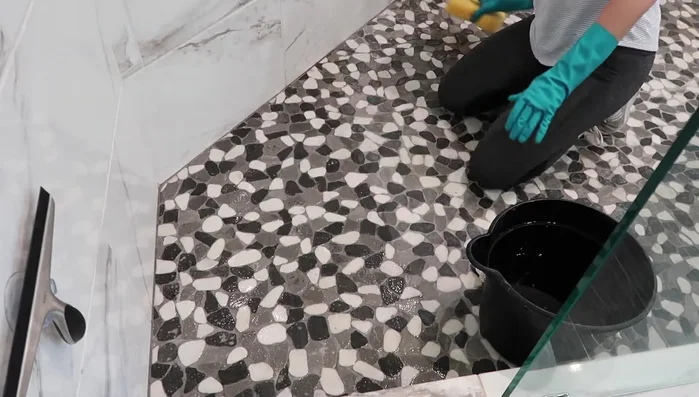
Clean the Grout and Tile Rinse and Dry
- Rinse the cleaned areas with water and then thoroughly dry with old towels.
Rinse and Dry Apply First Coat of Sealer
- Apply the sealer evenly using a sponge (or paintbrush to avoid bubbles, as the video suggests). Let it sit for 30 minutes before applying a second coat, if needed.
Apply First Coat of Sealer Apply Second Coat of Sealer (Optional)
- After 30 minutes, apply a second coat of sealer using a paintbrush for a smoother application. This is helpful for achieving a more even, glossy finish.
Apply Second Coat of Sealer (Optional) Final Steps: Drying and Water Test
- Allow the sealer to dry completely (up to six hours). Perform a water test by dropping a few drops of water onto the surface to check for absorption. If water absorbs, apply additional coats until the desired level of water resistance is achieved.
Final Steps: Drying and Water Test


Read more: Fixing Drywall Nail Pops: A Quick and Easy DIY Guide
Tips
- Use sturdy brushes with strong bristles for effective grout cleaning.
- Work in small sections to prevent the cleaning solution from drying.
- Always wear gloves and protective footwear when using cleaning and sealing products.
- A paintbrush may provide a smoother application of sealer than a sponge, minimizing bubbles.
- For a glossy finish, consider using a gloss sealer like the one demonstrated in the video.