Uneven walls can be a real eyesore, detracting from even the most beautifully decorated room. But achieving flawlessly smooth surfaces doesn't require professional help or a hefty budget. Skim coating, a technique involving applying a thin layer of joint compound to level out imperfections, is a surprisingly accessible DIY project that yields impressive results. With just a few essential tools and a little patience, you can transform your bumpy walls into sleek, professional-looking canvases ready for painting or wallpapering. This simple process offers a cost-effective way to dramatically improve the aesthetic appeal of your home, adding value and sophistication without the expense of complete wall replacement.
This guide provides a comprehensive, step-by-step approach to skim coating your walls, empowering you to tackle this project with confidence. We'll walk you through each stage, from preparing the wall and choosing the right materials, to the application technique and achieving a smooth, flawless finish, ensuring a stunning transformation for your space. Let's get started!
Preparation and Safety Guidelines
- Cordless drill
- Paint mixer
- Joint compound (taping light)
- Empty bucket
- Water
- Paint roller (with short hair)
- 6-inch drywall knife
- 12-inch drywall knife
- 13-inch pan
- Drop cloths or paper
- Always wear a respirator and eye protection. Skim coating generates dust and splatters that can be harmful to your lungs and eyes.
- Work in a well-ventilated area. Proper ventilation helps reduce the risk of inhaling harmful fumes from the skim coating compound.
- Protect your floor and furniture. Skim coating is messy; use drop cloths to prevent damage to your surroundings.
Step-by-Step Instructions
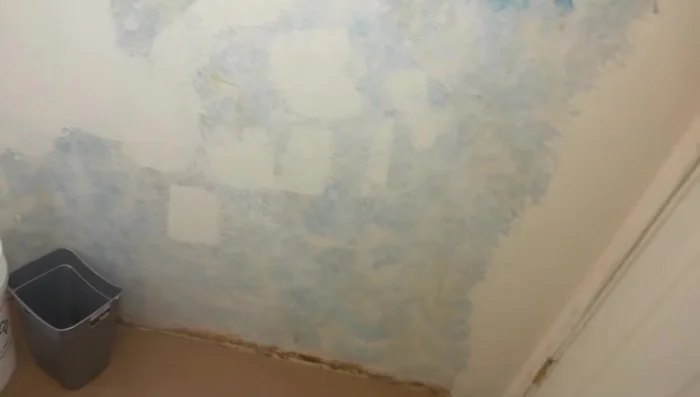
Prepare the Work Area
- Prepare the area by laying down drop cloths or paper to protect the floor.

Prepare the Work Area Mix the Joint Compound
- Mix the joint compound with water until it reaches a yogurt-like consistency. Add water gradually to avoid wasting material.
Mix the Joint Compound Apply the First Coat
- Apply the joint compound to the wall using a paint roller. Work in small sections to prevent drying.
- Use a drywall knife (6-inch or 12-inch) to spread the compound evenly, applying pressure on one side and feathering it out. Aim for a smooth surface, but don't worry about minor imperfections on the first coat.
Apply the First Coat Apply a Second Coat (if needed)
- Apply a second coat if necessary, focusing on any remaining imperfections.
Apply a Second Coat (if needed) Let it Dry
- Allow the joint compound to dry completely (about two days).
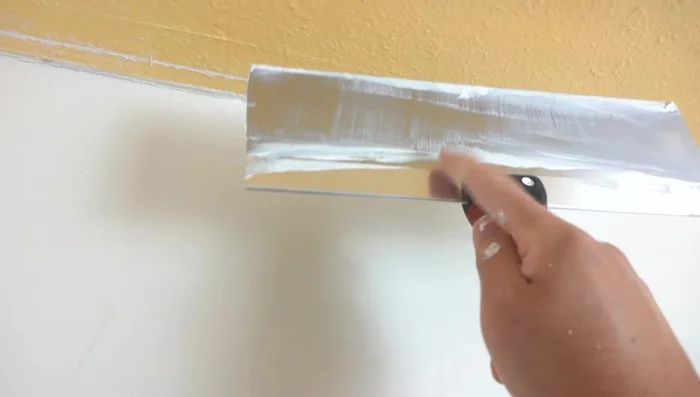
Let it Dry Smooth the Surface
- Lightly sand the wall to smooth out any remaining imperfections. A well-applied coat may require minimal sanding.
- Use a drywall knife to scrape off any remaining ridges or lines. Practice applying even pressure and feathering out the compound.
Smooth the Surface

Read more: Fixing Drywall Nail Pops: A Quick and Easy DIY Guide
Tips
- Clean your paint mixer efficiently by slowly pulling it out of the compound while running the drill to avoid wasting material.
- Work in small sections to prevent the joint compound from drying out.
- Use an extension stick with your roller for easier reach and less wrist strain.
- Don't worry about minor lines; they can be easily scraped or sanded off after drying.
- For small craters, use horizontal strokes to fill them.