Summer's relentless heat can transform your attic into a sweltering, energy-sapping space. This trapped heat not only increases your cooling bills but also puts stress on your roof and insulation, potentially shortening their lifespan. A simple, yet highly effective solution exists: a DIY solar-powered attic ventilator. This ingenious system harnesses the sun's energy to create a consistent airflow, drawing out hot air and significantly reducing attic temperatures, leading to noticeable energy savings and improved home comfort. Forget expensive professional installations and complex systems; this project is surprisingly achievable for even the moderately handy homeowner.
This article provides a detailed, step-by-step guide to installing your own solar-powered attic ventilator, empowering you to take control of your attic's climate and save money in the process. We’ll cover everything from selecting the right materials and planning your installation to safely wiring the system and ensuring optimal performance. Let's get started on transforming your stuffy attic into a cool, well-ventilated space.
Preparation and Safety Guidelines
- Solar ventilator
- Measuring tape
- Pencil
- Screw
- Reciprocating saw
- Safety harness
- Tethered rope
- Pry bar
- Silicone sealant
- Packing (styrofoam)
- Flashing
- Cardboard
- Always disconnect power to any existing attic wiring before beginning any work. Failure to do so could result in serious injury or death.
- Work with a partner whenever possible, especially when handling heavy or awkward materials on a ladder or roof.
- Use appropriate safety equipment including eye protection, work gloves, and sturdy footwear. Consider a safety harness if working at heights.
Step-by-Step Instructions
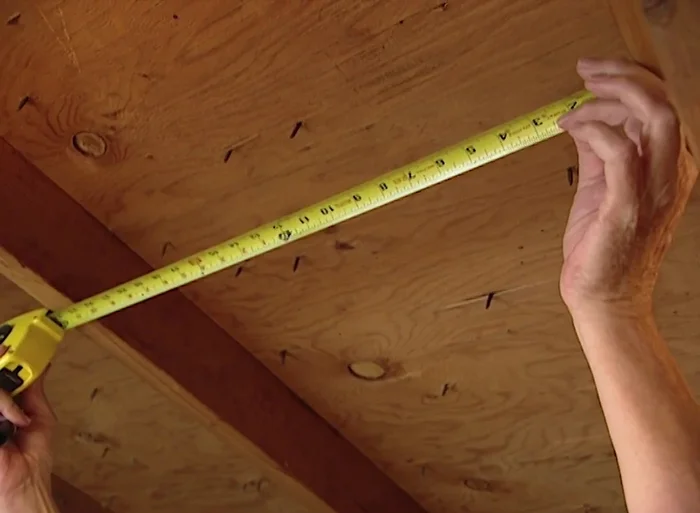
Locate and Mark Ventilator Position
- Center the ventilator location between rafters at 22 inches. Mark 11 inches up from the bottom rafter.
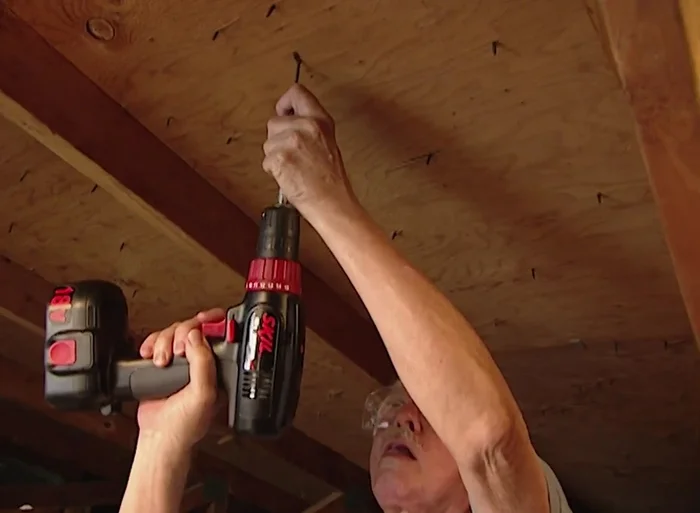
- Use a screw to mark the center point on the roof for reference.
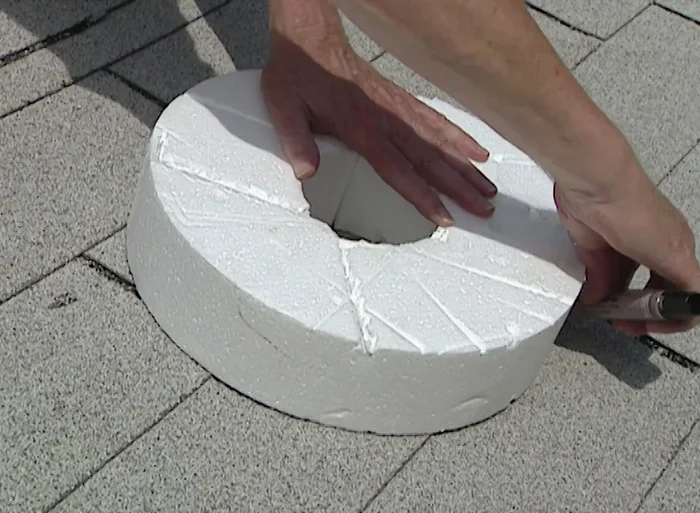
- Trace the packing (styrofoam) around the screw hole to mark the cutting area on the roof.

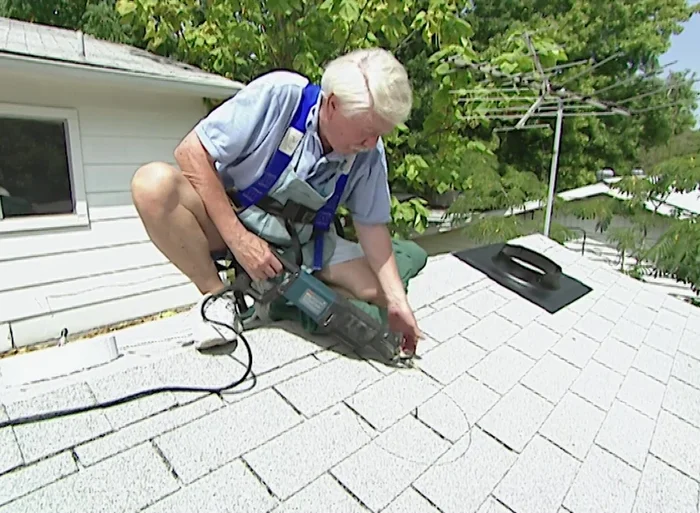
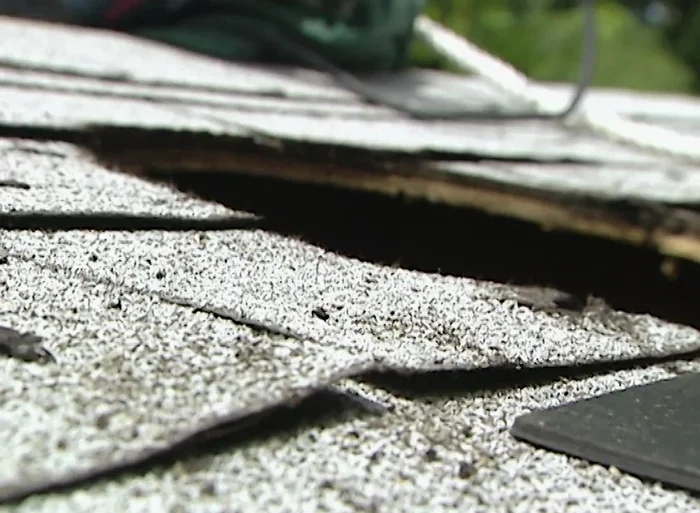
Locate and Mark Ventilator Position Cut Roof Opening
- Cut the roof opening using a reciprocating saw, keeping the saw guard aligned with the cutting line.
Cut Roof Opening Prepare for Flashing Installation
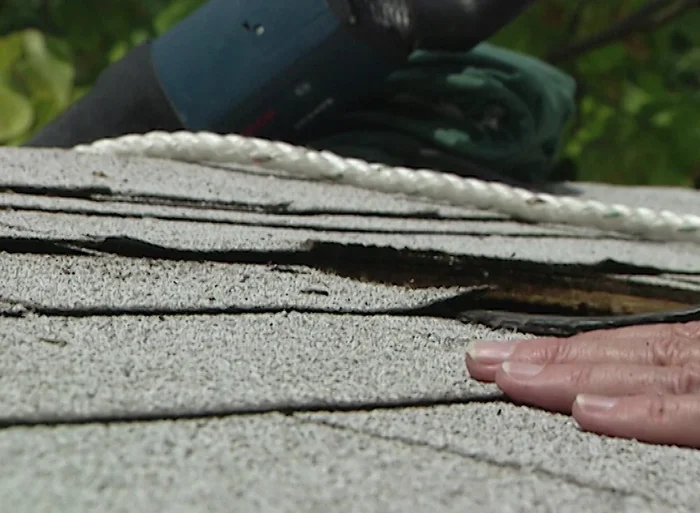
- Pry up the shingles carefully using a pry bar to create space for the flashing.
Prepare for Flashing Installation Install Flashing
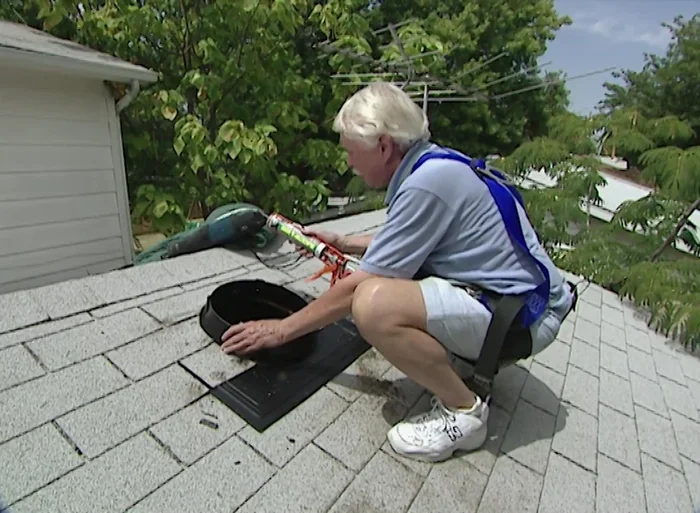
- Slide the flashing under the shingles, ensuring it goes over the tar paper. Secure it with screws and sealant.
- Apply silicone sealant around the flashing and under the shingles.
Install Flashing Install Solar Ventilator
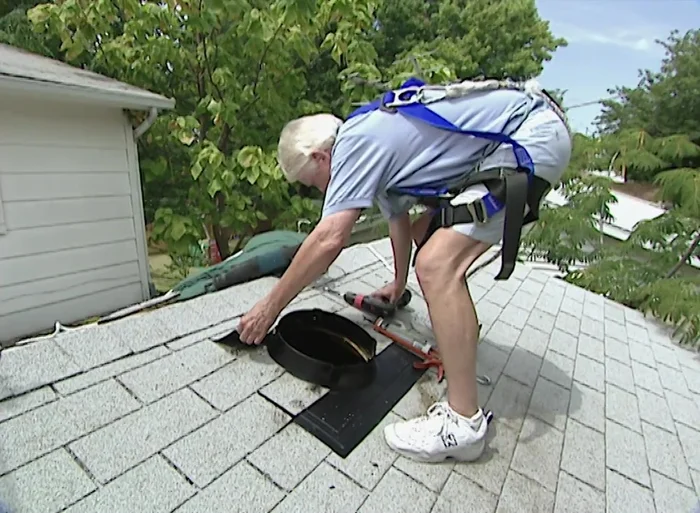
- Install the solar ventilator unit into the opening, securing it to the flashing with screws.
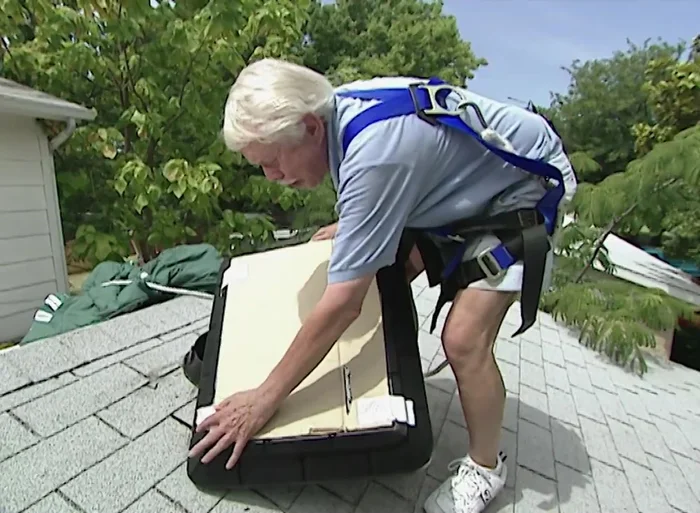
- Place cardboard over the solar panels to prevent accidental fan activation before final installation.
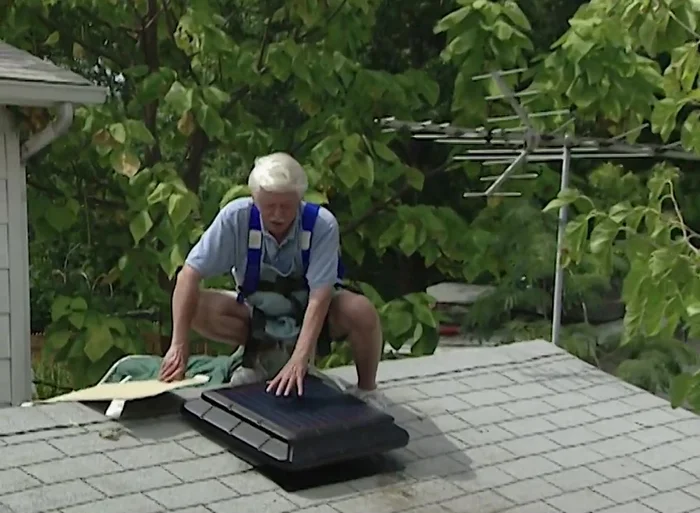
Install Solar Ventilator Activate Solar Ventilator
- Remove the cardboard and let the solar ventilator operate.
Activate Solar Ventilator
Read more: Installing an Outdoor GFCI Receptacle: A Step-by-Step Guide
Tips
- Always use a safety harness and tethered rope when working on a roof.
- Work slowly and carefully when prying up shingles to avoid damage.
- Use a generous amount of silicone sealant to ensure a watertight seal.