Transforming your home with new tile flooring can dramatically enhance its aesthetic appeal and value, but the cost of professional installation can be prohibitive. Fortunately, with the right tools, patience, and a little know-how, installing tile flooring yourself is a completely achievable DIY project. This empowering undertaking offers significant cost savings and the immense satisfaction of completing a challenging home improvement task. Beyond the financial advantages, DIY tiling allows for complete customization, enabling you to choose the perfect tiles and layout to reflect your unique style and vision for your space.
This guide provides a comprehensive, step-by-step process that simplifies the complexities of tile installation, breaking it down into manageable phases. Whether you're a seasoned DIY enthusiast or a complete novice, we'll lead you through each stage, from preparing the subfloor to grouting and sealing, ensuring a professional-looking finish. Let's get started on your exciting tiling adventure!
Preparation and Safety Guidelines
- Chalk line
- Spacers
- Mortar
- Notch trowel
- Tile cutter
- Rubber mallet
- 2x4
- Damp sponge
- Grout float
- Grout
- Grout sealer
- Molding or matching base tile
- Thresholds
- Always wear safety glasses and a dust mask to protect your eyes and lungs from debris and tile dust.
- Use knee pads and back support to avoid injury during the prolonged kneeling and lifting involved in tile installation.
- Ensure the subfloor is completely level and dry before starting. Uneven surfaces can lead to cracked tiles and an unstable floor.
Step-by-Step Instructions
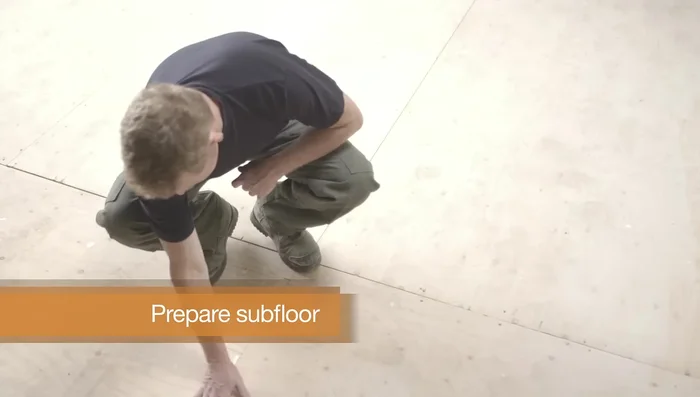
Prepare the Subfloor
- Ensure it's smooth, flat, dry, clean, and solid. Remove any carpet staples or adhesive residue. Check for moisture and smooth out hollows with self-leveling underlayment.

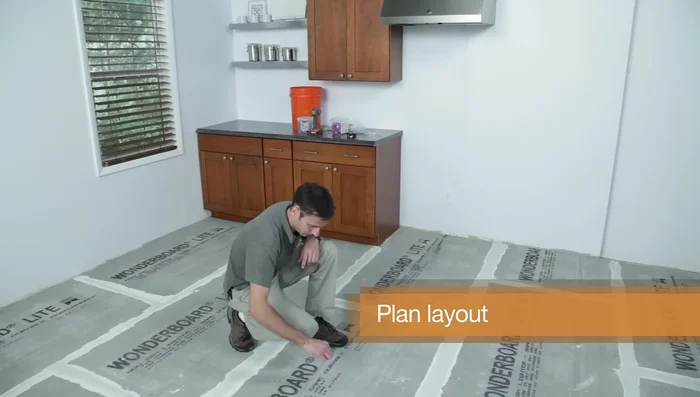
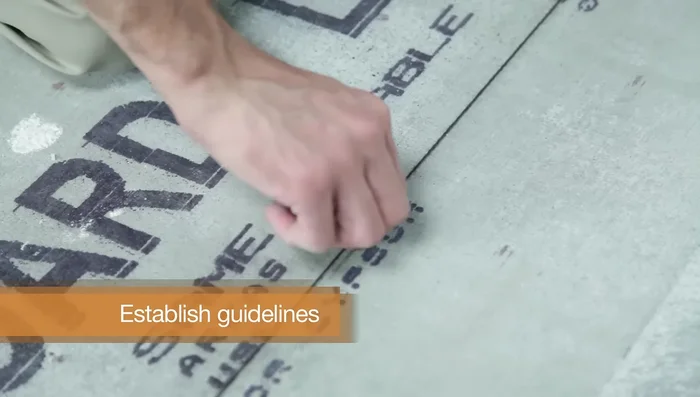
Prepare the Subfloor Establish Center and Layout
- Find the center point of the room and lay a single half row of tile outward in both directions using spacers to ensure your finished work will be centered.
- Snap a grid of chalk lines on the floor to act as a guide.
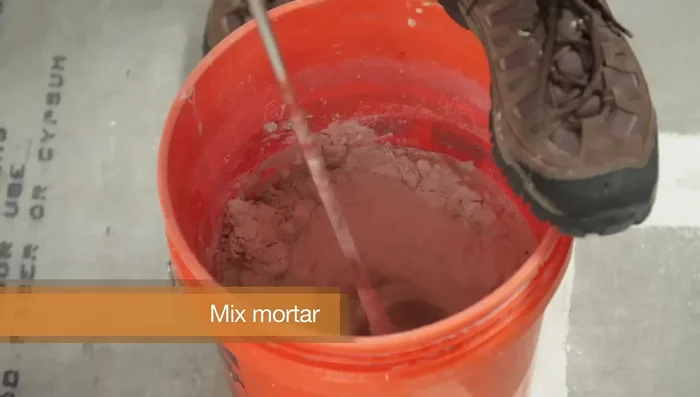
Establish Center and Layout Mix and Test Mortar
- Mix the mortar according to the directions. Wear protection.
- Test your mortar by laying a tile flat, twisting slightly, and checking if the back is completely covered.
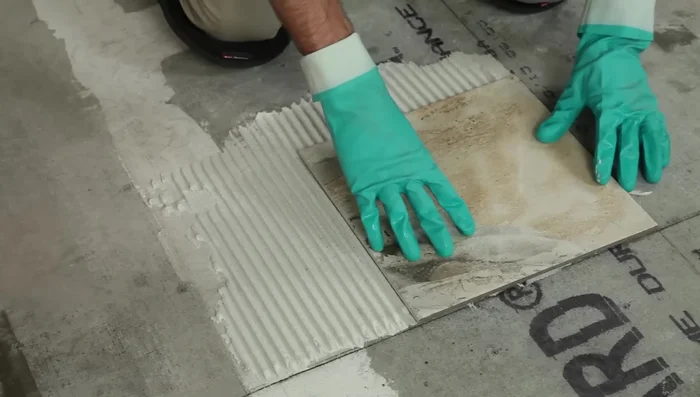
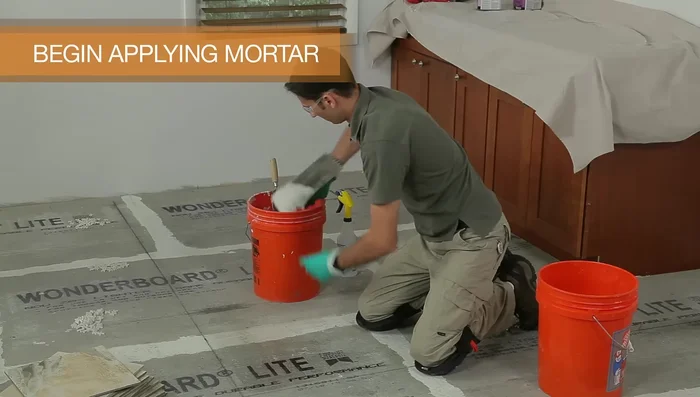
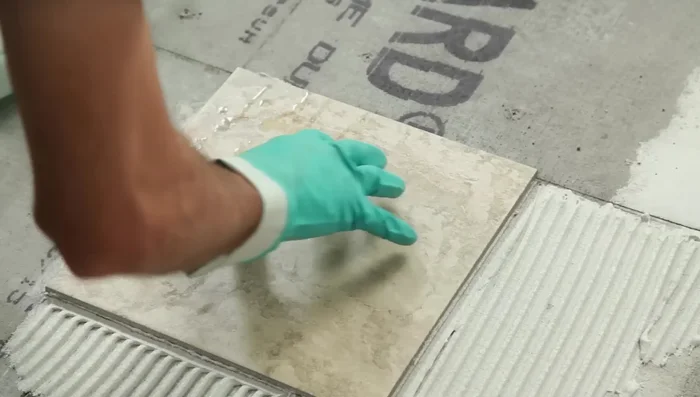
Mix and Test Mortar Install Tiles
- Spread a generous amount of mortar with the flat side of the trowel and press it into the backerboard at a 45° angle. Comb through the mortar with the notched side of the trowel.
- Align the first tile with your chalk lines and press firmly. Place two spacers alongside at either end and set your second tile by aligning the edge, hinging it down, and slightly twisting it.
- Clean any dirt, dust, or mortar with a damp sponge every 3 or 4 tiles. Lay a short 2x4 on top and tap lightly with a rubber mallet to level the tiles.
- Finish laying all the full tiles in one quadrant, keeping the line straight, then finish the other three quadrants. Let the mortar harden for 24 hours.
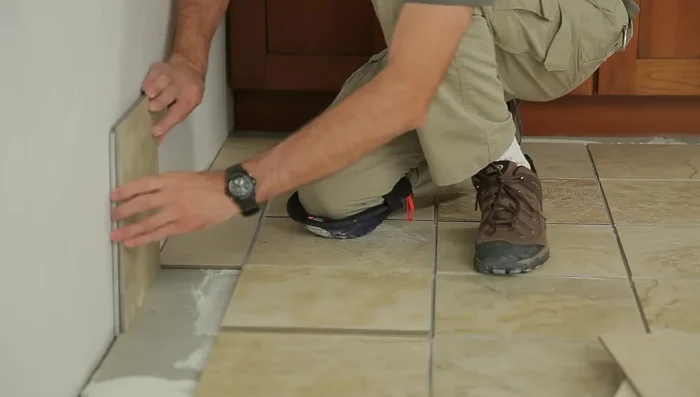
Install Tiles Cut and Install Border Tiles
- Cut tiles to fill the space along the wall, using a tile cutter. Place two tiles up against the wall for expansion and grout.
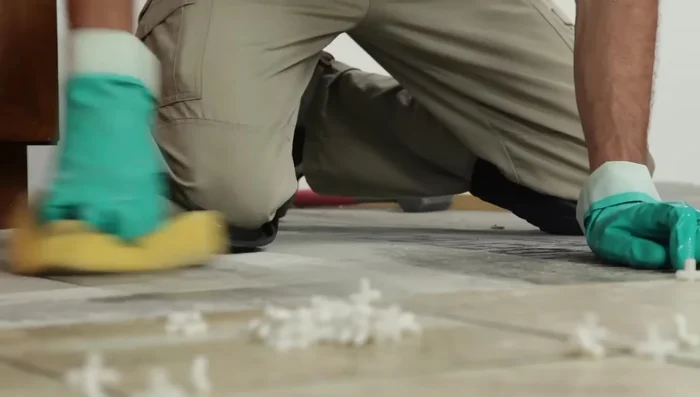
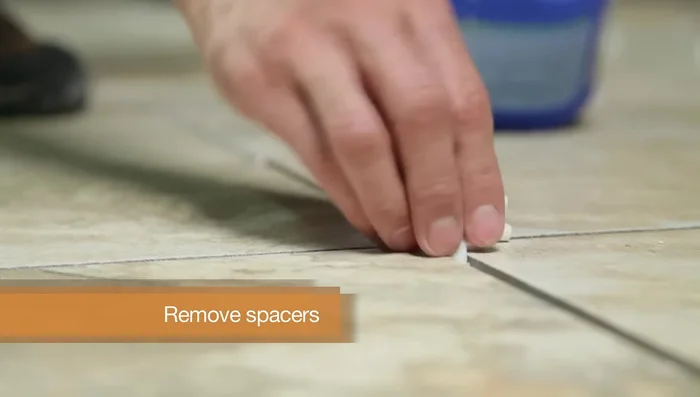
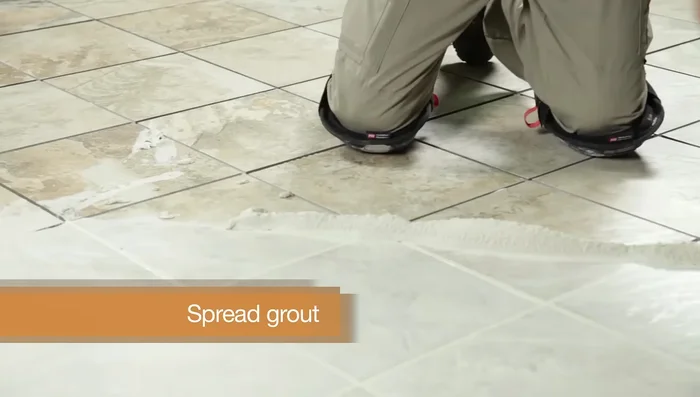
Cut and Install Border Tiles Grout the Tiles
- Remove spacers after 24 hours. Mix grout according to the manufacturer's instructions.
- Spread grout into the joints using a grout float at a 45° angle. Remove excess grout by holding the float at a 90° angle and sweeping diagonally.
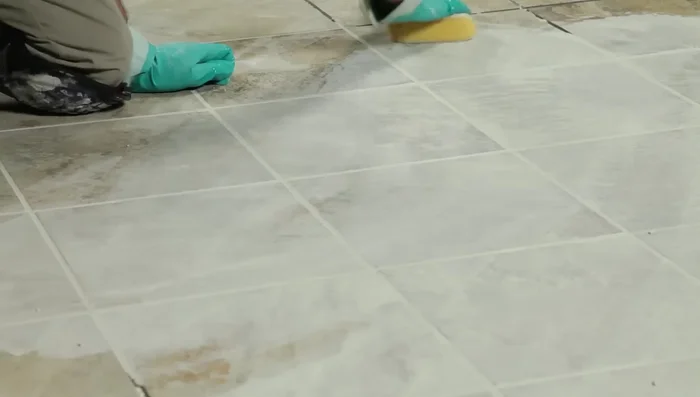
- Wipe the tiles with a barely damp sponge to remove residue. Buff with a dry cloth to remove haze. Mist with water twice a day for 3 days to help grout cure.
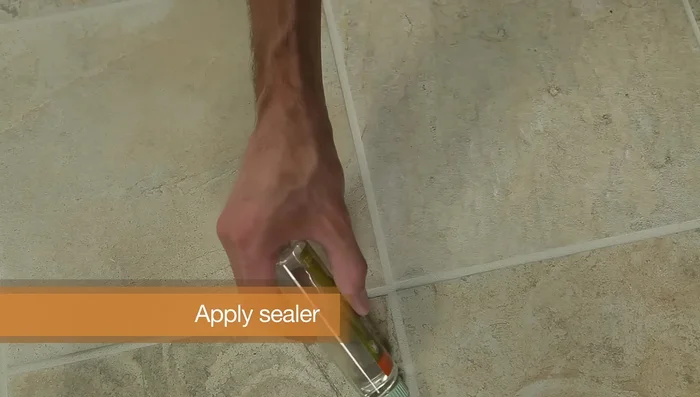
Grout the Tiles Seal and Finish
- Apply grout sealer after 72 hours. Cover expansion gaps with molding or matching base tile and install thresholds.
Seal and Finish

Read more: Fixing Drywall Nail Pops: A Quick and Easy DIY Guide
Tips
- Consult a professional before replacing vinyl flooring installed before 1990.
- Don't mix too much mortar at once, as it dries out quickly.
- Ensure the back of the tile is completely covered with mortar before setting it.
- Keep grout lines clean; wipe up excess sealer within 10 minutes.