Give your old, unwanted chair a new lease on life with this rustic DIY project! Tired of that dusty chair gathering dust in the garage or basement? Instead of discarding it, consider transforming it into a unique and charming side table. This upcycling project is not only a fantastic way to reduce waste and embrace sustainable living but also offers a chance to unleash your creativity and add a touch of personalized character to your home decor. With just a few simple tools and some creative ingenuity, you can breathe new life into a forgotten piece of furniture, creating a statement piece that reflects your individual style.
This guide will take you through a step-by-step process to transform your old chair into a functional and aesthetically pleasing side table, adding a touch of rustic charm to any room. From preparing the chair to the final finishing touches, we'll cover every detail, equipping you with the knowledge and confidence to complete this rewarding project. Let's get started!
Preparation and Safety Guidelines
- Hand saw
- Chisel
- Hammer
- Sandpaper
- Wood glue
- Always wear safety glasses and a dust mask when sanding and working with wood.
- Ensure the chair is structurally sound before beginning the transformation. Reinforce any weak points with wood glue and screws as needed.
- Use caution when operating power tools. Follow manufacturer's instructions and ensure proper ventilation.
Step-by-Step Instructions
Prepare the Chair Frame
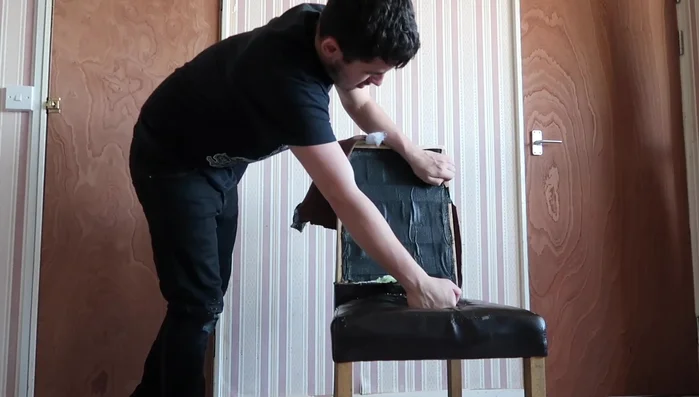
- Cut the top edge of the chair's back straight using a hand saw.
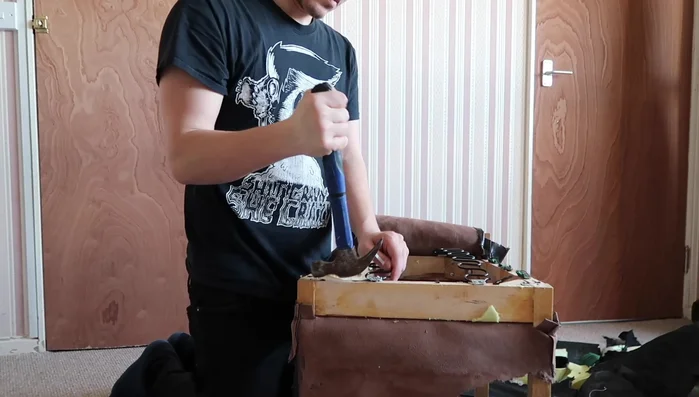
- Remove the foam and lever from the chair seat to expose the wood. This involves cutting the lever and removing staples.
- Remove all staples from the chair frame.
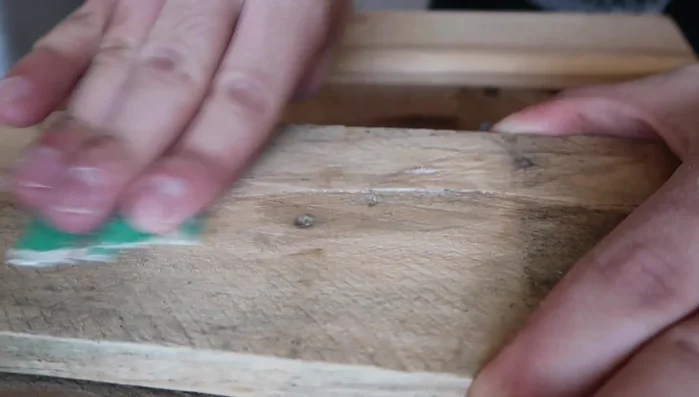
- Sand down any uneven surfaces on the chair frame.

Prepare the Chair Frame Create the Tabletop
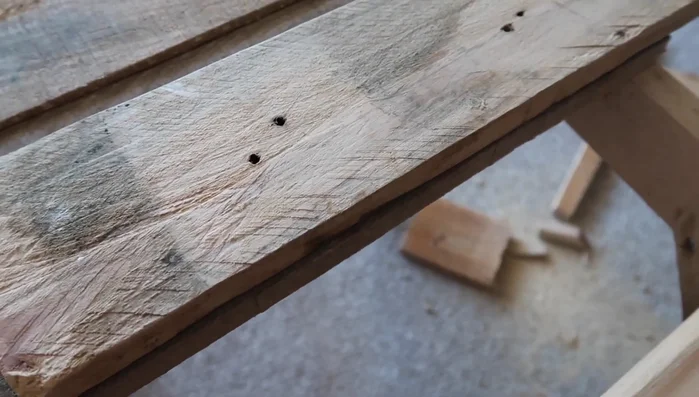
- Prepare and cut spare wood pieces to create a top for the side table. Experiment with placement and arrangement before gluing.
Assemble and Finish
- Glue and attach the prepared wood pieces to the chair frame, ensuring a tight fit. Fill any holes with wood glue.
- Let the glue dry for 24 hours.
Assemble and Finish
Read more: DIY Upcycled Bed Frame: A Step-by-Step Guide
Tips
- Use a chisel and hammer to remove stubborn staples.
- Fill holes in the wood with wood glue before sanding.
- Use wood glue that dries clear and is stronger than wood itself.