Tired of looking at those drab, outdated garden chairs gathering dust in the shed? Don't toss them out! With a little creativity and elbow grease, you can transform those forgotten pieces into stylish and functional focal points for your outdoor space. Upcycling offers a fantastic way to breathe new life into old furniture, saving money and reducing waste – all while expressing your personal style. This budget-friendly approach allows you to personalize your garden décor without breaking the bank, and the satisfaction of creating something beautiful from something discarded is incredibly rewarding.
This guide will explore the exciting world of upcycled garden chair renovation, offering a range of practical and inspiring ideas to help you get started. From simple repainting techniques to more advanced customization projects, we'll cover everything you need to know to breathe new life into your old garden chairs. Ready to get your hands dirty? Let's dive into the step-by-step process!
Preparation and Safety Guidelines
- Allen key
- Jigsaw
- Palm router with round-over bit
- Drill
- Sandpaper
- Primer
- Dark gray paint
- Exterior wood stain (Mahogany)
- Plywood (18mm thick)
- Wood filler
- Cloth
- Black tape
- Always wear appropriate safety gear, including gloves and eye protection, when handling tools and materials. Wood splinters and paint chips can be hazardous.
- Ensure the chair's structure is sound before beginning renovations. If the frame is weak or broken, repair or replace it before proceeding to avoid accidents.
- Use appropriate ventilation when working with paints, stains, or other chemicals. Read and follow all manufacturer's instructions for safe handling and disposal.
Step-by-Step Instructions
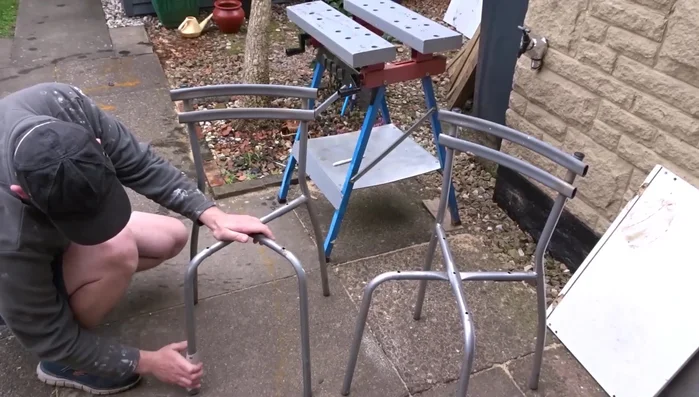
Prepare the Chair Frames
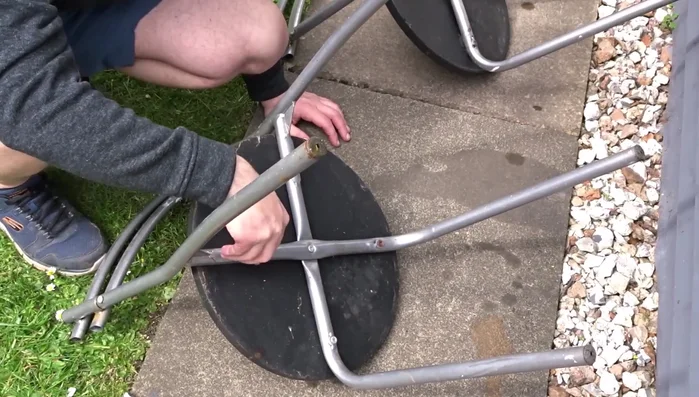
- Remove old seats and tops from the chairs. The seats were attached with Allen key bolts, and the tops had insert nuts that were easily removed due to moisture.
- Lightly sand the metal chair frames to prepare for painting. Remove dust with a cloth.

Prepare the Chair Frames Create New Chair Tops
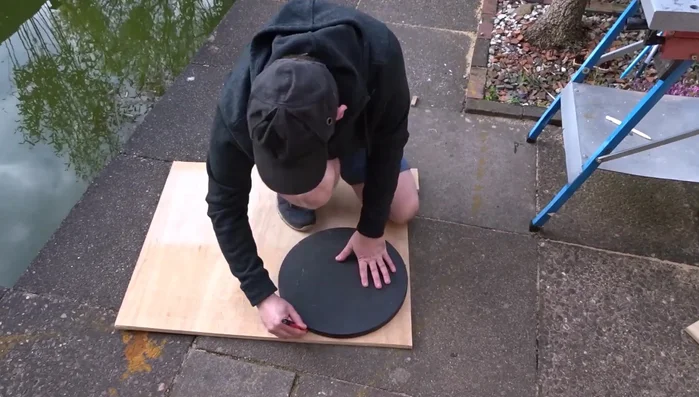
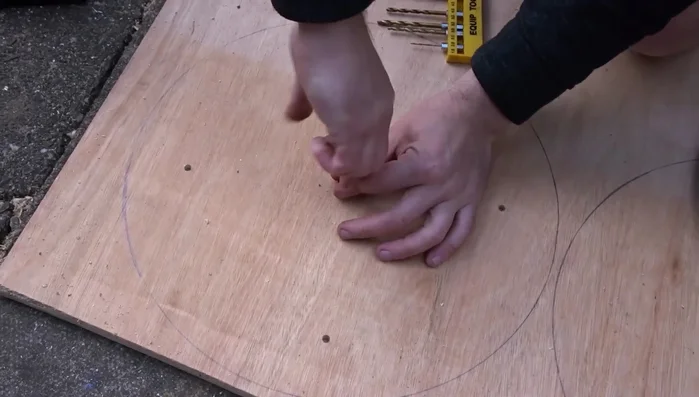
- Create templates for new chair tops using the original tops. Trace and cut out the shapes from the salvaged 18mm plywood using a jigsaw.
- Cut out the new plywood seat shapes using a jigsaw. Sand the edges smooth.
Create New Chair Tops Prepare the Plywood Seats
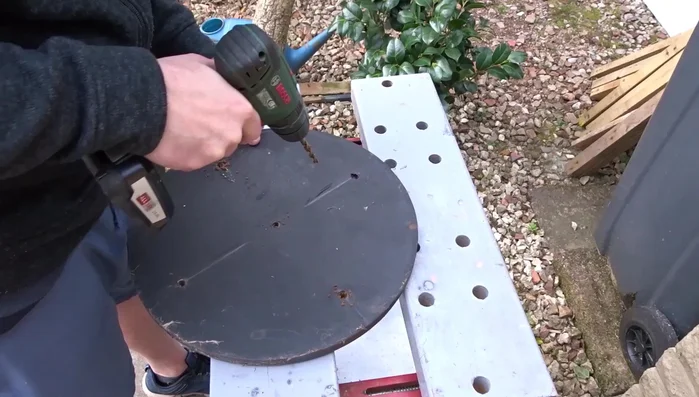
- Drill holes in the new plywood seats using the original holes as a template. Use black tape to control drilling depth.
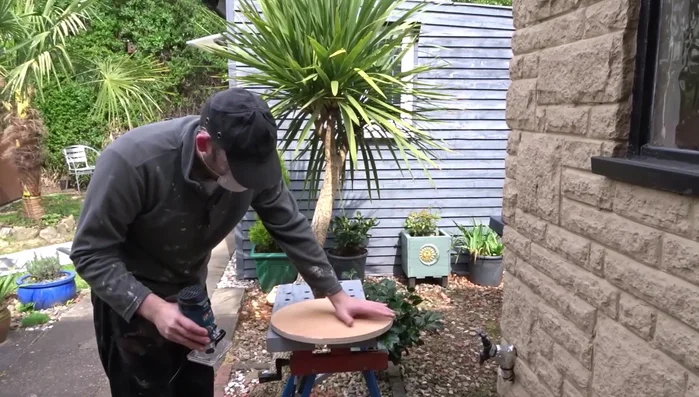
- Round over the edges of the plywood seats using a palm router with a round-over bit to prevent splintering. Fill any small holes with wood filler and sand smooth.
Prepare the Plywood Seats Install Hardware for New Seats
- Reinstall the insert nuts into the new plywood seats.
Install Hardware for New Seats Paint the Metal Frames
- Apply primer to the metal frames, followed by several coats of dark gray paint.
Paint the Metal Frames Finish the New Seats
- Apply three coats of mahogany-colored exterior wood stain to the new seats for protection.
Finish the New Seats Assemble the Upcycled Chairs
- Attach the new seats to the chair frames using the bolts, after greasing the bolts to aid in installation.
Assemble the Upcycled Chairs


Read more: DIY Upcycled Bed Frame: A Step-by-Step Guide
Tips
- Using salvaged materials drastically reduces the cost of the project. Look for discarded items like plywood, paint, and wood stain.
- Take your time when cutting and shaping the plywood seats to ensure accuracy.
- Multiple coats of exterior wood stain offer better protection for the plywood seats.