Give your furry friend the ultimate slumber sanctuary with this incredibly easy and budget-friendly DIY project! Tired of expensive pet beds that lack character and quickly wear out? Transform an old headboard – destined for the landfill – into a luxurious, upcycled dog bed that's both stylish and comfortable. This project is perfect for those looking to unleash their creativity while embracing sustainable living. Using readily available materials and simple techniques, you can create a unique and personalized bed that your dog will adore.
This guide offers a delightful blend of repurposing and pet pampering, resulting in a one-of-a-kind dog bed. Forget generic store-bought options; let's dive into the step-by-step process of crafting a truly special sleeping space for your canine companion, turning unwanted furniture into a cherished piece of pet furniture.
Preparation and Safety Guidelines
- Headboard and footboard pieces
- Saw
- Molding
- 2x2s
- Screws
- Paint (Prairie Gray, White Swan, One Hour Enamel)
- Paintbrushes (Klingon F40 recommended)
- Dowels
- Marine snaps
- Fabric
- Dog pillows
- Ensure all screws and fasteners are securely tightened to prevent the headboard from collapsing or shifting, potentially harming your dog.
- Thoroughly clean the upcycled headboard before using it as a dog bed to remove any dust, dirt, or harmful chemicals that could irritate your pet's skin.
- Use pet-safe materials for cushioning and fabric. Avoid using fabrics that easily tear or those containing harmful chemicals that your dog might ingest.
Step-by-Step Instructions
Prepare the Wood
- Cut and prepare the headboard and footboard pieces. Reduce the size of all four pieces to create the desired bed dimensions.

Prepare the Wood Add Molding and Supports
- Add molding to the side rails for aesthetic enhancement.
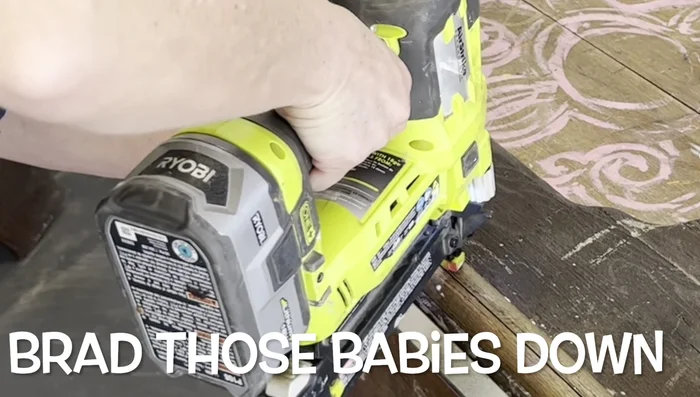
- Attach 2x2 supports to the headboard and footboard for structural integrity and mattress support.
Add Molding and Supports Assemble the Frame
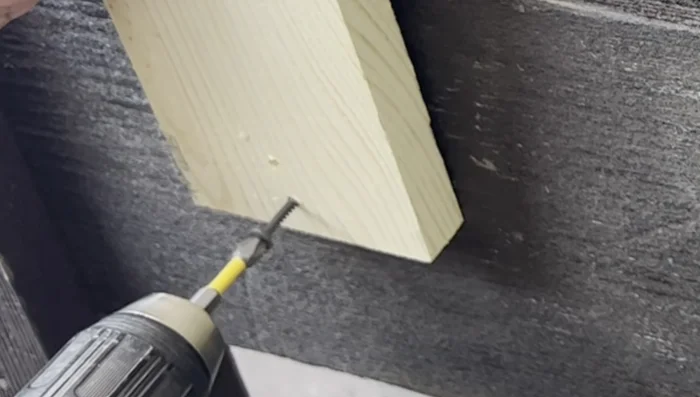
- Assemble the frame. Attach the side rail supports to the headboard and footboard using screws.
- Attach the top piece of the headboard using the middle section cut from the footboard.
- Secure the headboard top using dowels.
Assemble the Frame Paint the Frame
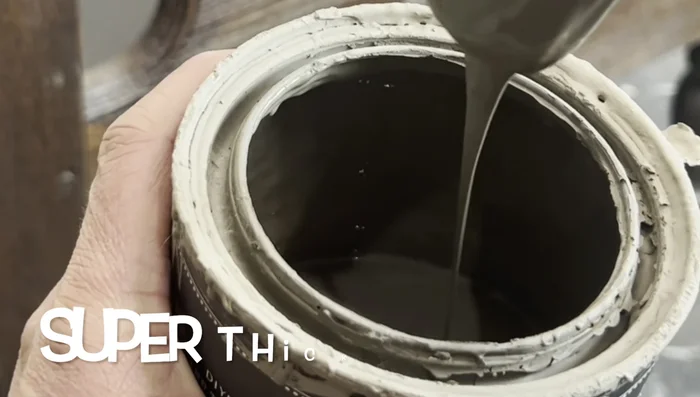
- Paint the bed frame. Use primer to prevent bleed-through, then apply your chosen paint color (Prairie Gray in this example). A final coat of One Hour Enamel seals the paint job and protects the wood.
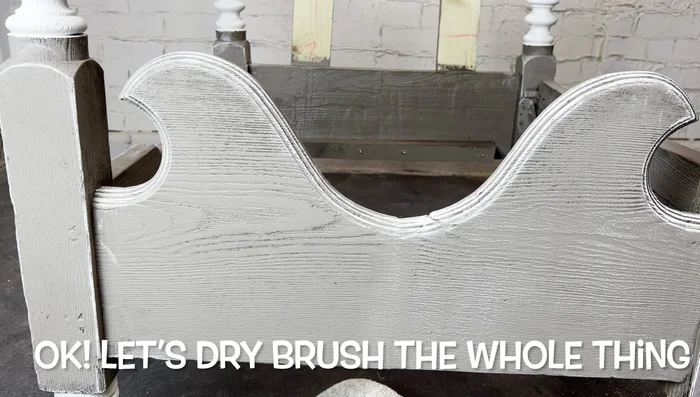
- Dry brush the entire piece for a textured look.
Paint the Frame Attach the Fabric
- Attach the fabric using marine snaps for easy removal and cleaning. This creates an interchangeable system for different fabrics.
Attach the Fabric Add Finishing Touches
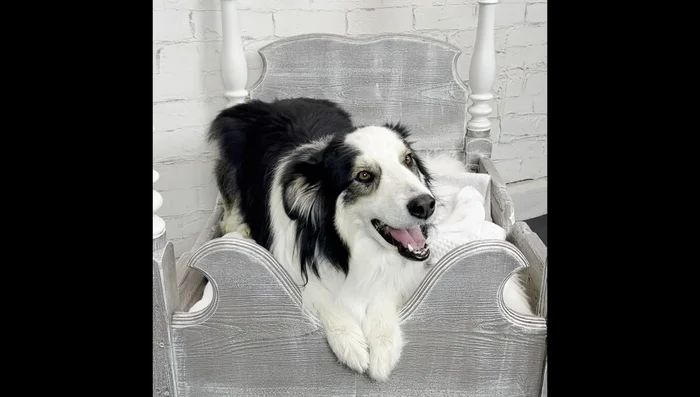
- Add pillows to complete the dog bed.
Add Finishing Touches


Read more: DIY Upcycled Bed Frame: A Step-by-Step Guide
Tips
- Use primer to prevent bleed-through of tannins or oils from the wood.
- Dry brushing adds texture and visual interest.
- Marine snaps are ideal for removable and washable fabric on dog beds.