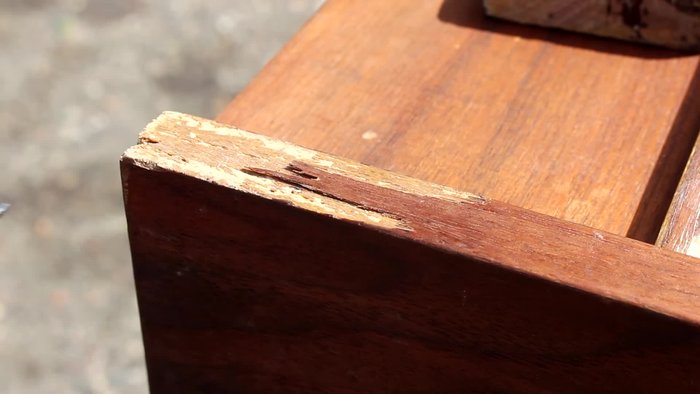
Chipped veneer? Don't despair! That unsightly blemish on your cherished furniture doesn't have to mean a costly replacement. With a little patience and the right techniques, you can achieve a professional-looking veneer repair yourself, saving time and money in the process. Damaged veneer is surprisingly common, a victim of everyday wear and tear, but thankfully, it’s often a relatively simple fix, even for beginners. This guide focuses on providing accessible solutions, avoiding the expense and hassle of calling in a professional. Forget about those noticeable imperfections forever!
This guide will equip you with the knowledge and confidence to tackle even the most challenging veneer repairs, transforming a damaged surface into a flawless finish. We'll cover everything from identifying the type of damage to selecting the appropriate materials and, most importantly, executing a precise repair. Ready to get started? Let's dive into our step-by-step process for a seamless veneer repair.
Preparation and Safety Guidelines
- Utility knife
- Walnut veneer
- Superglue
- Superglue accelerator
- Sandpaper (implied)
- Always wear appropriate safety gear, including eye protection and a dust mask, to prevent injury from flying particles and inhaling harmful dust.
- Work in a well-ventilated area to avoid inhaling fumes from adhesives and finishes. Consider using a respirator for better protection.
- Use caution when working with sharp tools like utility knives and scrapers. Take your time and avoid rushing to prevent cuts and injuries.
Step-by-Step Instructions
Preparation
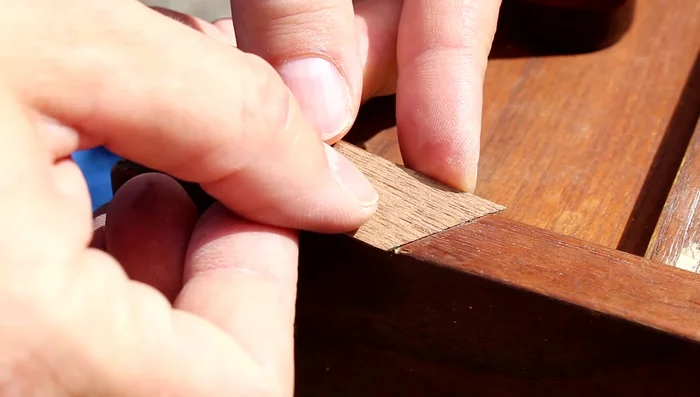
- Measure and cut the new veneer patch. Use light pressure to avoid tearing the veneer.
- Clean the damaged area with a utility knife, removing old glue and debris.
- Test fit the new veneer patch.

Preparation Adhesive Application and Placement
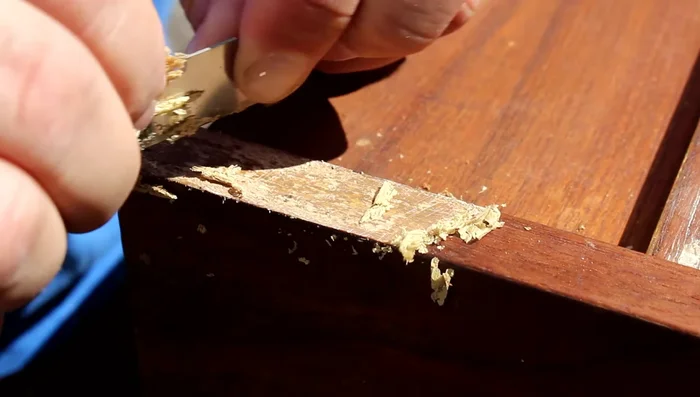
- Place the new veneer patch over the damaged area and score a line with a knife to mark the placement.
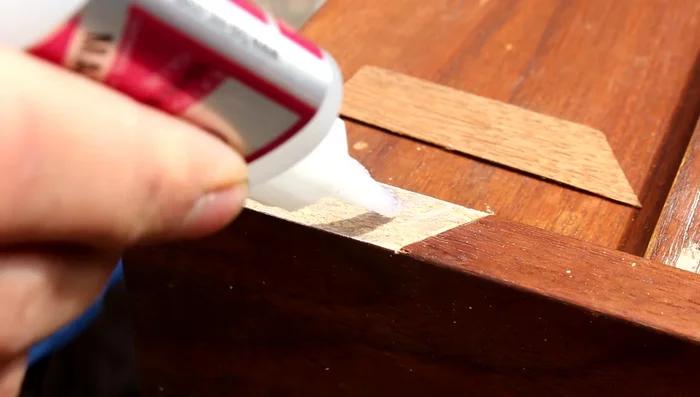
- Apply superglue to the damaged area and the back of the veneer patch. Use an accelerator to speed up the drying process.
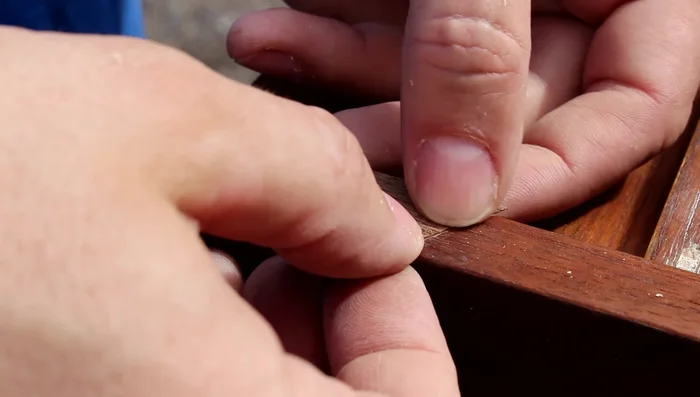
- Press the veneer patch firmly into place and let it dry completely.
Adhesive Application and Placement Finishing
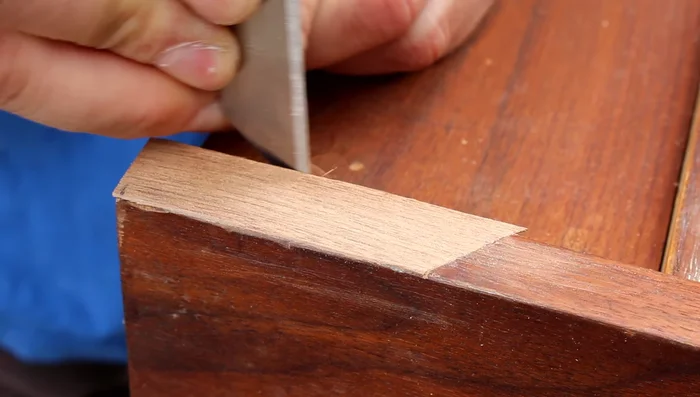
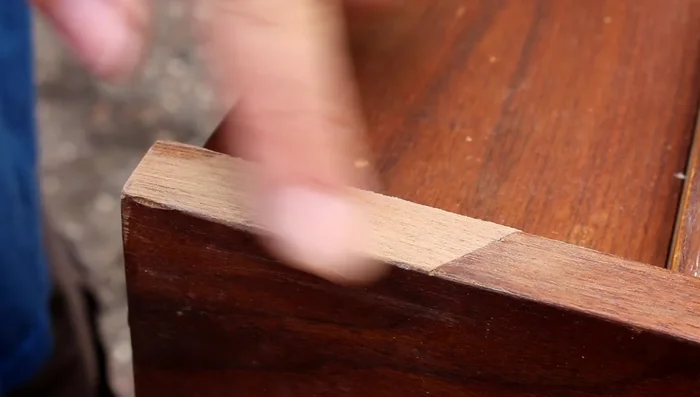
- Use a utility knife blade to scrape and smooth out any excess glue or uneven edges.
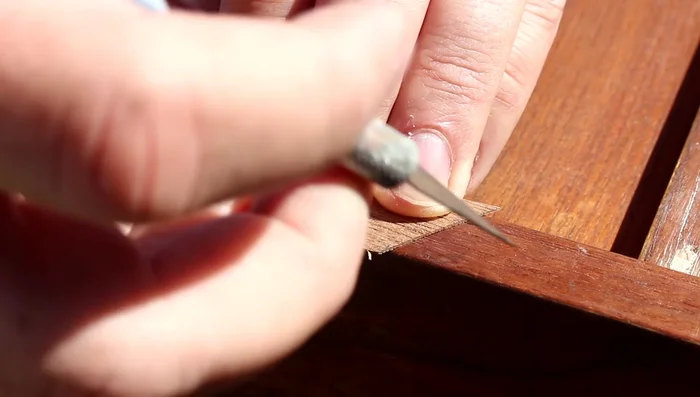
- Trim any excess veneer flush with the surrounding surface using a utility knife.
- Apply stain and finish to match the existing wood (process not shown in video).
Finishing

Read more: Silence that Squeaky Bed: A Complete Fix-It Guide
Tips
- Use light pressure when cutting veneer to prevent the knife from getting caught in the grain lines.
- Make multiple passes with the knife when cutting the veneer to ensure a clean cut.
- Superglue accelerator can be used to quickly dry the glue, eliminating the need for clamps.