Wood floors add warmth and character to a home, but accidents happen. A deep gouge in your beautiful hardwood can be disheartening, instantly marring the otherwise pristine surface. Fortunately, repairing minor damage like this doesn't require professional intervention or a hefty repair bill. With a few readily available tools and some simple techniques, you can restore your floor's beauty in a fraction of the time (and cost) it would take to call a contractor. Forget expensive repairs and embrace the satisfaction of a DIY project!
This guide will show you a quick and easy method to fix unsightly gouges in your wood flooring, leaving them virtually invisible. We'll cover everything from selecting the right materials to the final sanding and finishing touches, ensuring a seamless repair. Ready to get started? Let's dive into the step-by-step process to flawlessly repair those pesky gouges.
Preparation and Safety Guidelines
- Elmer's Damaged Wood Epoxy System
- Painter's Tape
- Sandpaper (80 grit & 120 grit)
- Disposable Gloves
- Rags
- Wood Stain (matching colors)
- Minwax Wipe-on Polyurethane
- Putty Knife
- Always wear safety glasses to protect your eyes from flying debris during sanding and filling.
- Ensure adequate ventilation when using wood filler, stains, and finishes. These products often contain volatile organic compounds (VOCs).
- Use caution when working with sharp tools like chisels and putty knives. Keep tools sharp for better control and to avoid slips.
Step-by-Step Instructions
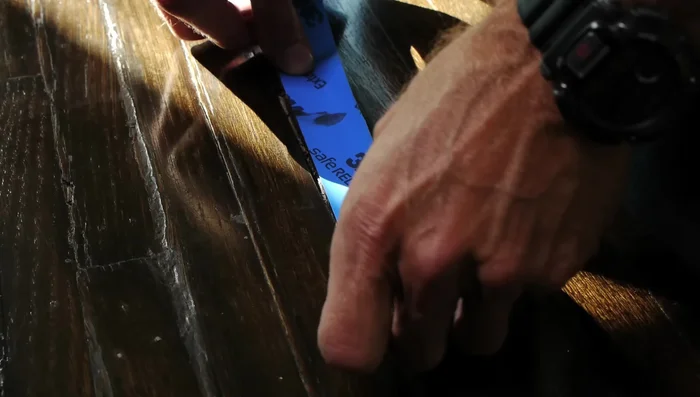
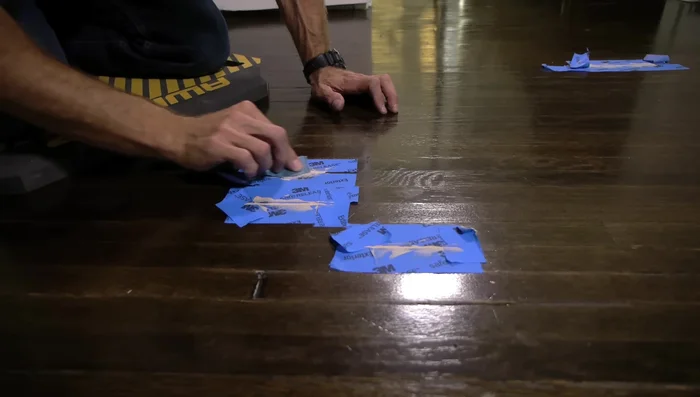
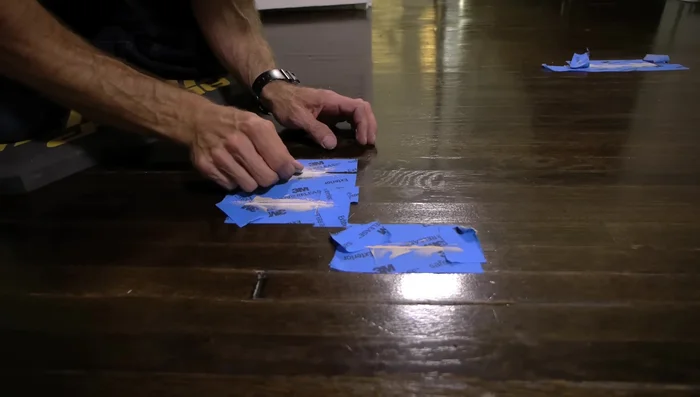
Prepare the Area
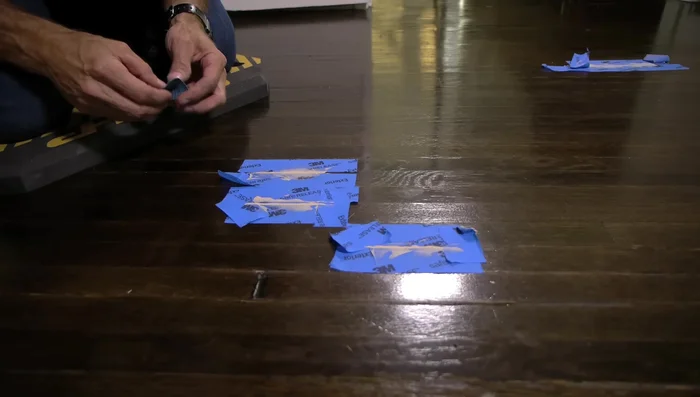
- Tape off the area surrounding the gouge to protect the surrounding floor.

Prepare the Area Mix and Apply Epoxy
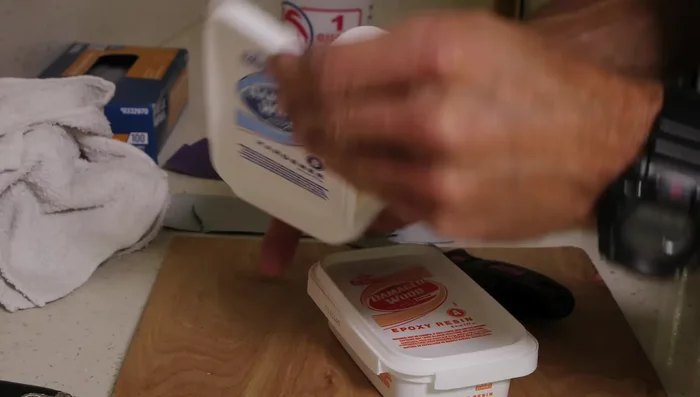
- Mix equal parts of Elmer's two-part epoxy (hardener and resin) and knead until well combined.
- Apply the epoxy to the gouge using a putty knife, filling it as smoothly as possible. Don't worry about perfection, sanding will follow.
Mix and Apply Epoxy Cure the Epoxy
- Allow the epoxy to dry for approximately 24 hours.
Cure the Epoxy Sand the Repair
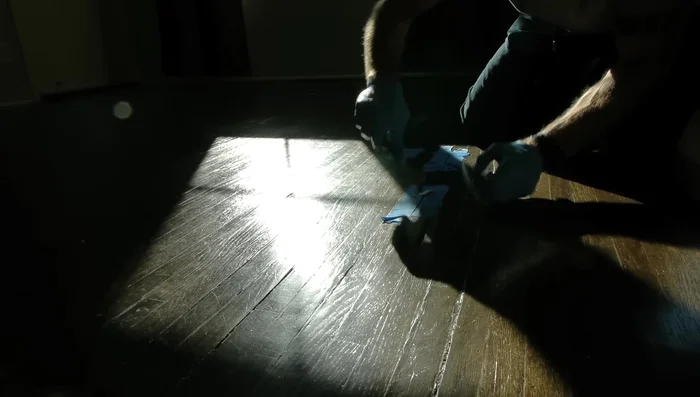
- Sand the dried epoxy with 80-grit sandpaper to rough out the shape and level it with the surrounding floor. Keep the sandpaper away from the existing wood finish.
- Carefully sand the edges to feather the repair into the existing wood finish, preventing harsh lines. Use 120-grit sandpaper for a smoother finish.
Sand the Repair Remove Tape and Finish Sanding
- Remove the tape carefully, taking care not to damage the existing finish. Gently sand any remaining hard edges.
Remove Tape and Finish Sanding Stain and Seal
- Clean the repaired area. Mix wood stain colors to match the existing floor as closely as possible and apply to the repaired area.
- Apply Minwax wipe-on poly to blend the repaired area with the surrounding floor finish.

Read more: Fixing Drywall Nail Pops: A Quick and Easy DIY Guide
Tips
- Get wood stain colors as close to your wood's color as possible. Mixing shades can achieve a precise match.
- Sanding with 120 grit after 80 grit makes a big difference in smoothness.
- Feather the edges of the repair as much as possible for a seamless blend. The smoother it is, the better the repair will look.
- Be gentle when removing tape from old finishes to prevent damage.