A malfunctioning doorbell transformer can leave you with a silent, frustrating entryway. This seemingly small component is crucial for the proper operation of your doorbell system, providing the necessary low-voltage power to the chime and button. A faulty transformer can manifest in a variety of ways, from a weak chime to complete silence, and in some cases, poses a minor electrical hazard. Adding a fuse to your system provides an extra layer of safety, preventing damage to your doorbell and potentially your home's wiring in the event of a short circuit or overload.
This article will guide you through the straightforward process of replacing a doorbell transformer and, critically, integrating fuse protection for enhanced safety and reliability. We'll walk you step-by-step through the entire procedure, from safely disconnecting the power to securely connecting the new components, ensuring your doorbell is once again functioning perfectly and protected against future issues.
Preparation and Safety Guidelines
- Doorbell transformer (16V, 10mA)
- Wire strippers
- Screwdrivers (Phillips and flathead)
- Wire nuts
- Electrical tape (Scotch 3M recommended)
- 1 Amp fuse
- Always turn off the power to the circuit at the breaker box before working with electrical wiring. Failure to do so could result in serious injury or death.
- Use the correct voltage transformer for your doorbell. Using an incorrect voltage can damage your doorbell or other components.
- If you are uncomfortable working with electricity, consult a qualified electrician. Improper installation can create fire hazards.
Step-by-Step Instructions
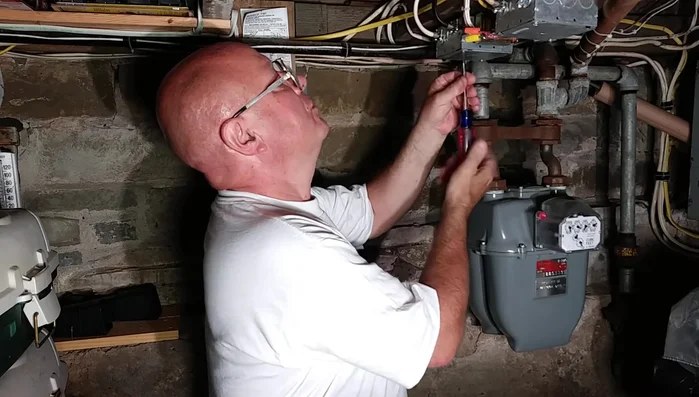
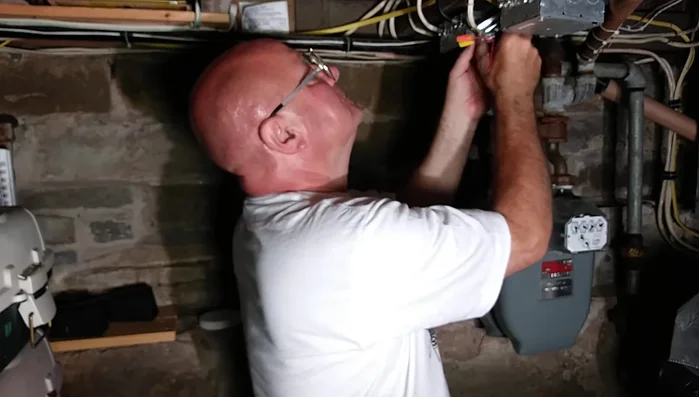
Disconnect Old Transformer
- Disconnect the old doorbell transformer.

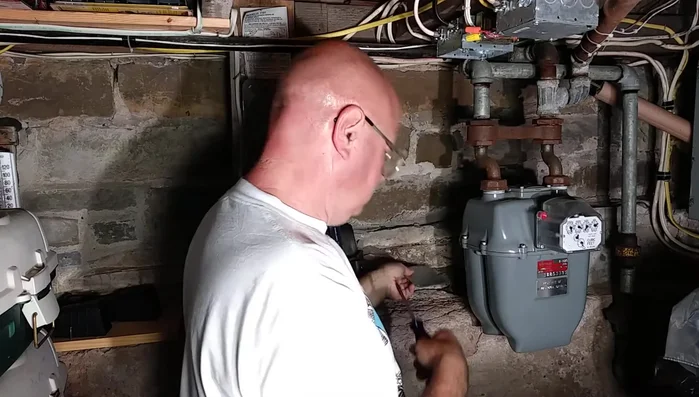
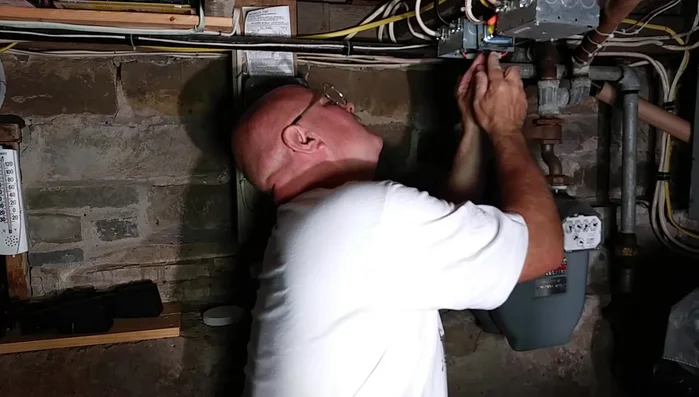
Disconnect Old Transformer Remove Old Transformer
- Remove the old transformer from the junction box.
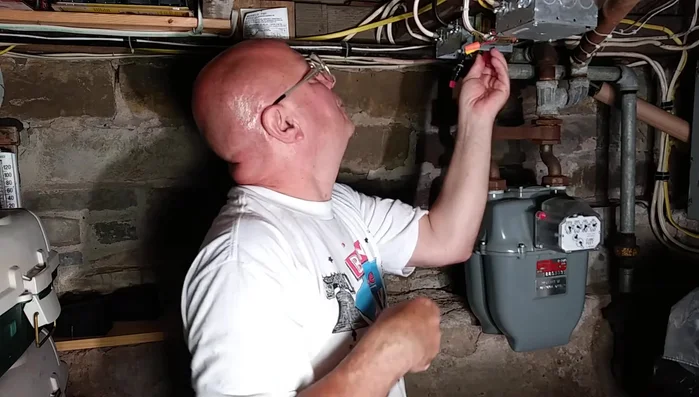
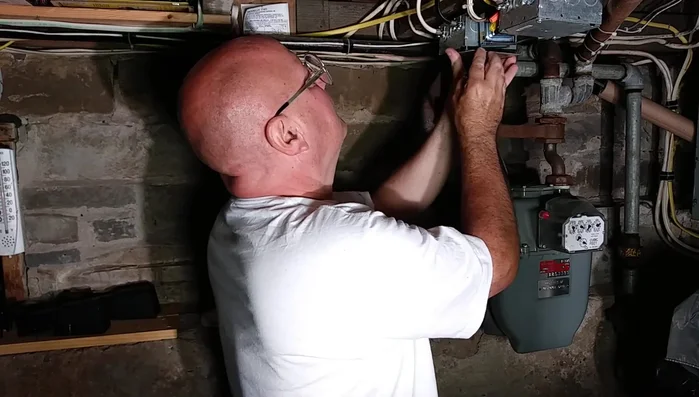
Remove Old Transformer Install New Transformer
- Install the new transformer into the junction box.
Wire Connections (Ground)
- Connect the ground wire (green) to the transformer terminal.
Wire Connections (Ground) Wire Connections (Neutral)
- Connect the white wire (neutral) to the transformer terminal.
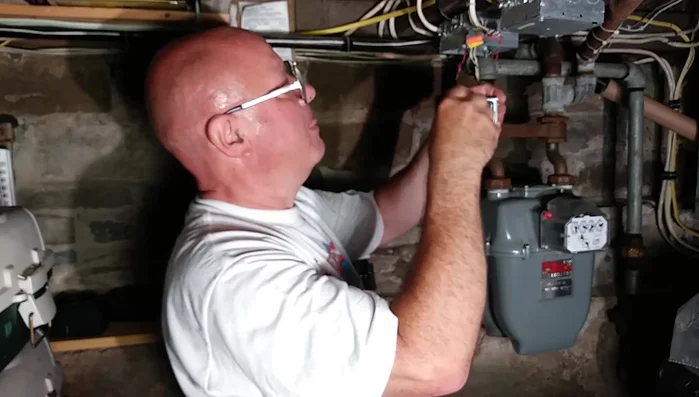
Wire Connections (Neutral) Add Fuse Protection
- Add a 1 Amp fuse to the live wire before connecting it to the transformer to protect against future overloads.
Wire Connections (Live)
- Connect the red wire (live) to the transformer terminal, ensuring it is correctly placed for 24V output.
Wire Connections (Live) Secure and Organize Wires
- Secure wire connections using wire nuts and electrical tape. Ensure wires are neatly organized and evenly trimmed.
Secure and Organize Wires Tuck Wires and Close Box
- Neatly tuck all wires and connections into the junction box.
Tuck Wires and Close Box Replace Cover
- Replace the junction box cover.
Replace Cover
Read more: Installing an Outdoor GFCI Receptacle: A Step-by-Step Guide
Tips
- Use high-quality electrical tape like Scotch 3M for secure and long-lasting connections.
- Ensure all wire connections are snug and properly insulated to prevent shorts or fires.
- Trim wires to even lengths for a neat and professional installation.
- Always turn off power before working with electrical components.
- A 1-amp fuse is crucial for protecting your transformer and preventing overheating. This prevents the issues described at the start of the video.