Upgrading your home appliances can sometimes present unexpected challenges, especially when dealing with electrical wiring. One such scenario involves replacing a four-wire dryer power cord with a three-wire cord, a modification often needed when transitioning from a 240-volt, four-wire system to a standard 240-volt, three-wire setup. This might be necessary due to a change in electrical panel configuration or a simpler, more cost-effective solution to a wiring issue. Incorrectly wiring your dryer can pose significant safety hazards, leading to malfunctions or even fire. Therefore, understanding the process is crucial for both safety and functionality.
This seemingly straightforward task requires precision and a clear understanding of electrical safety precautions. Failing to properly disconnect power and handle wiring can result in serious injury. For a step-by-step guide that prioritizes safety and helps you successfully complete this electrical modification, continue reading to learn exactly how to replace your four-wire dryer power cord with a three-wire equivalent.
Preparation and Safety Guidelines
- Screwdriver
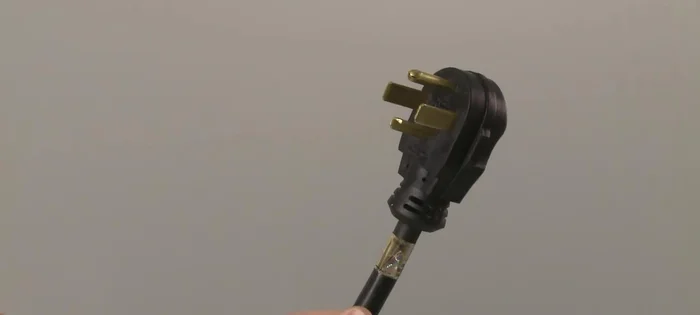
- New 3-wire power cord
- This modification will eliminate the ground wire, significantly increasing the risk of electric shock. Only attempt this if you fully understand the implications and are comfortable with the increased risk. If unsure, consult a qualified electrician.
- Before beginning any work, always disconnect the dryer from the power supply. This is crucial to prevent accidental electrocution.
- Ensure the dryer is properly grounded through other means (e.g., metal conduit, properly grounded outlet) if removing the ground wire. If this isn't possible, do not proceed with the conversion.
Step-by-Step Instructions
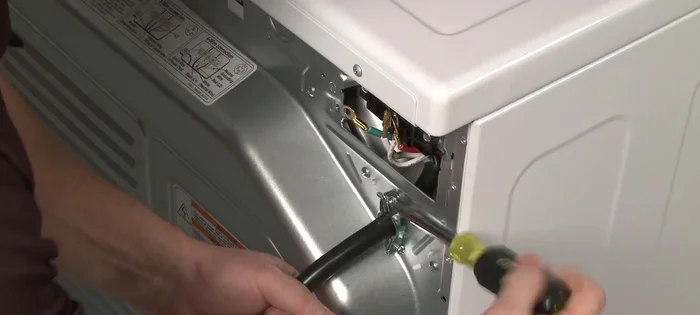
Disconnect Old Power Cord
- Unplug the old power cord.
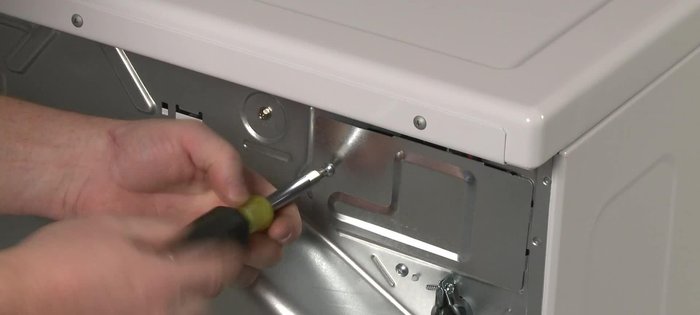
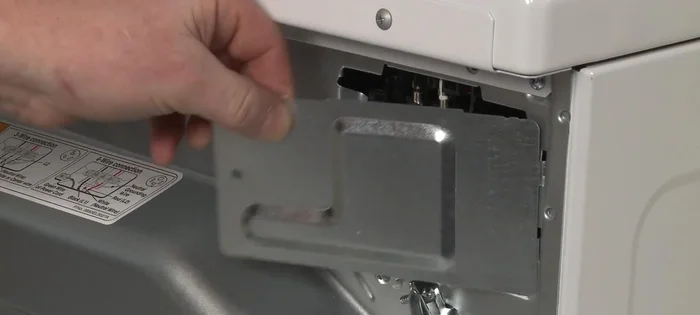
- Remove the screw securing the terminal block access panel and remove the panel.
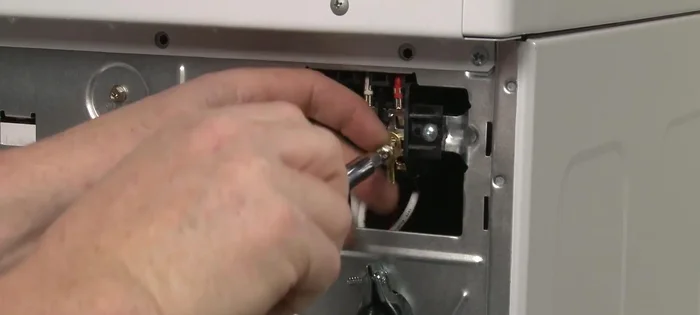
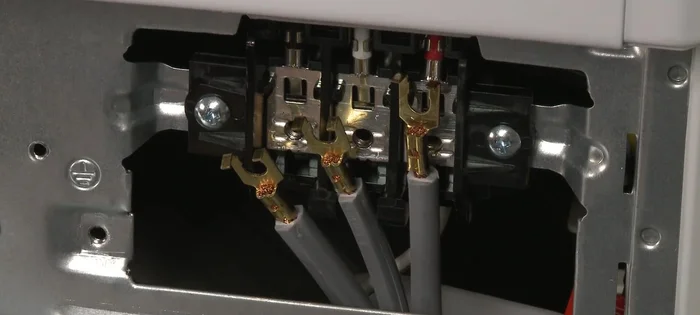
- Remove the terminal block screws and detach the wires.
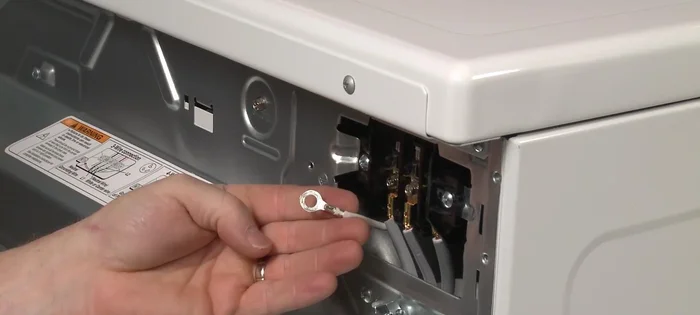
- Remove the screw to release the grounding connection.

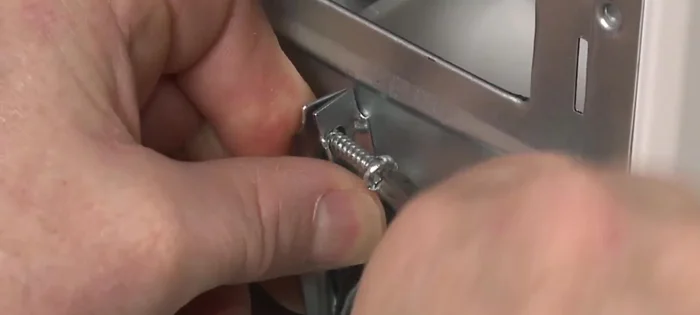
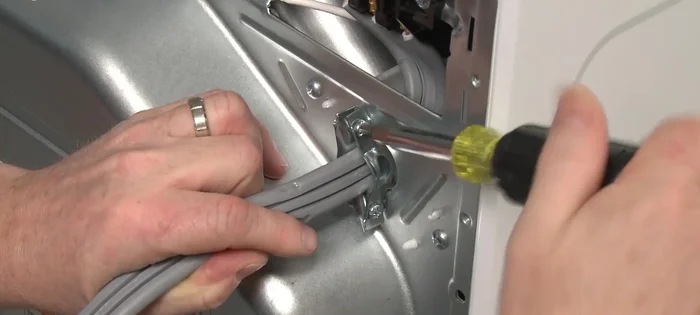
Disconnect Old Power Cord - Loosen the screws securing the strain relief and pull out the old power cord.
- Remove the screws from the strain relief and pull the relief out of the rear panel.
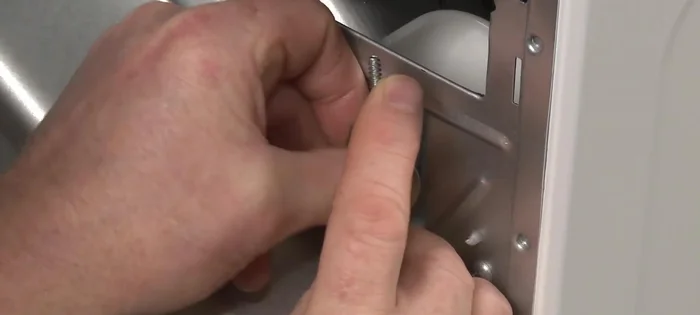
Disconnect Old Power Cord Prepare New Power Cord
- Remove the screws securing the strain relief from the new cord and separate the two halves.
- Insert the tabs on the two halves of the strain relief into the power cord hole on the dryer's rear panel and insert the screws to hold the relief together loosely.
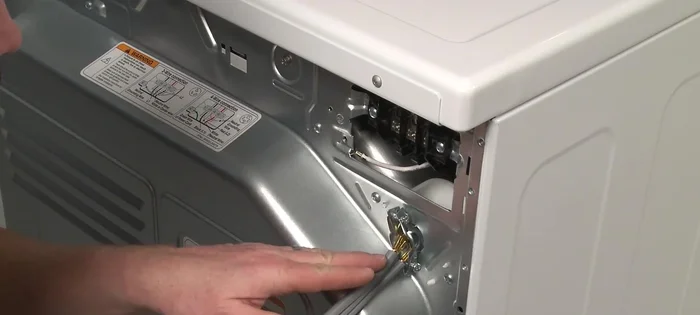
Prepare New Power Cord Install New Power Cord
- Insert the new power cord through the strain relief and position the wires near the terminal block.
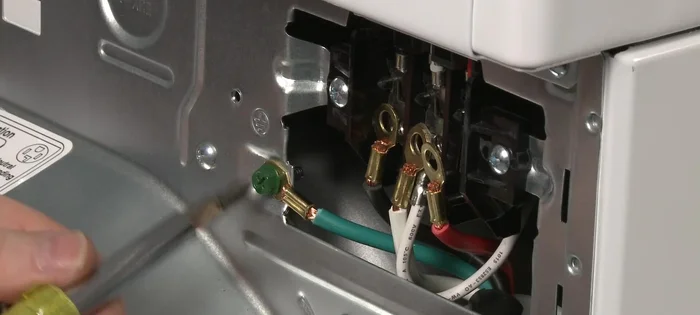
- Attach the wires to the appropriate terminals and secure them with screws.
- Position the grounding connection on the rear panel and secure it with the screw.
- Tighten the strain relief screws to secure the power cord.
Install New Power Cord Reassemble and Test
- Reposition the terminal block access panel and secure it with the screw.
- Plug in the new power cord and confirm that the dryer is functioning properly.
Reassemble and Test

Read more: Installing an Outdoor GFCI Receptacle: A Step-by-Step Guide
Tips
- N/A