Hanging drywall on a ceiling is a notoriously strenuous task, often leading to backaches and frustration. Forget the awkward contortions and risky maneuvers – there's a better way! This guide will empower you to tackle this challenging project with ease and efficiency, transforming a physically demanding job into a manageable and even enjoyable experience. We'll explore the significant advantages of using a drywall lift, a tool designed to minimize strain and maximize your productivity. Proper technique is paramount for a flawless finish, resulting in a professional-looking ceiling that you can be proud of.
This article will walk you through a step-by-step process, demonstrating how to effectively use a drywall lift to hang drywall on your ceiling like a seasoned pro. From preparing your workspace and choosing the right lift to safely securing the drywall and finishing the job, we'll cover everything you need to know. Let's get started and elevate your drywall installation game!
Preparation and Safety Guidelines
- Drywall lift
- Roto Zip
- Drywall
- Screws
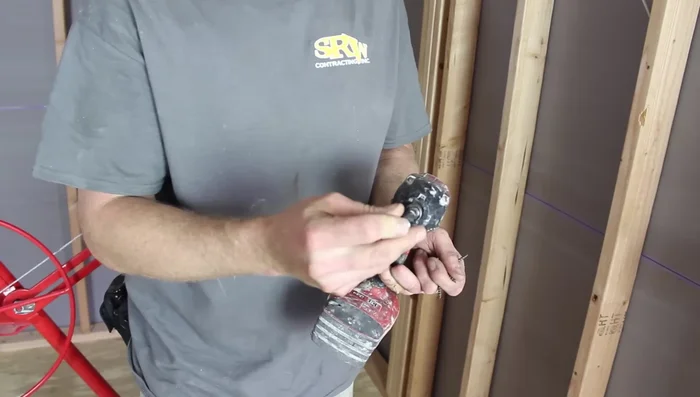
- Drill with dimple bit
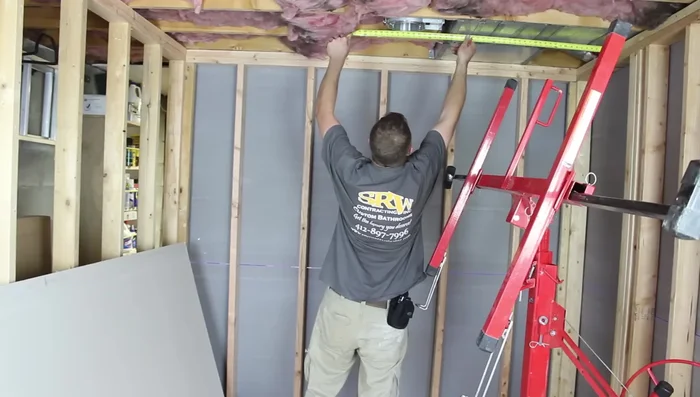
- Measuring tape
- Liquid nails (optional)
- Always use a spotter when lifting drywall sheets, especially large ones. A second person can prevent accidents and ensure safe handling.
- Ensure the drywall lift is properly assembled and rated for the weight of the drywall sheets you're using. Overloading the lift is extremely dangerous.
- Wear appropriate safety gear, including safety glasses and work gloves, to protect yourself from potential injuries caused by falling debris or sharp edges.
Step-by-Step Instructions
Planning and Preparation
- Measure and mark the locations of any recessed lights, vent cans, or other fixtures on the ceiling.

Planning and Preparation Lifting and Positioning Drywall
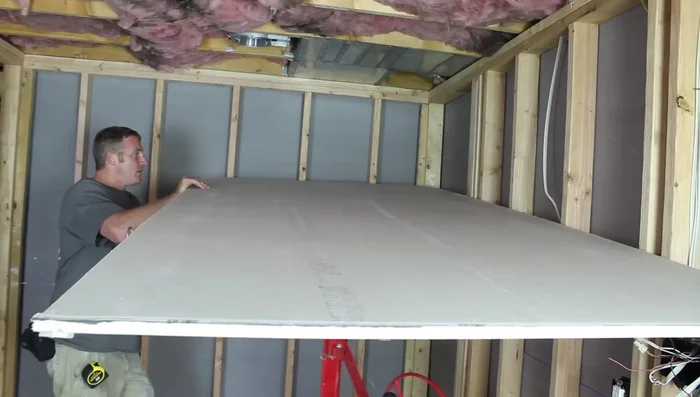
- Position the drywall sheet with the finished side facing down. Use the drywall lift to carefully raise and position the sheet against the ceiling.
- Ensure the drywall is square to the walls. Use 5/8" drywall for ceilings for better flatness.
Lifting and Positioning Drywall Securing the Drywall
- Secure the drywall to the ceiling joists using screws. For 5/8" drywall, use 1 5/8" screws, aiming for approximately four screws every 16 inches along each joist. Use a dimple bit to prevent the screws from tearing through the drywall paper.
- Space screws about an inch from the edges of the drywall to prevent tear-out and ensure a clean joint.
Securing the Drywall Finishing Up
- Use a Roto Zip to cut out the areas for the fixtures after the drywall is installed.
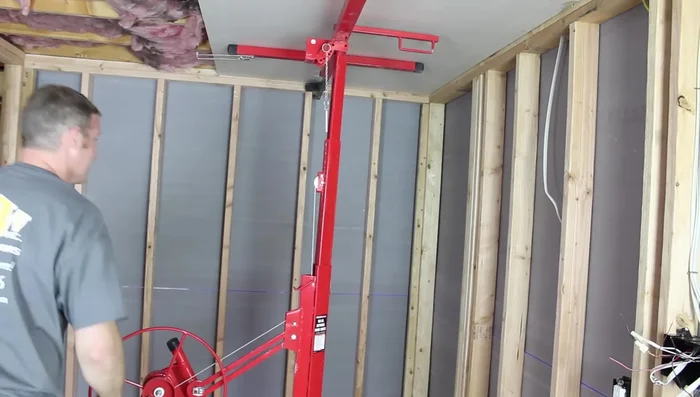
- Lower the drywall lift carefully once the drywall is secured.
Read more: Fixing Drywall Nail Pops: A Quick and Easy DIY Guide
Tips
- Use a drywall lift to make the job easier and safer. It eliminates the need for a second person.
- For vent fans with a lip, mount the fan directly against the joist and cut out the drywall around it; the lip doesn't go on the outside of the drywall.
- Using 5/8" drywall on ceilings provides a flatter, straighter finish, especially with 24" on-center joists. Consider adding a small amount of liquid nails to each joist for extra security, particularly with 24" on-center joists.
- Mark the joist locations on the wall to aid in screw placement.
- Minimize drywall seams for a smoother finish. Typically, run the drywall perpendicular to the joists to create fewer seams.