Dealing with damaged drywall corner bead is a common headache for homeowners, often resulting in frustrating repairs and less-than-perfect results. But what if we told you there's a quicker, easier, and surprisingly satisfying way to tackle this common home improvement challenge? This Southern-style method prioritizes efficiency and a clean finish, minimizing fuss and maximizing results. Forget lengthy processes and complicated techniques; this approach focuses on practicality and achieving a professional look without the professional price tag. We’re talking about a repair solution that's as smooth as sweet tea and just as refreshing.
This "Southern Charm" approach to drywall corner bead repair utilizes readily available materials and simple techniques. We'll guide you through each step of the process, providing clear instructions and helpful tips to ensure a successful repair every time. Ready to learn how to get those perfect corners with minimal effort? Let's dive into the step-by-step guide!
Preparation and Safety Guidelines
- 6-inch knife
- fiber tape
- plaster
- nails
- wash brush
- sponge
- knockdown texture tool (e.g., garage door threshold)
- Always wear safety glasses to protect your eyes from flying debris when using tools like a utility knife or sanding block.
- Use proper ventilation when working with drywall compound; it can release dust and fumes. Consider using a respirator mask if needed, especially in enclosed spaces.
- Turn off power to any nearby electrical outlets or wiring before beginning repairs to avoid electrical shock.
Step-by-Step Instructions
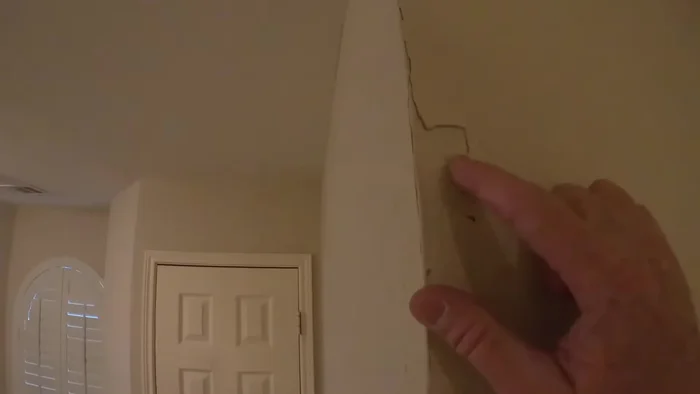
Preparation
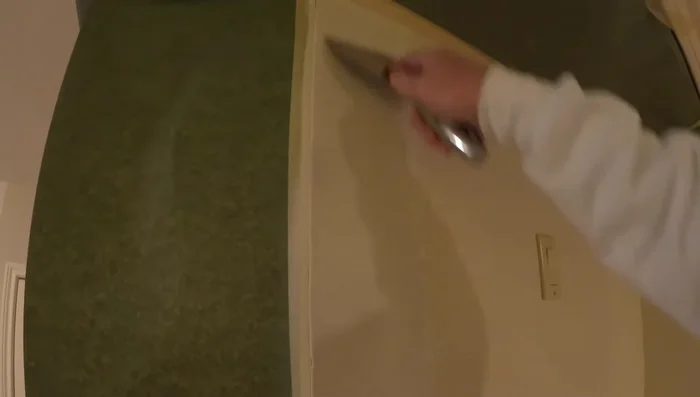
- Carefully scrape away any loose or peeling paint and drywall around the cracked corner bead using a 6-inch knife .
- Clean the corner area thoroughly to ensure proper adhesion of the repair materials .

Preparation Apply Corner Bead
- Place nails along the edge of the corner bead, ensuring the nail heads are flush against the metal to avoid bending the bead .
Apply Corner Bead Initial Patching
- Apply a small amount of plaster along the cracked corner bead, and then firmly embed the fiber tape onto the wet plaster, pressing to eliminate air bubbles. Extend the plaster and tape slightly beyond the crack .
Initial Patching Smoothing and Feathering
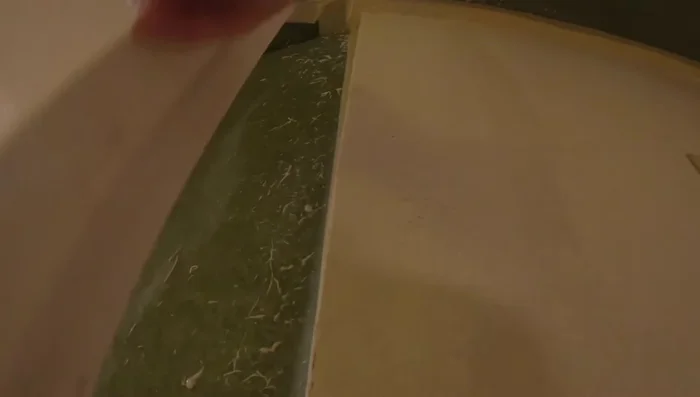
- Use your knife to create smooth, feathered edges by blending the repair into the existing wall .
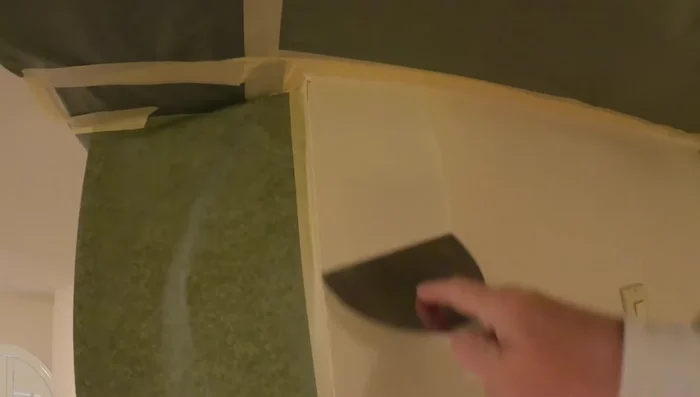
Smoothing and Feathering Setting and Texturing
- Allow the plaster to set for approximately 6-7 minutes until it hardens .
- Using a 6-inch knife, gently rake the hardened plaster to create a knockdown texture. This helps to level the surface and remove excess material .
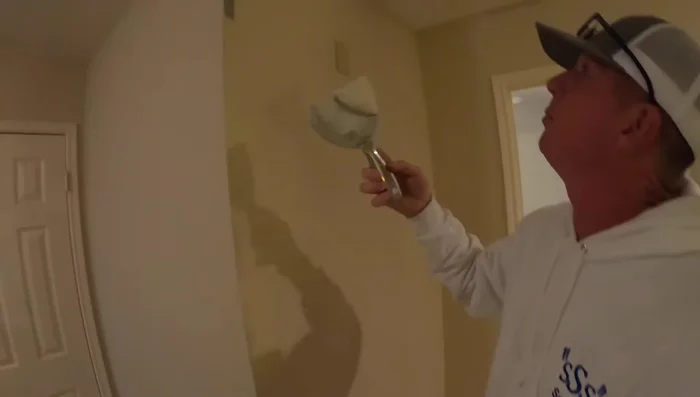
Setting and Texturing Blending and Finishing
- Use a damp sponge to blend the edges seamlessly with the surrounding wall .
- If a heavier knockdown texture is desired, use a wash brush and plaster to apply a second coat .
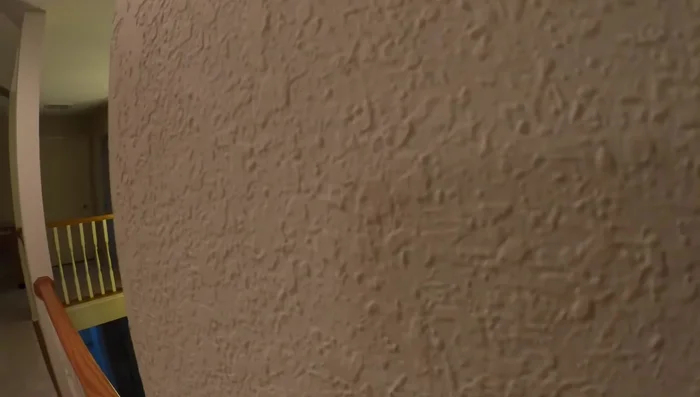
- Use a soft knockdown tool (like a garage door threshold) to smooth the surface and create a uniform texture .
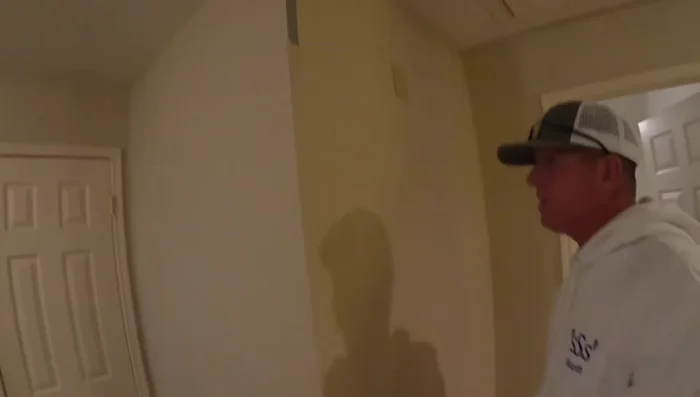
Blending and Finishing

Read more: Fixing Drywall Nail Pops: A Quick and Easy DIY Guide
Tips
- Use fiber tape; it's superior to paper tape for repairs, as it doesn't shrink .
- Always start in the middle when wiping excess mud, working your way down and then up .
- For small repairs, a wash brush with thick mud can effectively replace a hopper for applying knockdown texture .
- A soft knockdown tool is better than metal or plastic for preventing gouges .