Drywall cracks. They're the unsightly blemishes that plague many homes, a testament to settling foundations, minor earthquakes, or simply the passage of time. Whether it's a hairline fracture in the ceiling or a larger, more gaping crack in a wall, these imperfections can significantly detract from your home's aesthetic appeal. But fear not, homeowners! Fixing these frustrating fissures doesn't require professional help or a hefty contractor's bill. With the right tools and techniques, you can achieve flawless repairs that will leave your walls looking as good as new.
This ultimate guide will walk you through every step of the drywall repair process, transforming those unsightly cracks into a thing of the past. From identifying the type of crack to choosing the appropriate materials and mastering the finishing techniques, we'll equip you with the knowledge and confidence to tackle any drywall repair project. Ready to get started? Let's dive into the detailed, step-by-step instructions below.
Preparation and Safety Guidelines
- Stud finder
- 4x4 wood block
- Drywall screws
- Utility blade
- Joint compound (hot mud, Easy Sand 5 recommended)
- Mesh tape
- Putty knife
- Wet rag
- Easy Pro System (for knockdown texture)
- Primer
- Paint
- Alex Fast Dry
- Always wear safety glasses and a dust mask to protect your eyes and lungs from debris and drywall dust.
- Use caution when working with sharp tools like utility knives and putties knives. Cut away from yourself and keep your fingers clear.
- Ensure adequate ventilation in the work area, especially when using paints or primers with strong fumes.
Step-by-Step Instructions
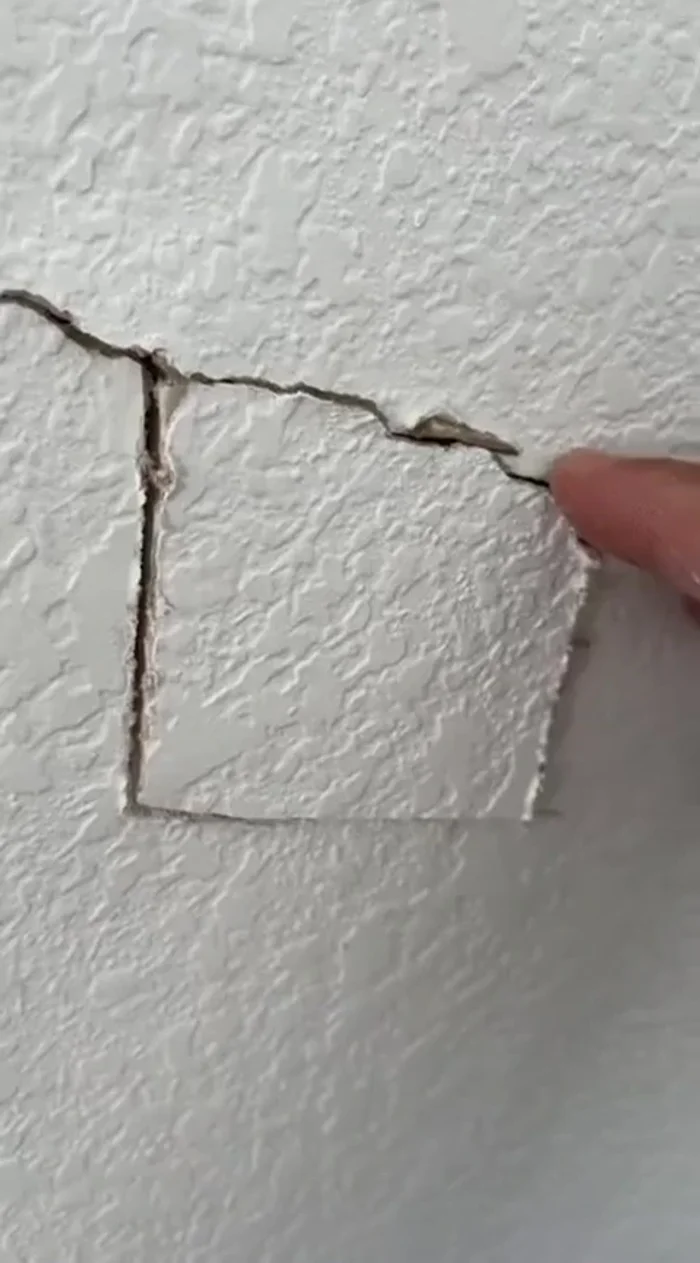
Assess the Crack
- Check for backing behind the drywall crack. Cut a small hole if necessary to confirm.

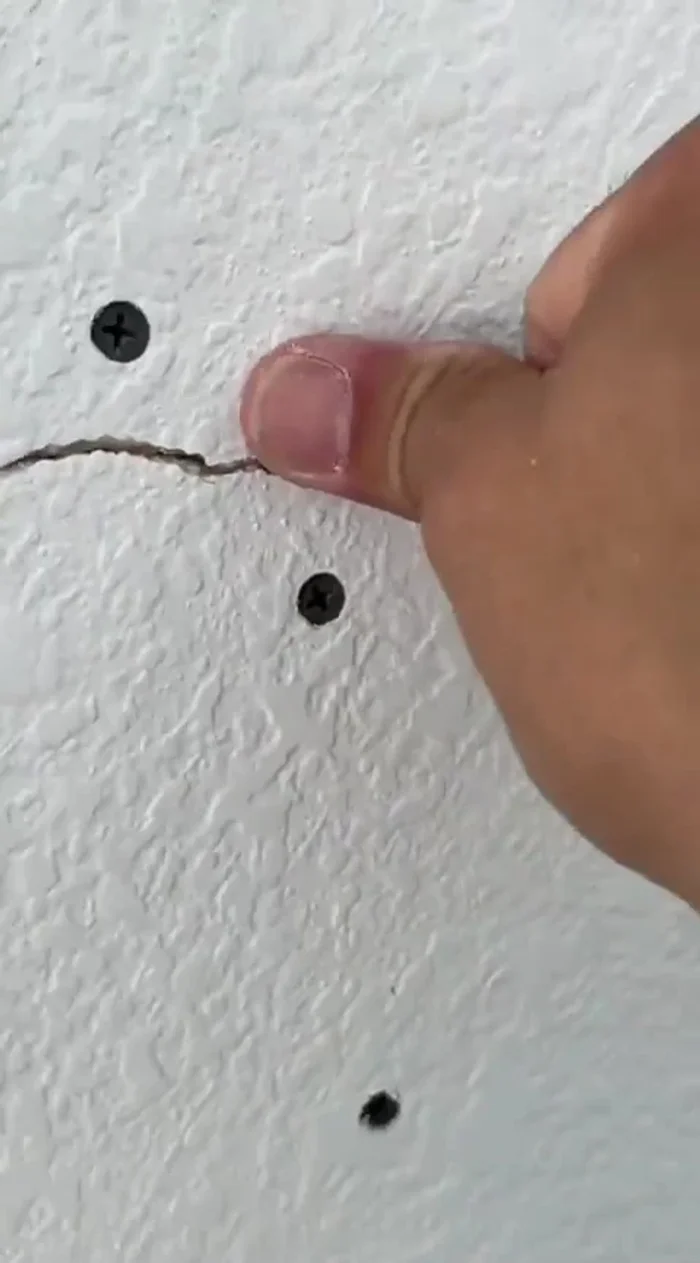
Assess the Crack Secure the Crack
- Secure the cracked area with drywall screws, ensuring they're not too deep (about 1/16 inch).
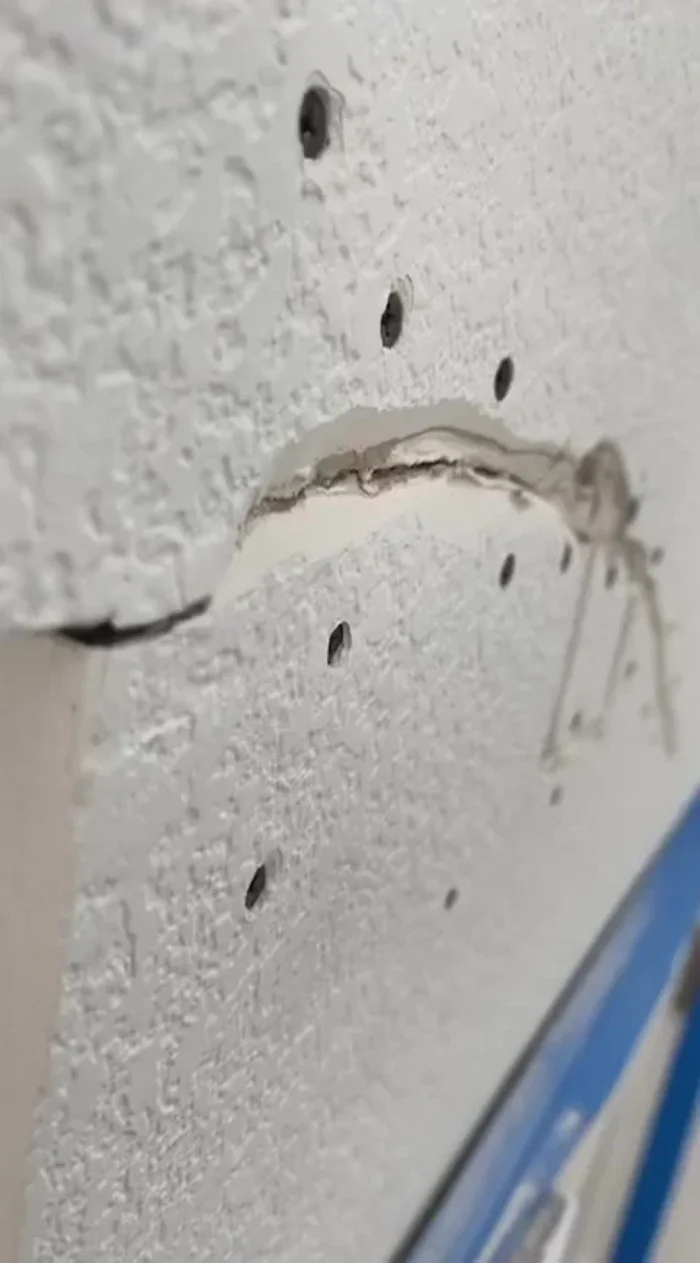
Secure the Crack Prepare the Crack
- Cut a small valley along the crack using a utility blade to help the joint compound penetrate.
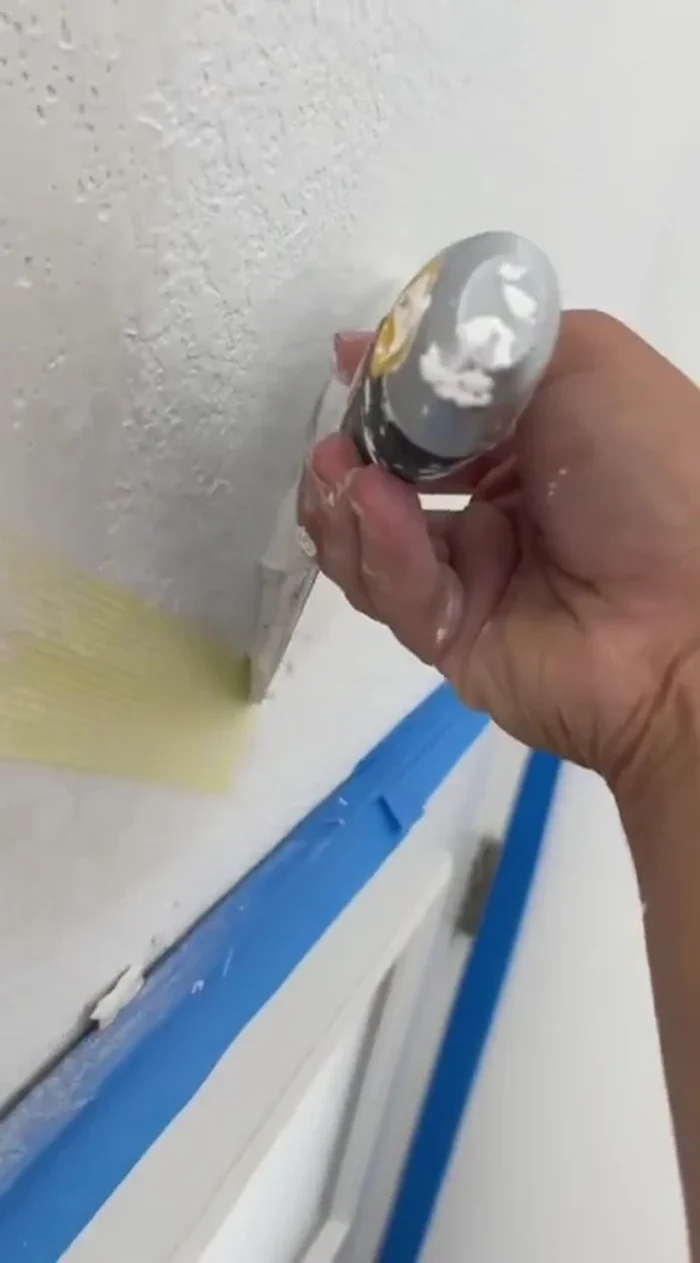
Prepare the Crack Prepare the Joint Compound
- Mix joint compound (hot mud is recommended for faster drying).
Prepare the Joint Compound Reinforce and Apply First Coat
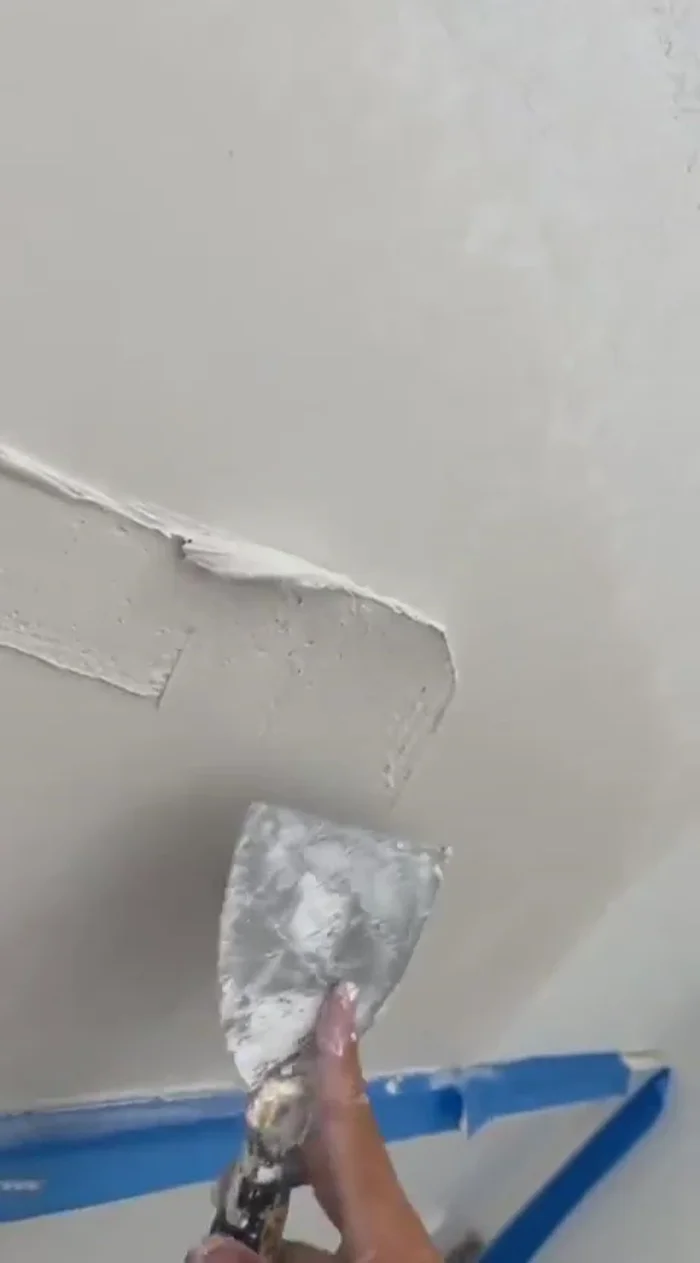
- Apply mesh tape over the crack to reinforce the repair.
- Apply a generous layer of joint compound, ensuring the mesh tape is completely covered and the surface is smooth. Wipe edges with a wet rag for better blending.
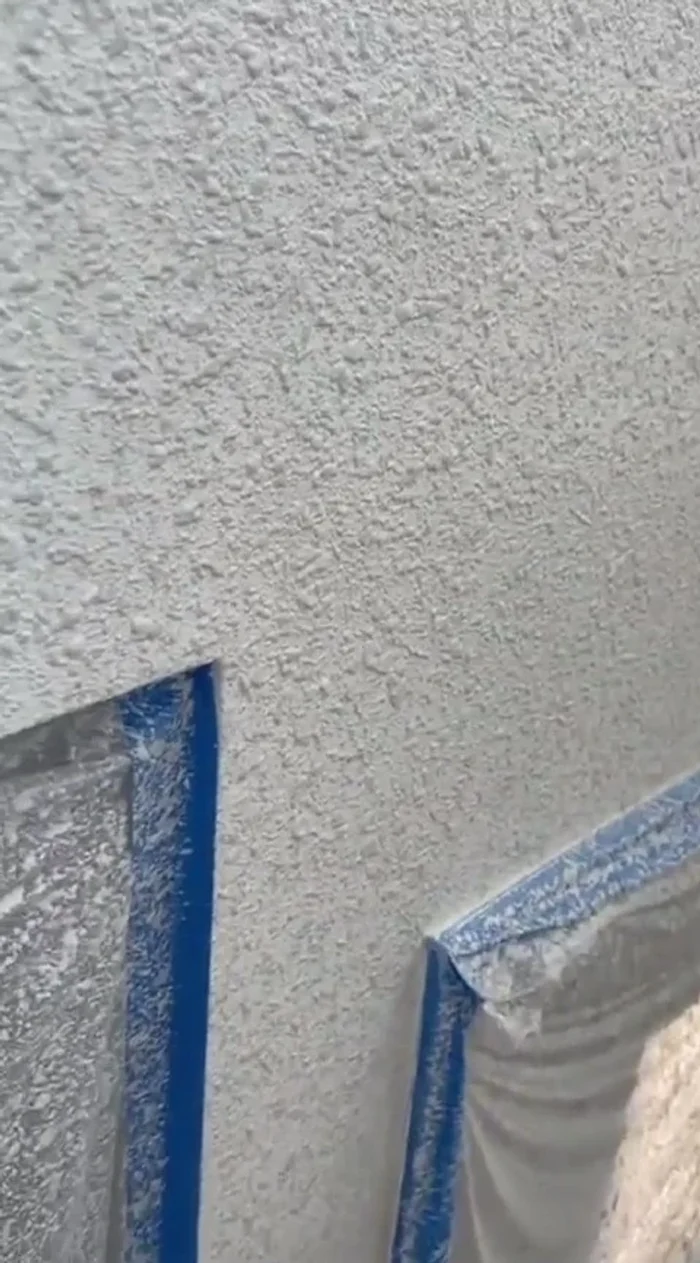
Reinforce and Apply First Coat Apply Texture (If Necessary)
- If using texture (like knockdown), apply it evenly, allowing 5-10 minutes (adjust based on humidity) before knocking it down.
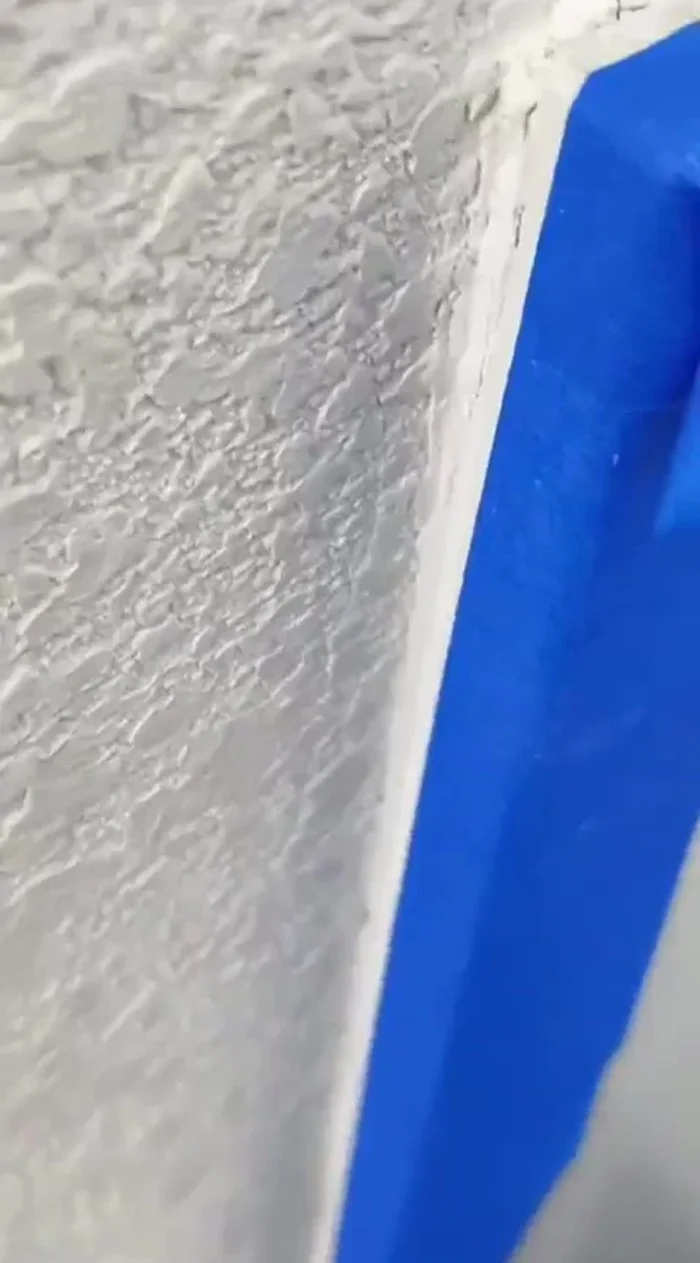
Apply Texture (If Necessary) Sand, Prime, and Paint
- Once dry, sand the patched area smooth, prime, and paint.
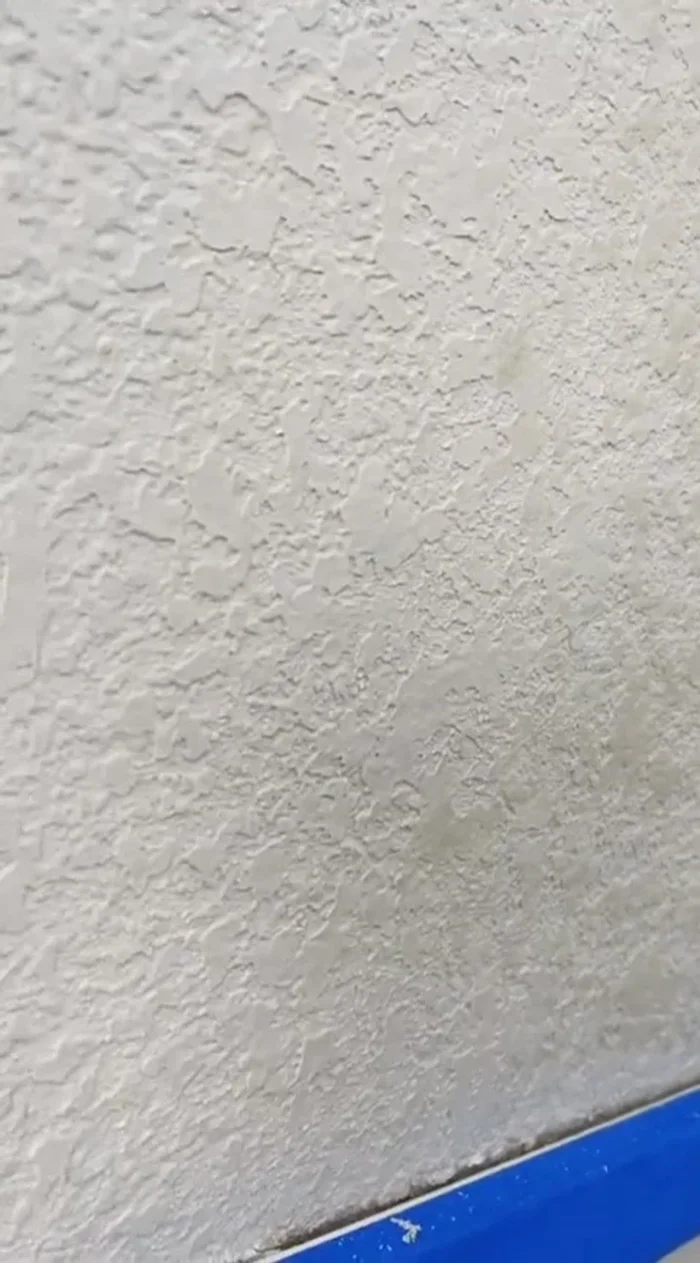
Sand, Prime, and Paint Refine the Finish
- For a seamless finish, lightly scrape off any high points after painting to blend the patch with existing texture.
Refine the Finish

Read more: Fixing Drywall Nail Pops: A Quick and Easy DIY Guide
Tips
- Use hot mud (Easy Sand 5) for quicker drying and multiple coats.
- Don't overtighten drywall screws to avoid tearing the paper.
- Wait for the texture to dry before knocking it down; adjust drying time based on humidity.
- Use a wet rag to wipe away overspray for easier blending.