Cracks in drywall, particularly those appearing under windows, are a common homeowner headache. These unsightly blemishes can range from minor cosmetic issues to indicators of more serious structural problems. A crack near a window is often caused by settling, temperature fluctuations leading to expansion and contraction of the framing, or even simple vibrations from traffic. Ignoring these cracks can lead to further damage, allowing moisture intrusion and weakening the wall's integrity. Fortunately, with the right tools and techniques, even a seemingly significant crack can be repaired effectively, restoring both the aesthetic appeal and structural soundness of your wall.
This guide provides a comprehensive, step-by-step approach to repairing drywall cracks beneath windows, ensuring a professional-looking and long-lasting fix. From identifying the cause of the crack to applying the final coat of paint, we will walk you through every stage of the repair process, empowering you to tackle this common home repair with confidence.
Preparation and Safety Guidelines
- Utility knife
- Plastic sheet
- Stud finder
- Screws
- Drywall compound (Easy Sand 5 recommended)
- Fiber fuse tape
- 10-inch drywall knife
- 6-inch drywall knife (optional)
- Wet rag
- Texture system (optional, knockdown texture shown)
- Magic trowel (optional)
- Paint
- Paintbrush
- Roller
- Caulk
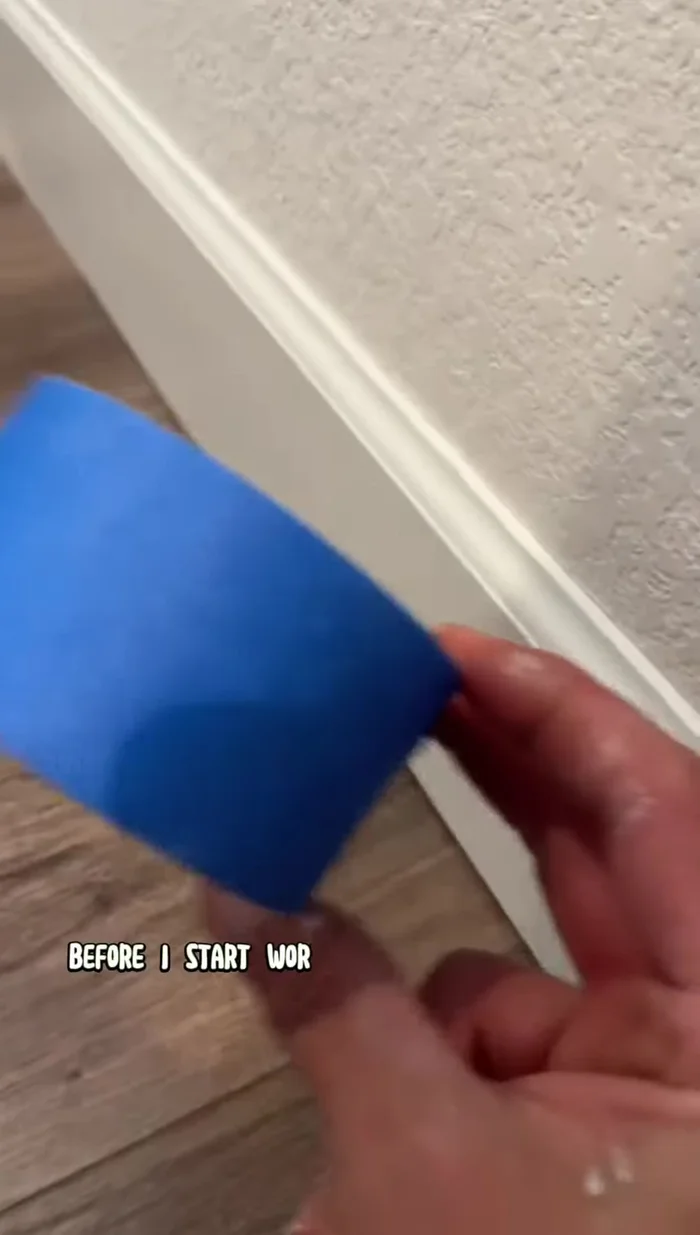
- Blue tape
- Always wear safety glasses and a dust mask to protect your eyes and lungs from drywall dust and debris.
- Turn off the power to any electrical outlets near the crack before starting repairs to prevent electric shock.
- Use appropriate safety equipment when working with sharp tools like utility knives or putties knives. Always cut away from your body.
Step-by-Step Instructions
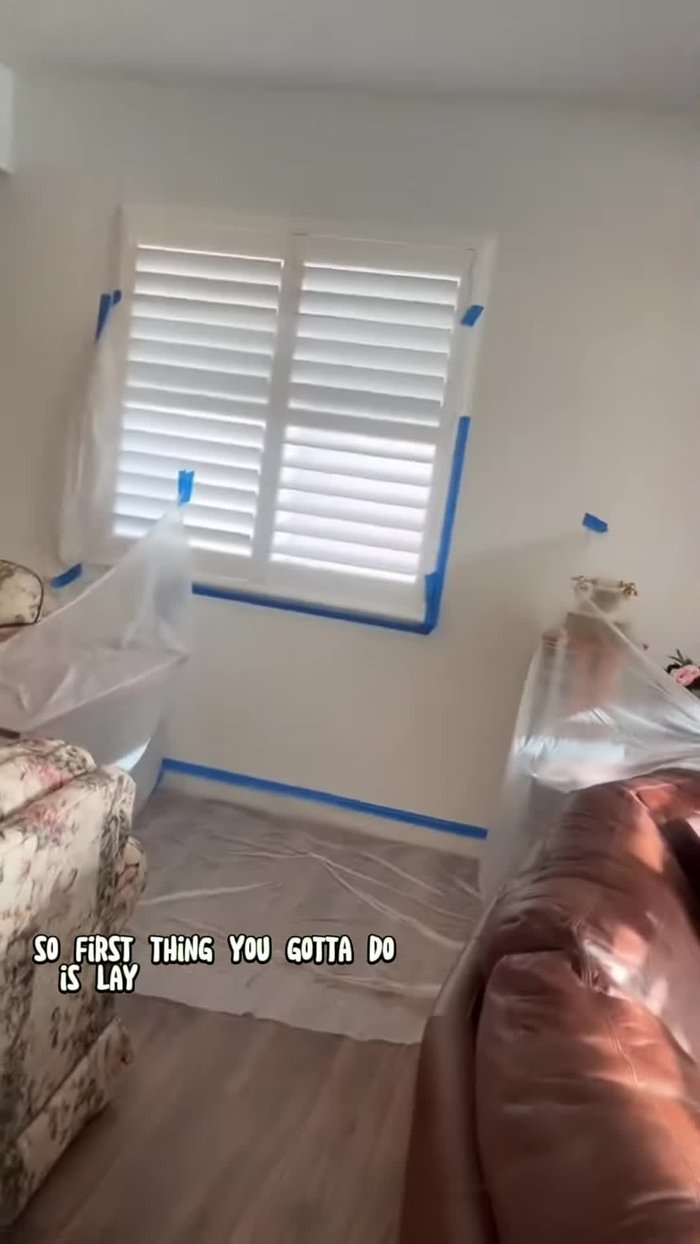
Prepare the Work Area
- Lay down plastic sheeting and cover the window to prevent a mess.

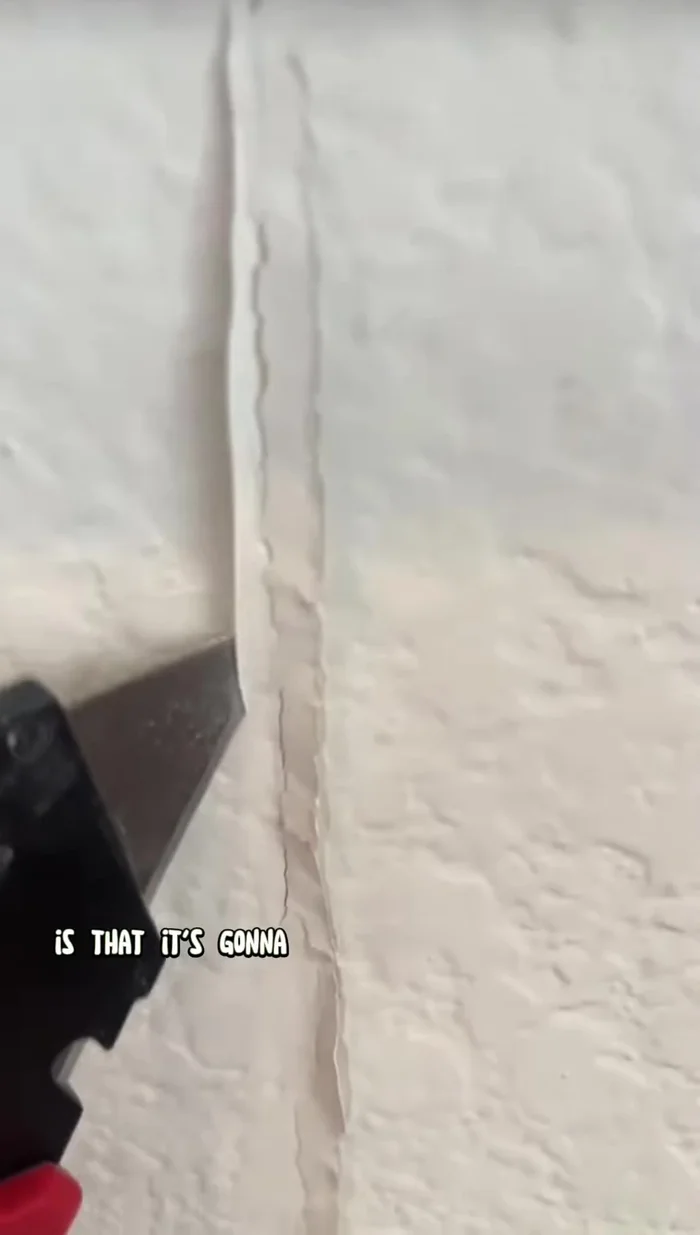
Prepare the Work Area Prepare the Crack
- Use a utility knife to create a beveled edge along the crack, opening it up for better mud application.
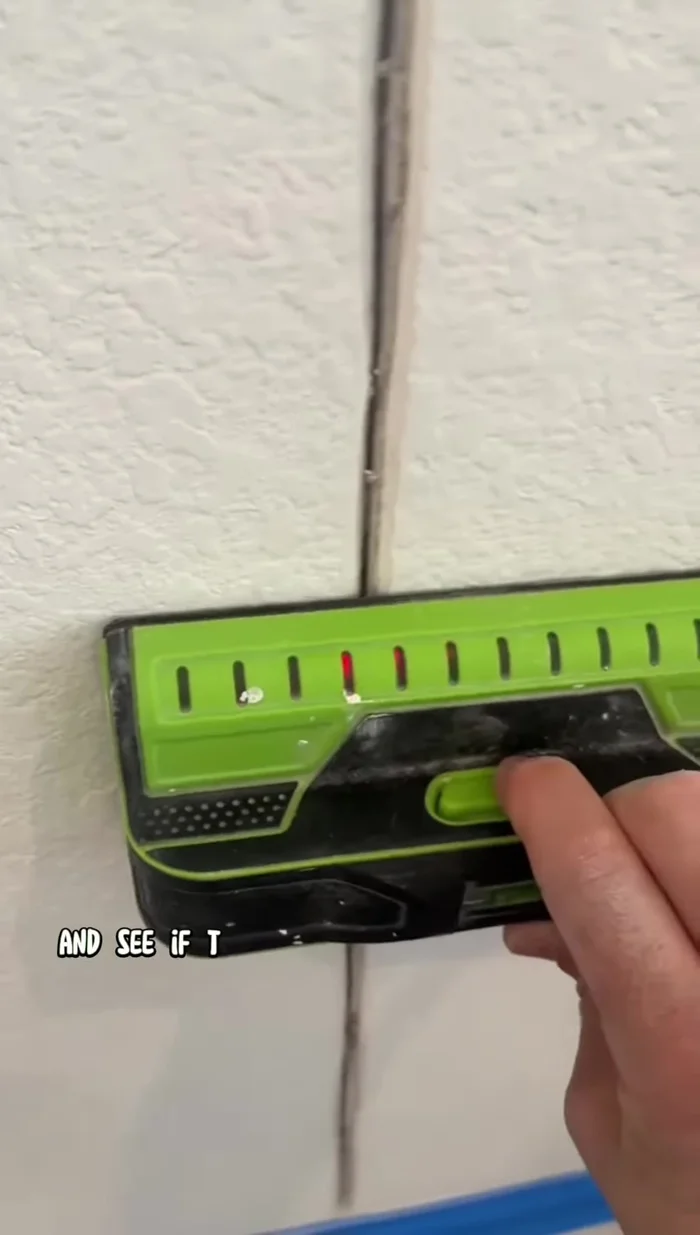
Prepare the Crack Assess and Secure Drywall
- Use a stud finder to locate studs behind the crack. If no backing exists, open the drywall and add backing before proceeding.
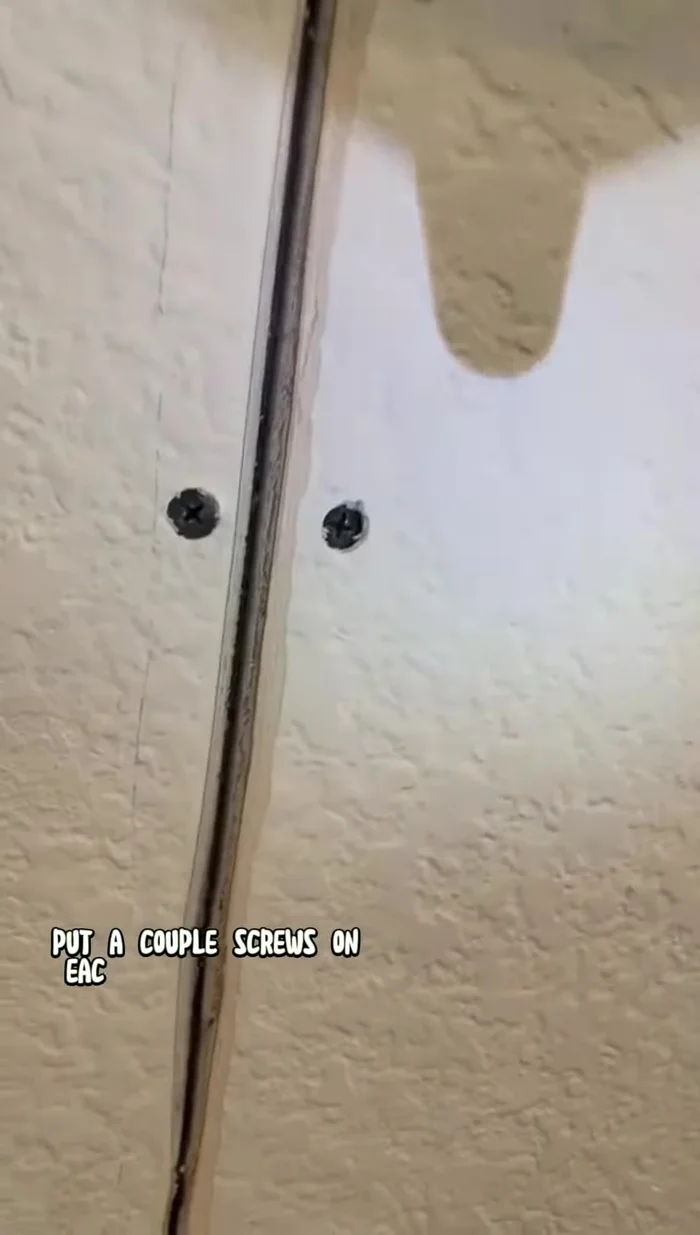
- Screw into the studs on either side of the crack to stabilize the drywall and prevent further cracking.
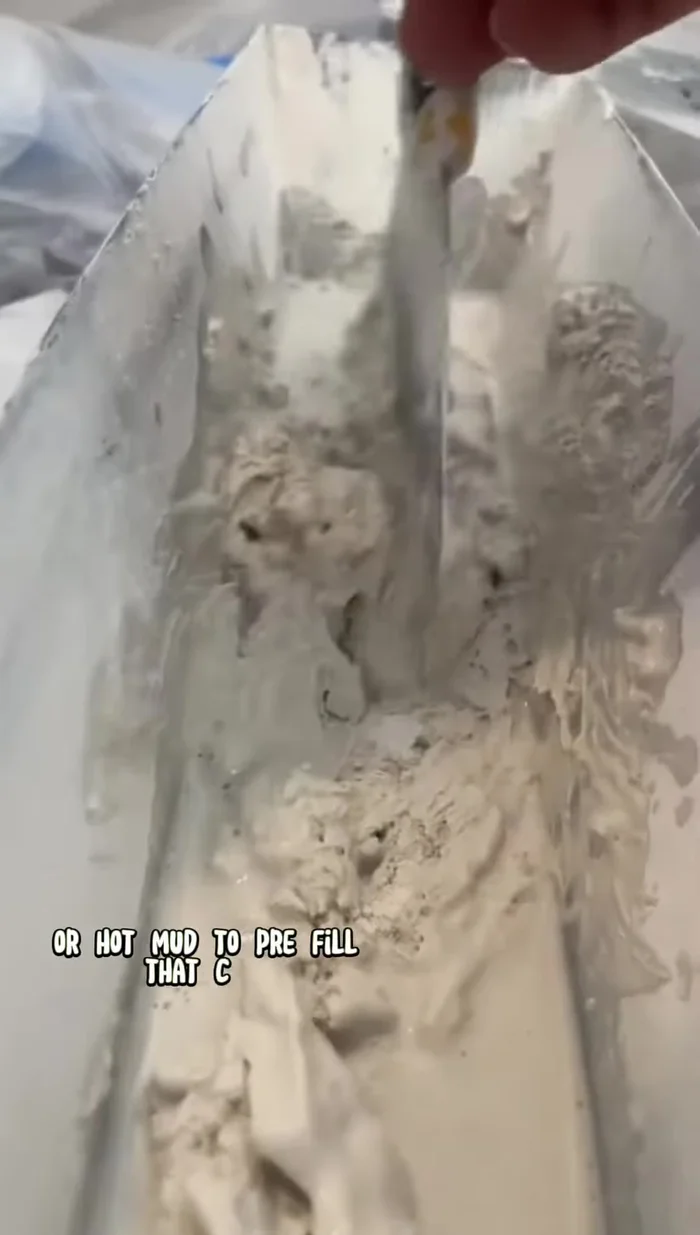
Assess and Secure Drywall Pre-fill and Reinforce
- Mix easy sand 5 (or hot mud) to a spreadable consistency and apply it generously into the crack, pushing it in to fill completely.
- Apply fiber fuse tape (or mesh tape) over the pre-filled crack for added strength and to prevent future cracking. This is a crucial step.
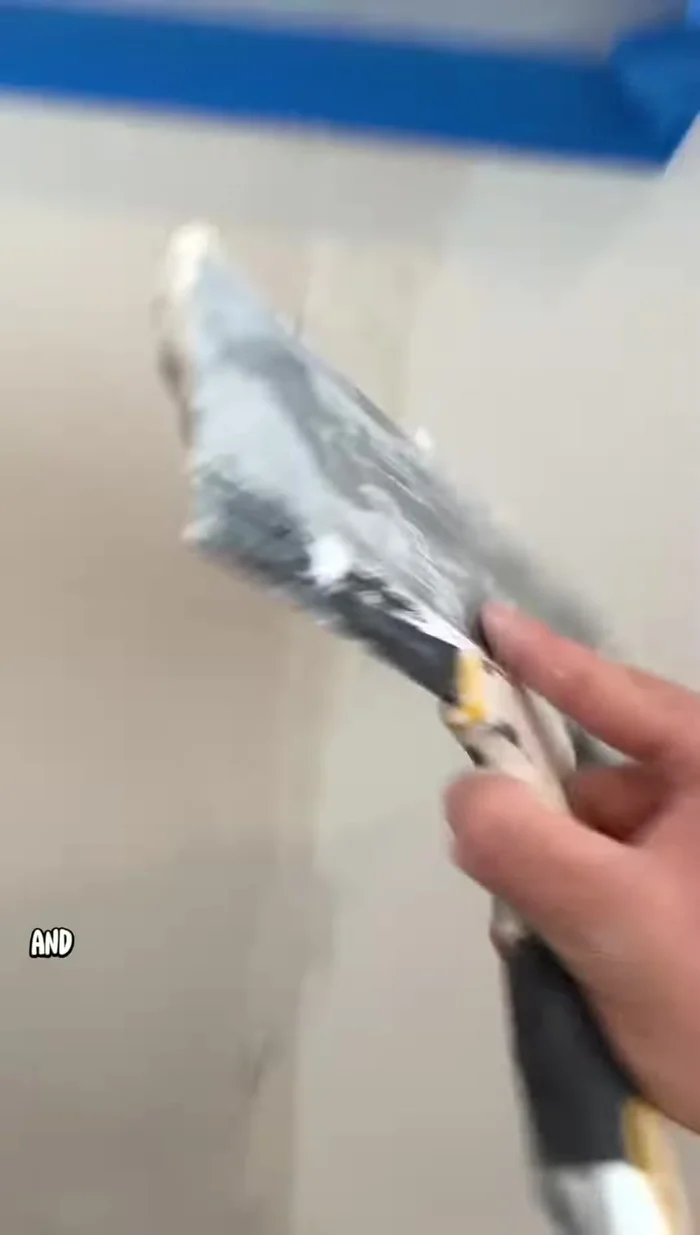
Pre-fill and Reinforce Mudding
- Use a 10-inch drywall knife to apply a smooth, even coat of mud over the tape, aiming for a sour cream consistency.
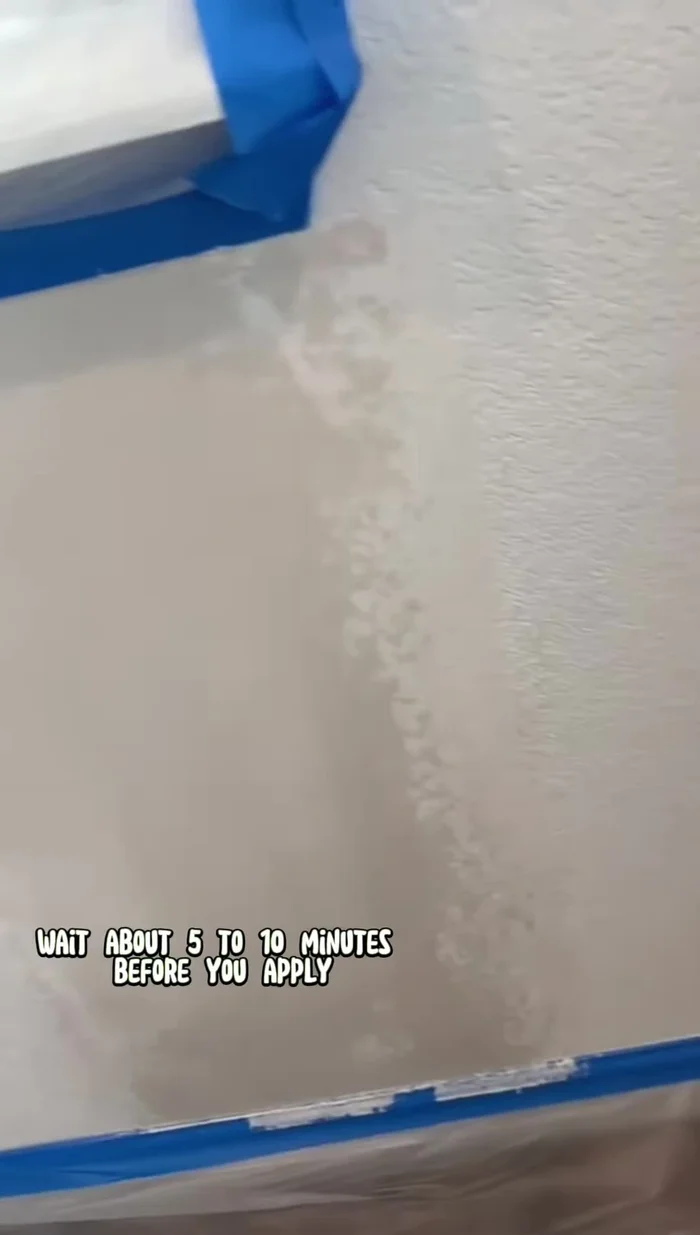
- After 5-10 minutes, apply a thinner second coat of mud. With Easy Sand 5, sanding may not be necessary; just wipe off excess before drying.
Mudding Blend and Finish
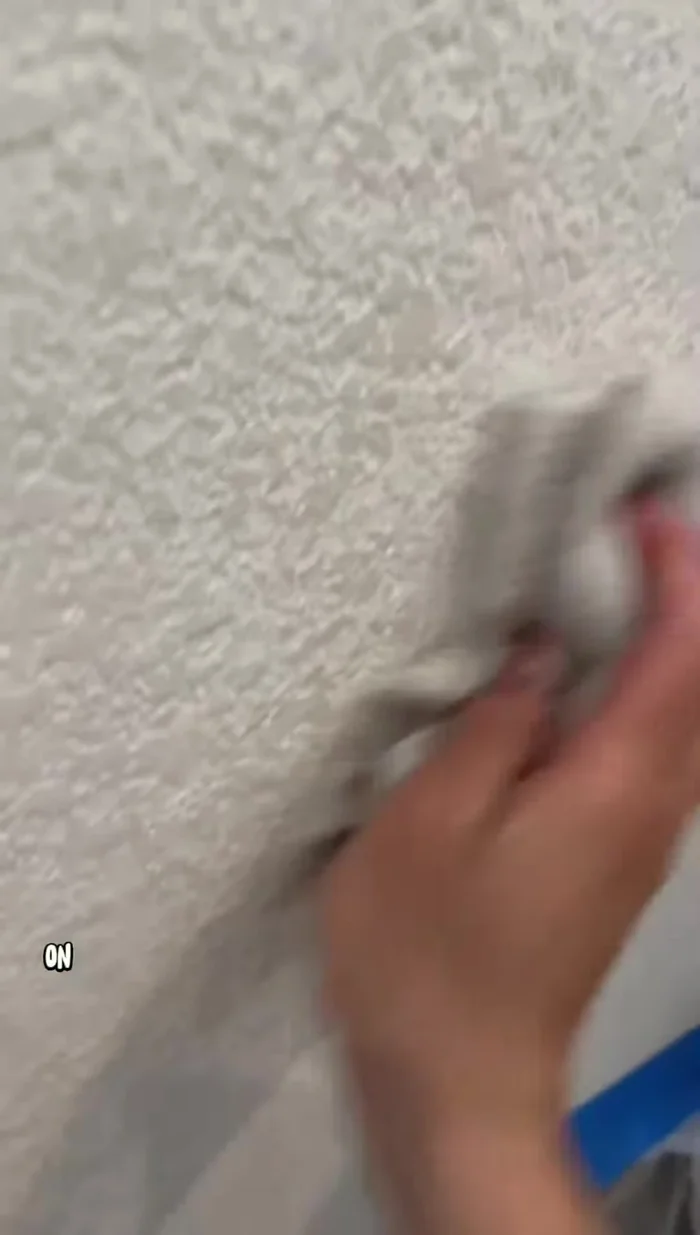
- Once the second coat dries, use a wet rag to blend the edges of the patch into the surrounding wall.
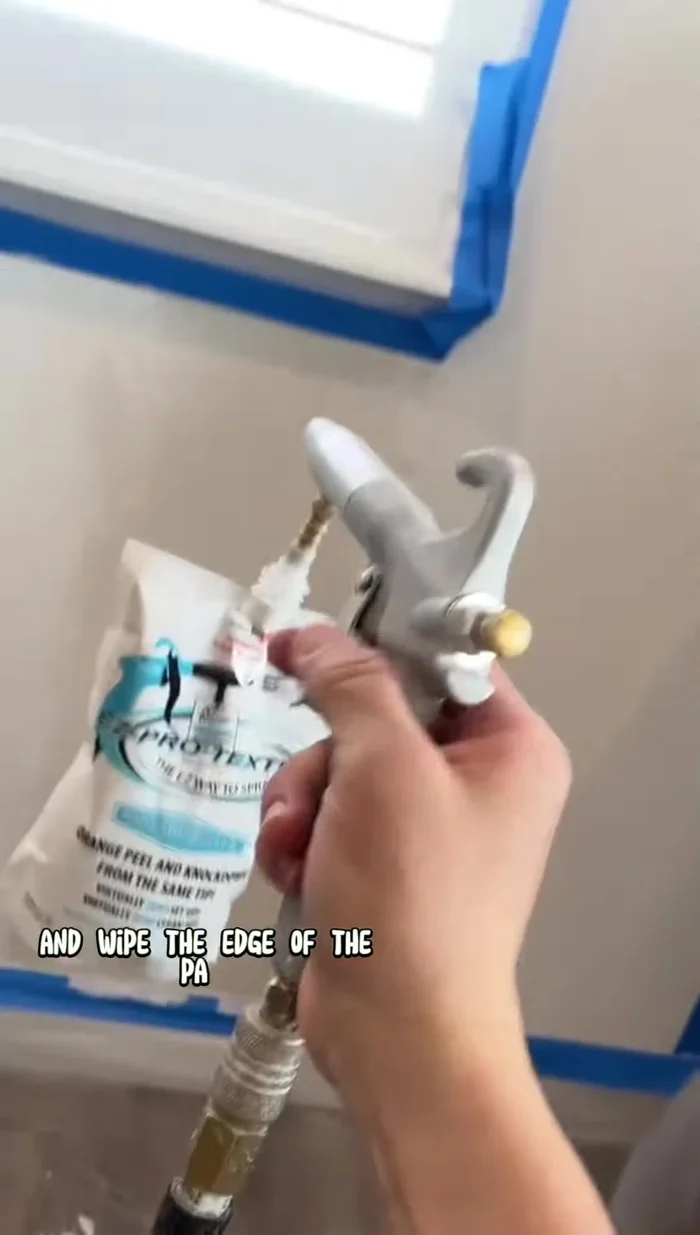
Blend and Finish Apply Texture (Optional)
- Apply knockdown texture using a texture system or spray can. Let it set for 5-10 minutes before knocking it down with a magic trowel or drywall knife.
Apply Texture (Optional) Clean Up and Prepare for Paint
- Clean excess texture and any overspray with a wet rag.
- Lightly scrape down the patch to remove any high spots and wipe down any overspray. This minimizes sanding and dust.
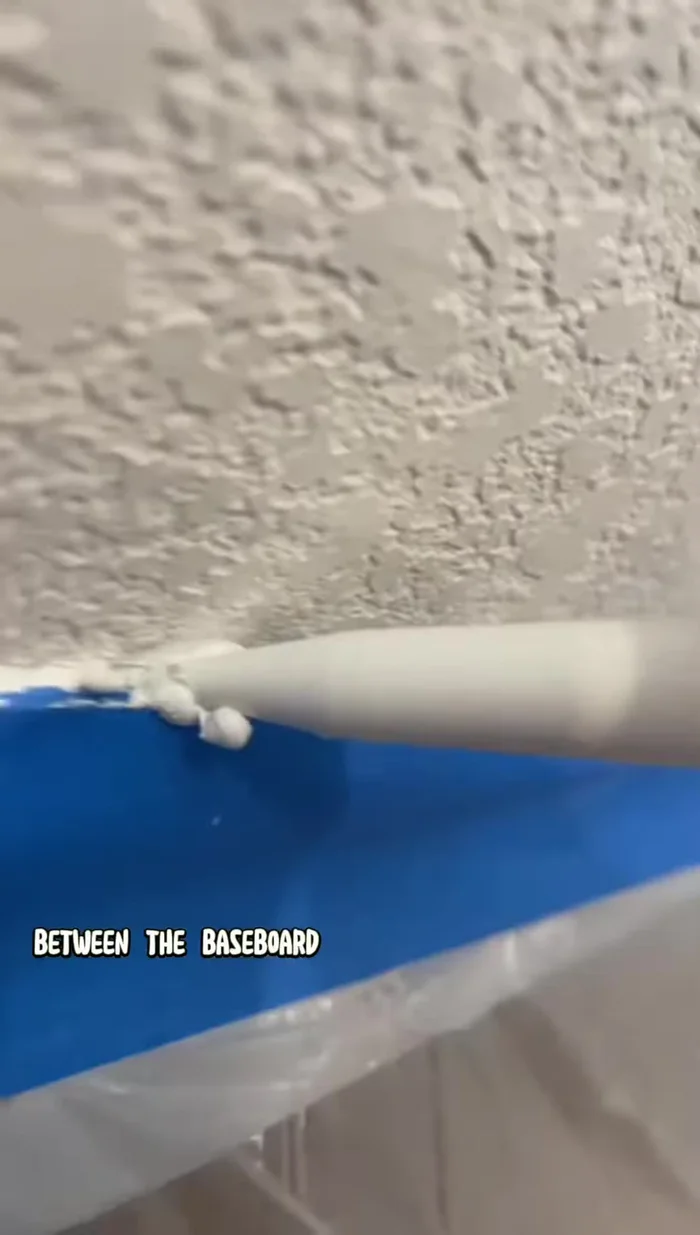
Clean Up and Prepare for Paint Caulk
- Apply caulk along the baseboard and wall edges, carefully removing excess to avoid lines. A wet rag helps clean up excess caulk.
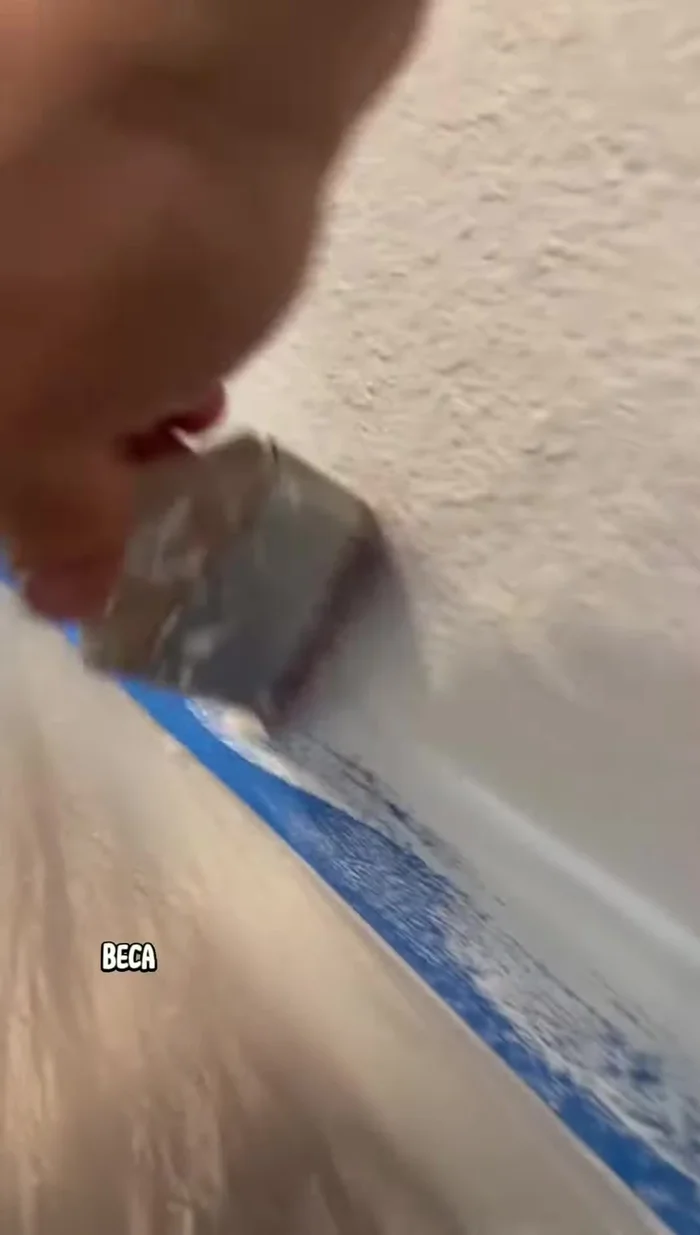
Caulk Paint
- Apply two coats of paint, carefully cutting in with a brush and then using a roller for even coverage. Feather out the edges for a seamless blend. Blue tape is recommended for beginners to create clean lines.
Paint

Read more: Fixing Drywall Nail Pops: A Quick and Easy DIY Guide
Tips
- Use Easy Sand 5 for a one-day repair, but Easy Sand 45 allows more working time for beginners.
- Don't over-tighten screws to avoid tearing the drywall paper.
- Avoid bumpy mud application for a smooth finish.
- Flat paint acts as a primer, eliminating the need for a separate primer coat.