Drywall, that ubiquitous material lining our walls, is surprisingly susceptible to damage. From accidental bumps to the inevitable wear and tear of everyday life, holes in your drywall are a common household headache. But fear not, patching those imperfections doesn't require professional help or a hefty bill. With the right tools and a little know-how, you can seamlessly repair those unsightly blemishes and restore your walls to their former glory. A flawlessly repaired wall is within your reach, adding value to your home and peace of mind to your living space.
This guide provides a comprehensive, step-by-step process for effectively patching drywall holes of various sizes, from small nail holes to larger, more substantial damage. Whether you're a seasoned DIY enthusiast or a complete novice, follow along as we navigate the simple yet effective techniques necessary for achieving a professional-looking finish. Let's dive into the details and learn how to repair those drywall holes like a pro!
Preparation and Safety Guidelines
- Patching kit
- Utility knife
- Sponges (medium and fine)
- Putty knife
- Wallboard joint compound
- Primer
- Paint
- Protective eyewear
- Always wear safety glasses to protect your eyes from flying debris during the repair process.
- Use appropriate respiratory protection, such as a dust mask, to avoid inhaling drywall dust, which can be harmful to your lungs.
- Ensure proper ventilation in the work area to minimize dust accumulation and allow for quicker drying of the patching compound.
Step-by-Step Instructions
Prepare the Hole
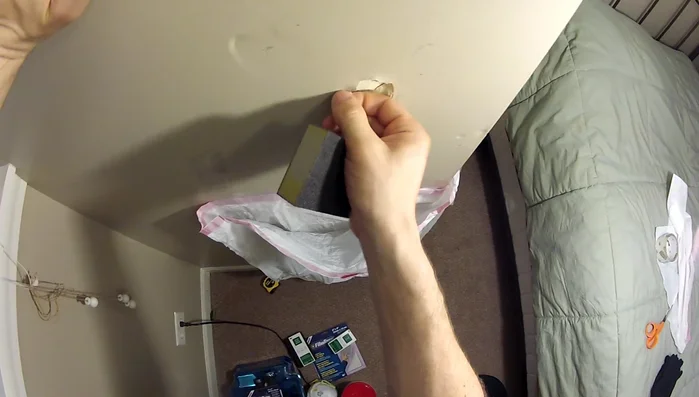
- Clean the hole and surrounding area.

Prepare the Hole Apply Initial Patch (for small holes)
- Apply a small amount of joint compound to the hole, especially for smaller holes, using a putty knife. This helps the patch adhere better.
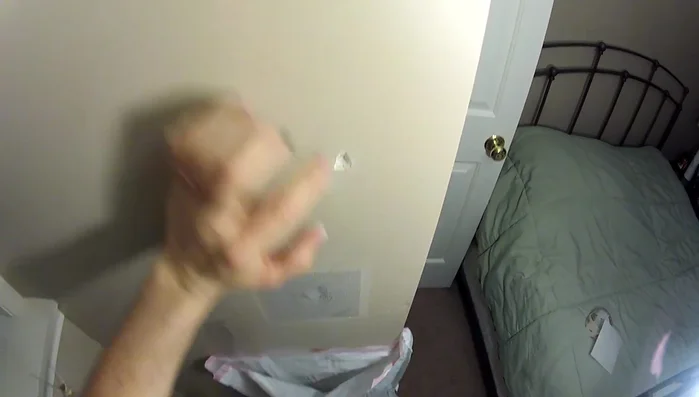
Apply Initial Patch (for small holes) Apply Drywall Patch
- Apply a drywall patch, ensuring it's centered and flush with the wall. Gently press to ensure proper adhesion.
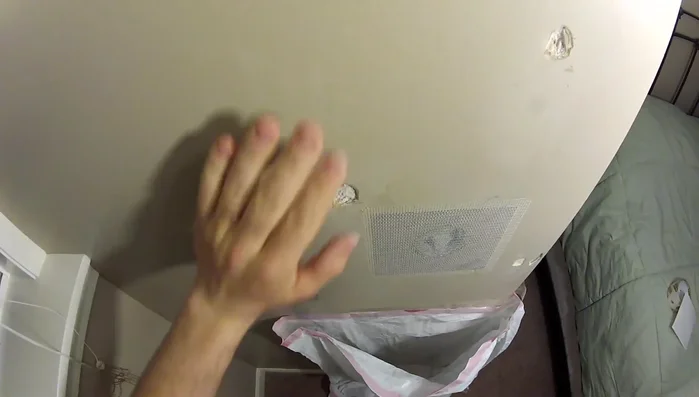
Apply Drywall Patch First Layer of Joint Compound
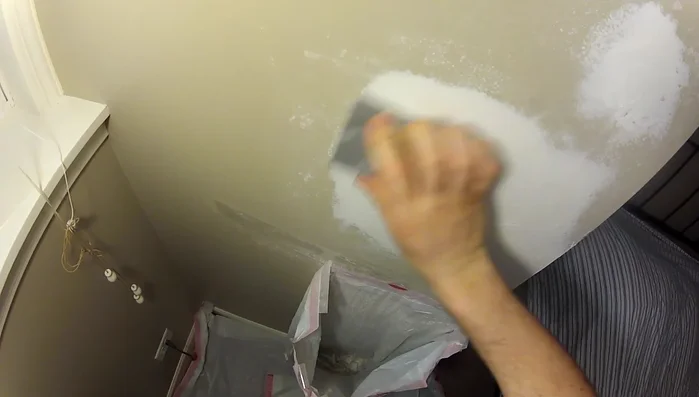
- Apply the first layer of joint compound over the patch, feathering the edges to blend seamlessly with the wall. Let it dry completely.
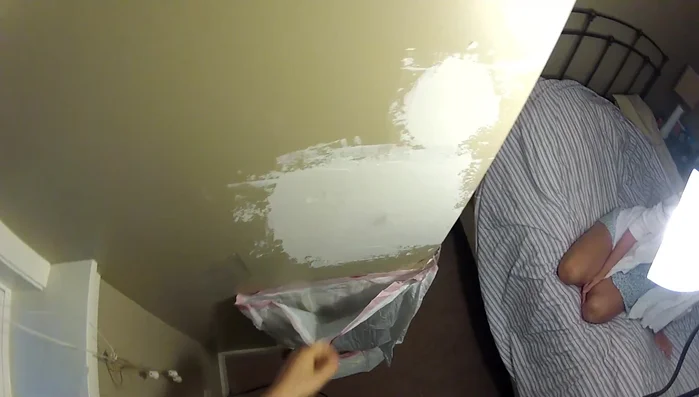
First Layer of Joint Compound Sand and Clean First Layer
- Sand the dried joint compound smooth. Remove dust.
Sand and Clean First Layer Second Layer of Joint Compound
- Apply a second layer of joint compound, again feathering the edges. Let it dry completely.
Second Layer of Joint Compound Sand and Clean Second Layer
- Sand the second layer smooth and remove any dust.
Sand and Clean Second Layer Prime the Repaired Area
- Apply primer to the repaired area.
Prime the Repaired Area Paint the Repaired Area
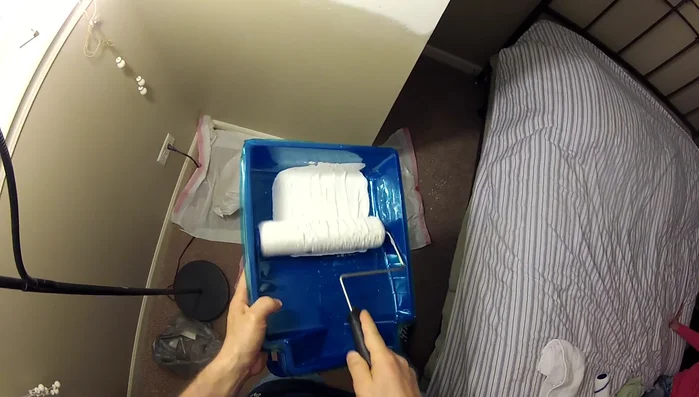
- Apply at least two coats of paint, allowing each coat to dry completely, to match the surrounding wall.
Paint the Repaired Area


Read more: Fixing Drywall Nail Pops: A Quick and Easy DIY Guide
Tips
- Use a putty knife to apply the joint compound. For small holes, the putty knife is enough, but for larger holes, you might want to use a wider knife or taping knife.
- Ensure the patch is fully adhered and any excess joint compound is removed before drying.
- Use different grit sanding sponges (medium and fine) to achieve a smooth surface.
- Apply thin layers of joint compound to prevent cracking and ensure a smooth finish.
- Use matching paint for a seamless repair.