A faulty electrical box or a loose cover plate is more than just an eyesore; it poses a significant safety hazard. Exposed wiring, damaged insulation, and the potential for shock are all serious risks that demand immediate attention. Ignoring these problems can lead to electrical fires, injury, and costly repairs down the line. A seemingly minor issue like a cracked cover plate can quickly escalate into a major electrical problem if left unaddressed. Thankfully, most minor electrical box repairs are manageable DIY projects, saving you time and money compared to hiring an electrician.
This simple guide will walk you through the process of repairing a broken electrical box and its cover plate, equipping you with the knowledge and confidence to tackle this common household problem. Let's get started with the step-by-step instructions that will quickly restore both functionality and safety to your electrical system.
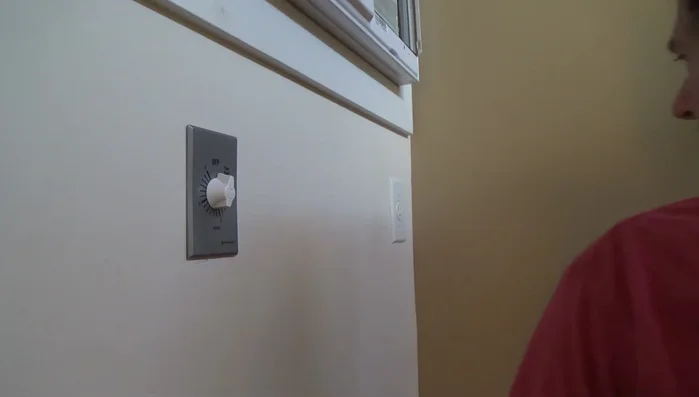
Preparation and Safety Guidelines
- Screwdriver
- Needle-nose pliers
- Replacement electrical box (with no flaps)
- Cover plate
- Always turn off the power at the breaker box before working on any electrical box. Failure to do so could result in serious injury or death.
- Use appropriate personal protective equipment (PPE), such as safety glasses, to protect yourself from potential hazards like sharp edges or sparks.
- If you are not comfortable working with electricity, consult a qualified electrician. Improper repairs can lead to fire hazards and electrical shocks.
Step-by-Step Instructions
Assess the Damage
- Identify the broken part of the electrical box and the location of the broken screw.

Assess the Damage Remove Broken Parts
- Carefully remove the broken section of the box and any remaining broken screw pieces using needle-nose pliers.
Remove Broken Parts Install Replacement Box
- Slide the new replacement electrical box (preferably one without flaps) onto the existing wiring.
- Screw the new box into place, ensuring it is flush against the wall. Tighten the screw gradually to avoid damaging the box or wall.
Install Replacement Box Install Cover Plate
- Align the cover plate with the box, ensuring proper fit within the existing wall opening.
- Attach the cover plate, tightening the screws to a snug fit, and avoid over-tightening to prevent damage.
Install Cover Plate


Read more: Installing an Outdoor GFCI Receptacle: A Step-by-Step Guide
Tips
- If the screw doesn't allow the box to 'flop down' properly, adjust its position to ensure a proper fit before fully tightening.
- Hand-tighten screws to avoid stripping the plastic threads. Avoid using a power drill.
- Ensure wiring is pushed back before screwing in the box to prevent damage.
- Check if the box is level and plumb before tightening completely. Make adjustments if needed.
- Don't overtighten the cover plate screws, particularly vinyl ones, to avoid dimpling or cracking.