Outdated electrical outlets can be an eyesore, a safety hazard, and a frustrating impediment to modern living. Whether you're dealing with loose plugs, flickering lights, or simply tired of those old-fashioned two-prong sockets, upgrading your home's electrical outlets is a worthwhile project. More than just an aesthetic improvement, upgrading your outlets can enhance safety by ensuring your appliances are properly grounded, preventing shocks and potential fires. Furthermore, replacing outdated outlets with modern, high-amperage options can improve the efficiency of your electrical system and provide the power needed for today's energy-hungry devices.
But you might be intimidated by the prospect of electrical work. Fear not! This guide offers the quickest and easiest method to upgrade your electrical outlets, transforming your home's functionality and safety with minimal effort. Ready to get started and transform your outdated outlets? Let’s dive into our step-by-step process below.
Preparation and Safety Guidelines
- Voltage detector (Milwaukee recommended)
- Phillips/flathead screwdriver
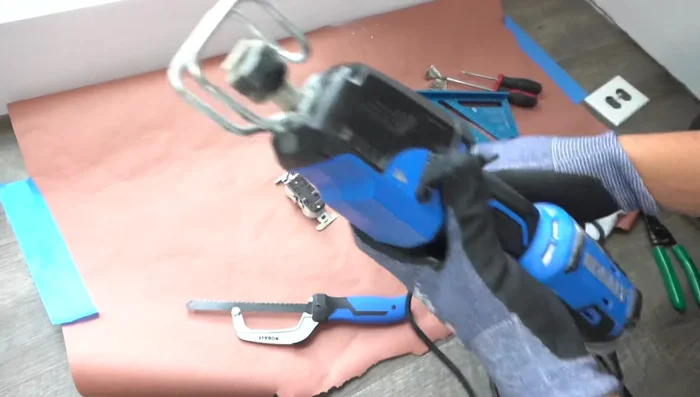
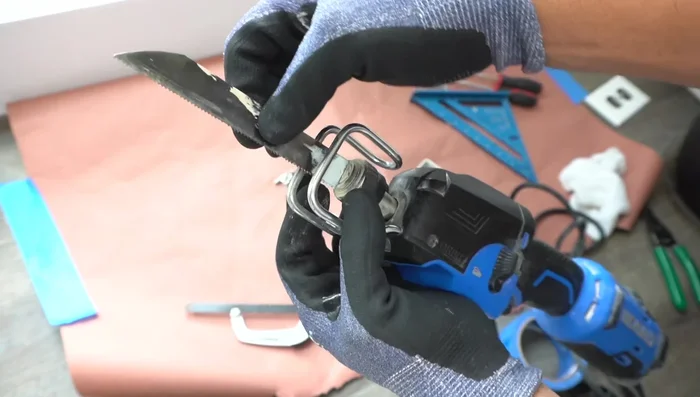
- Handheld Sawzall with metal cutting bit
- Hacksaw (optional)
- Flathead screwdriver (optional)
- Wire strippers
- Wire connectors (Wiggle connectors recommended)
- Impact wrench or drill
- Old work J-box
- Upgraded electrical outlet (GFIC or Smart Outlet)
- Upgraded cover plate
- Always turn off the power at the breaker box before working on any electrical outlet. Failure to do so can result in serious injury or death.
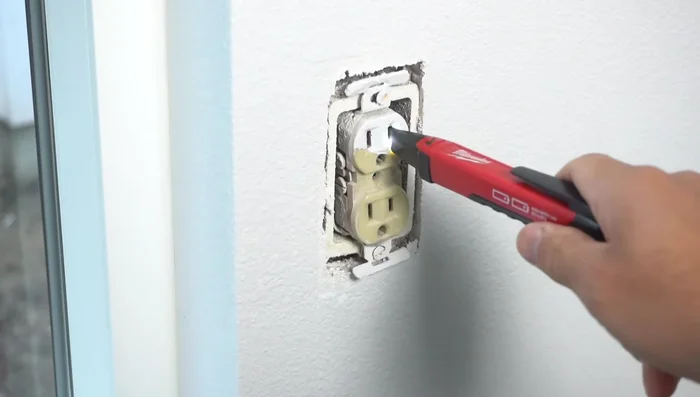
- Use a non-contact voltage tester to double-check that the power is off before touching any wires. Visual inspection alone is not sufficient.
- If you are uncomfortable or unsure about any step of the process, consult a qualified electrician. Electrical work can be dangerous if not done correctly.
Step-by-Step Instructions
Power Shut Off and Verification
- Turn off power at the breaker.
- Verify power is off using a voltage detector.

Power Shut Off and Verification Remove Old Outlet
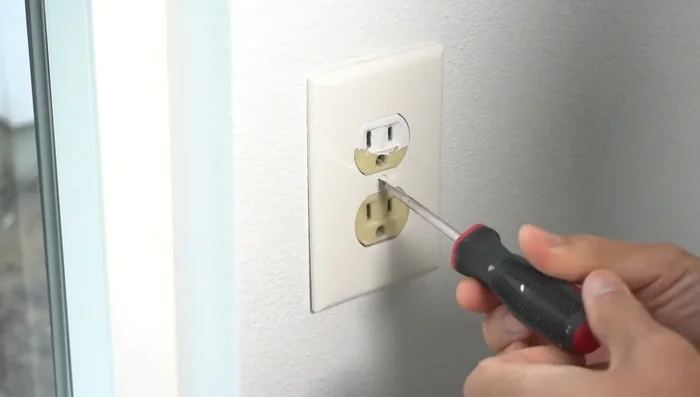
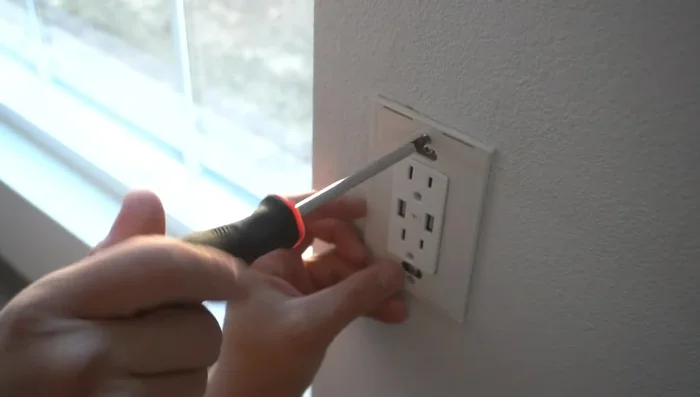
- Remove the outlet cover plate.
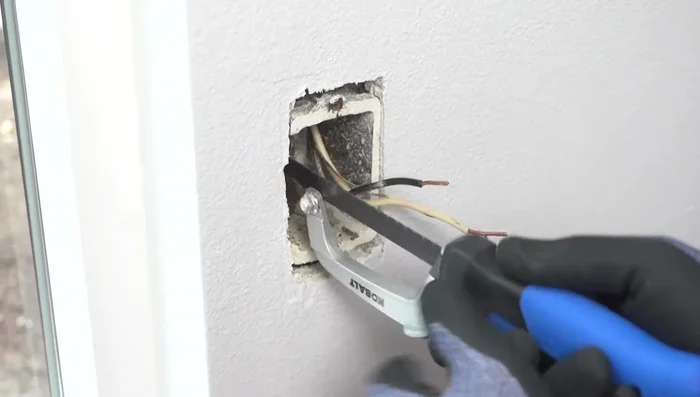
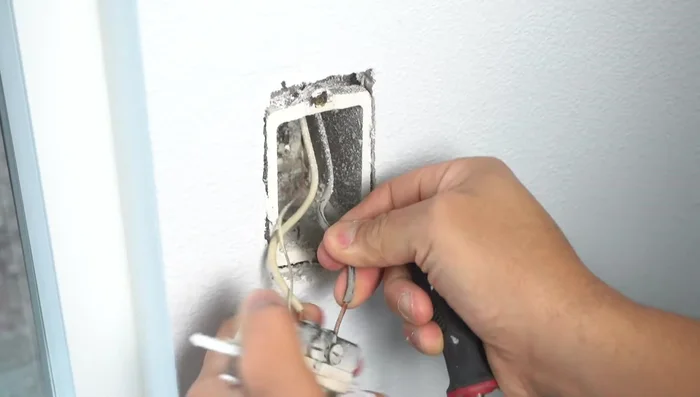
- Loosen and remove the old outlet's wiring.
- Use a Sawzall to carefully remove the old J-box. (Avoid using a hacksaw or prying, as this can damage the drywall.)
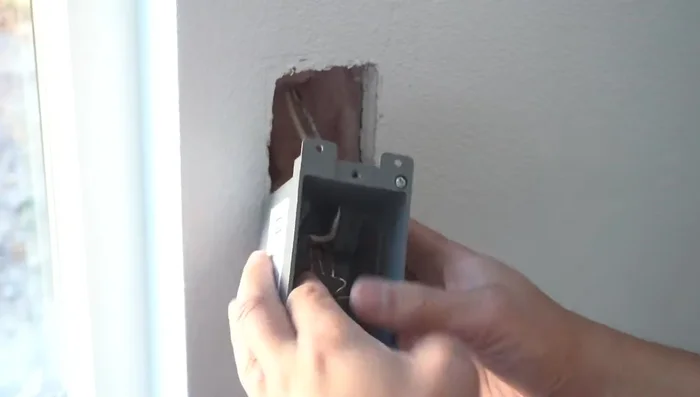
Remove Old Outlet Install New J-Box
- If necessary, slightly enlarge the hole to accommodate the new, larger J-box.
- Install the new old-work J-box. (Ensure it's UL certified.)
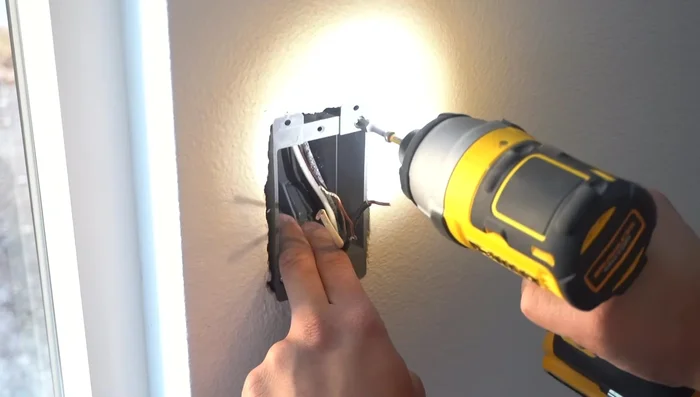
Install New J-Box Wire and Install New Outlet
- Use wire connectors to extend wires if needed).
- Insert the new outlet into the J-box and secure it.
Wire and Install New Outlet Final Touches
- Install the new cover plate.
Final Touches

Read more: Installing an Outdoor GFCI Receptacle: A Step-by-Step Guide
Tips
- Always use a voltage detector before working with electricity.
- If uncomfortable working with electricity, consult a certified electrician.
- A Sawzall is the most efficient tool for removing old J-boxes.
- Use old work J-boxes designed for this purpose. They are simpler to install.
- Use wire connectors for easier and safer wire connections.