EPDM rubber roofs, known for their durability and longevity, are nonetheless susceptible to damage from weather, age, and accidental punctures. A small leak or tear, if left unattended, can quickly escalate into a major and costly repair. Fortunately, many EPDM roof repairs can be handled efficiently by homeowners with basic DIY skills, saving you time and money on professional services. Understanding the proper patching techniques is key to extending the life of your roof and preventing further water damage.
This guide provides a quick and easy, step-by-step process for patching common EPDM roof problems. We'll cover everything from identifying the damage and selecting the right materials to applying the patch and ensuring a long-lasting, watertight seal. Whether you're dealing with a small puncture, a larger tear, or a section of degraded rubber, you'll find the information you need to confidently tackle your EPDM roof repair.
Preparation and Safety Guidelines
- EPDM patch
- Primer
- Brush
- Scissors
- Tape (6 inch)
- Silicon seam roller
- Marker
- Hot soapy water
- Always work with a partner for safety and to help manage materials.
- Wear appropriate safety gear, including gloves, eye protection, and sturdy footwear. EPDM sealant can be irritating.
- Ensure the roof surface is clean and dry before applying any patching material. This improves adhesion.
Step-by-Step Instructions
Prepare the Roof Surface
- Clean the affected area of the roof with hot soapy water and ensure it's dry before starting the repair. This removes dirt and moss.
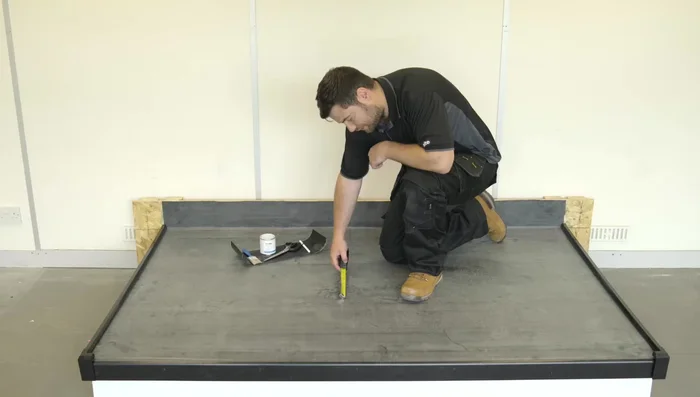
Measure and Cut the Patch
- Measure 3 inches (75mm) from the damaged area in all directions to determine the size of the patch needed (6x9 inches in this example).
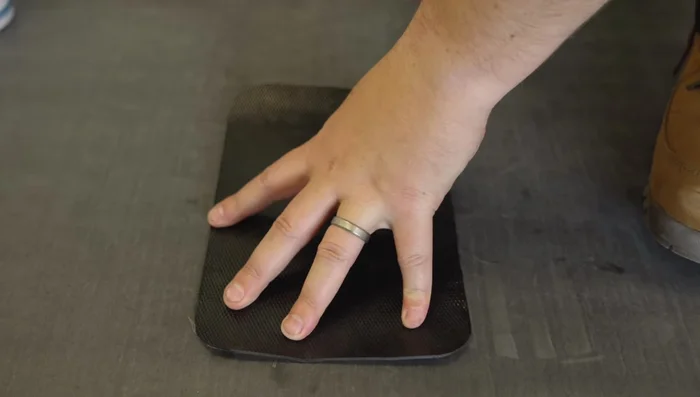
- Cut the EPDM patch to the required size (6x9 inches, rounded corners for better adhesion).

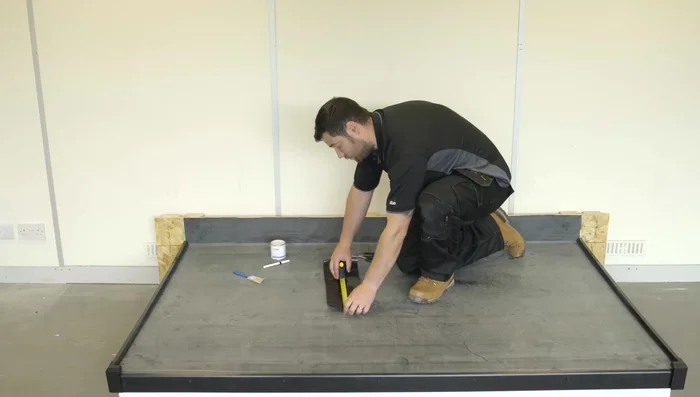
Measure and Cut the Patch Position and Mark the Patch
- Position the patch over the damaged area and mark the perimeter.
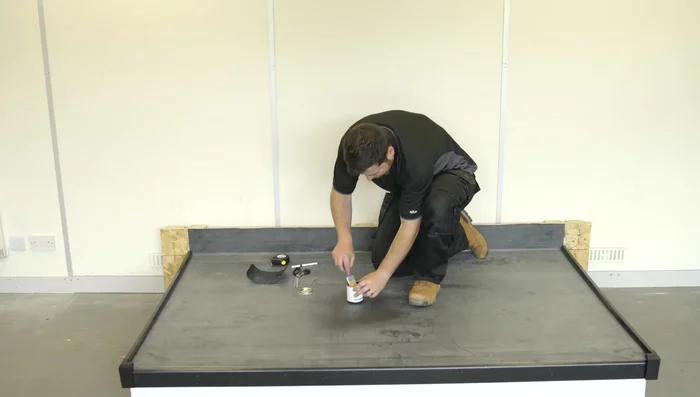
Position and Mark the Patch Apply Primer
- Apply primer to the marked area, slightly exceeding the markings to avoid dry edges. Allow 4-5 minutes to dry completely.
Apply Primer Apply and Seal the Patch
- Peel the laminated backing off the patch and firmly press the sticky side onto the primed area.
- Use the seam roller to ensure complete adhesion and remove any air bubbles.
Read more: DIY Roof, Shingle, Fence, and Flashing Repair with Henry Wet Patch 208
Tips
- Rounded corners on the patch help prevent peeling.
- The primer activates the EPDM; it is not an adhesive.