Tired of generic home bars that cost a fortune? Craving a unique and stylish addition to your entertaining space without breaking the bank? Then get ready to be inspired! This project showcases the incredible transformation of a humble, upcycled hutch found on Facebook Marketplace into a stunning, functional home bar. We'll take you through the journey of breathing new life into a forgotten piece of furniture, proving that incredible style doesn't require a hefty price tag. This upcycling project is a testament to creativity and resourcefulness, proving that sometimes the best finds are the ones you discover unexpectedly.
From drab to fab, we'll reveal how a little imagination, elbow grease, and some clever repurposing techniques can completely revamp a secondhand piece. This detailed guide will walk you through each step of the process, from initial sourcing and cleaning to the final paint job and stylish finishing touches. Ready to turn your thrifty find into a showstopping centerpiece? Let's get started!
Preparation and Safety Guidelines
- Varnish remover
- Sandpaper
- Paint (marble paint recommended)
- Brass handles
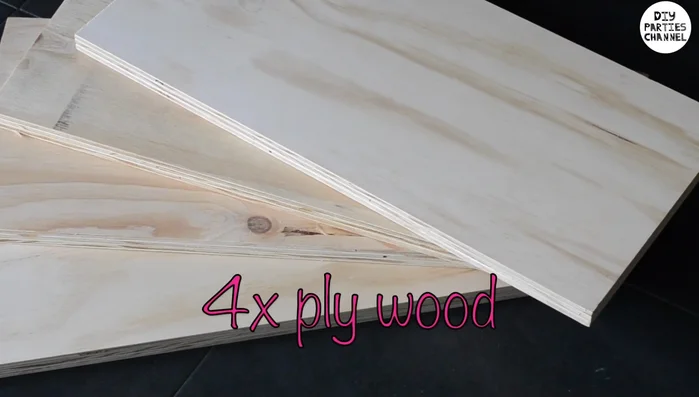
- Wooden pieces
- Stucco
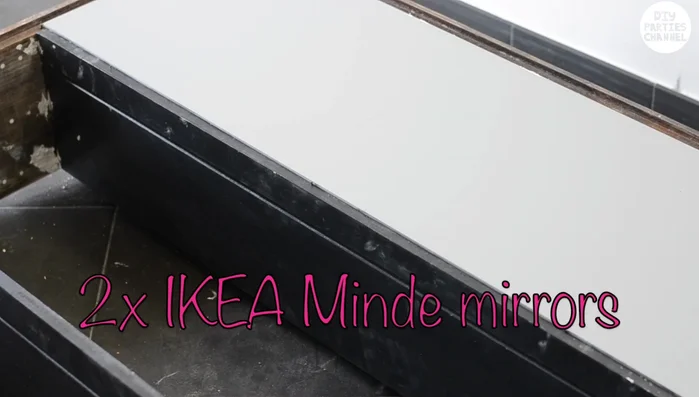
- Mirrors
- Nails
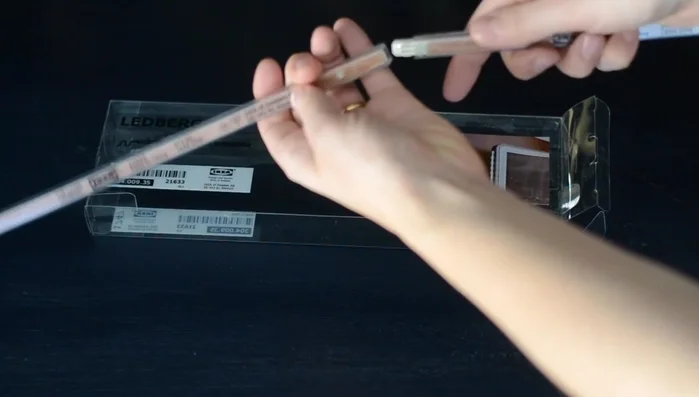
- LED lights
- Thin piece of wood
- Always unplug electrical appliances before working on them or near them. Improper handling of electricity can lead to serious injury or death.
- Use appropriate safety glasses and a dust mask when sanding, cutting, or using power tools. Wood dust and flying debris can cause eye and respiratory problems.
- If using paint or stain, ensure adequate ventilation and follow the manufacturer's safety instructions carefully. Wear gloves to protect your skin.
Step-by-Step Instructions
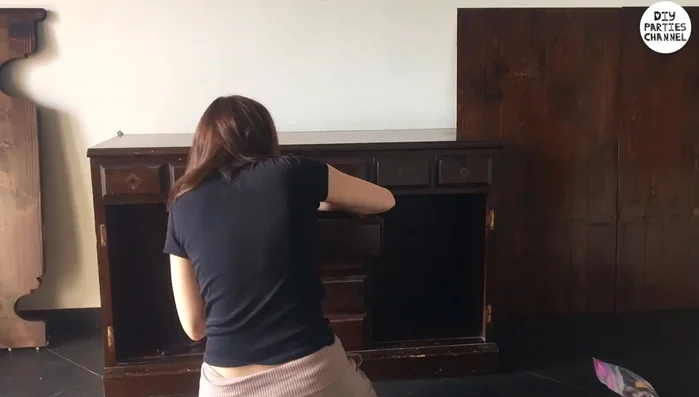
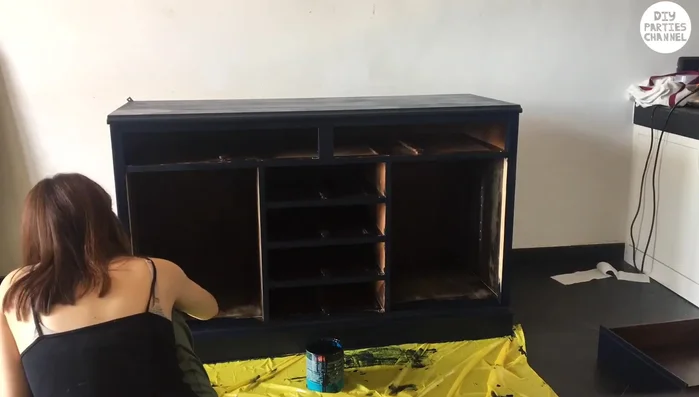
Hutch Preparation
- Remove doors and handles from the hutch.
- Apply varnish remover, ensuring proper PPE and protecting the floor.
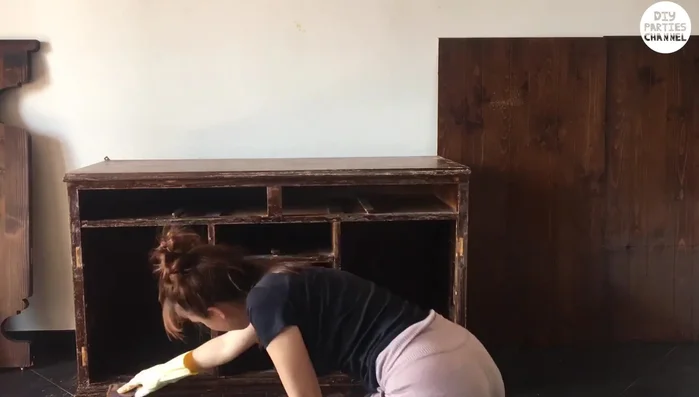
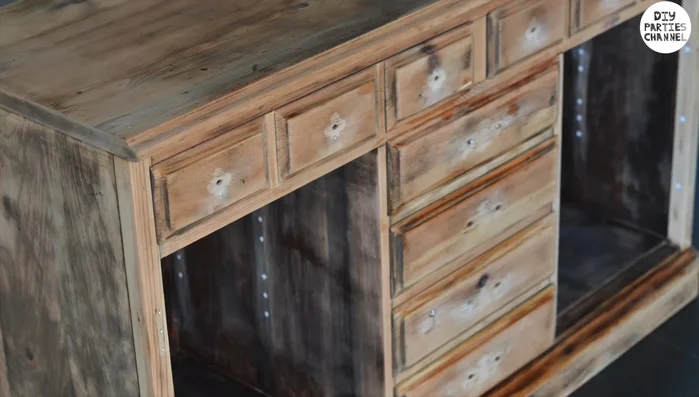
- Scrape off the varnish and sand the surface.
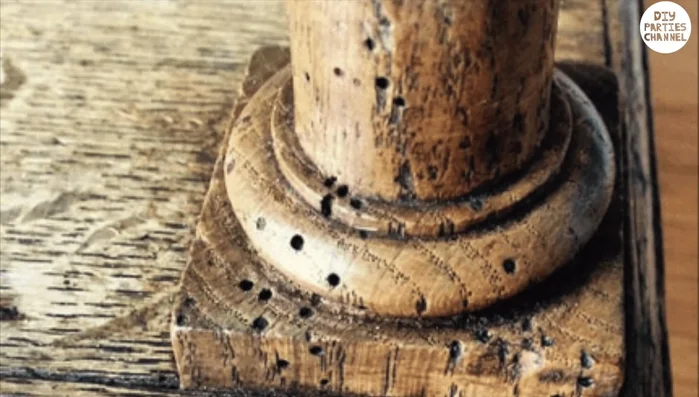
- Clean the surface and fill any holes with stucco.

Hutch Preparation Painting and Finishing
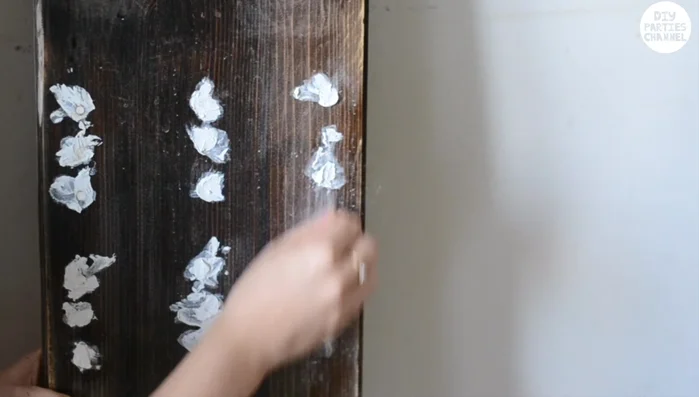
- Paint the hutch with your chosen color (marble paint is used in the video).
- Install new brass handles.
Painting and Finishing Interior Design
- Install the custom-cut wooden wine rack.
- Add mirrors to the interior.
- Install LED lights.
Interior Design
Read more: DIY Upcycled Bed Frame: A Step-by-Step Guide
Tips
- Check the condition of second-hand furniture, ensuring drawers work and there's no rot.
- High-quality paint might not require sanding down to the bare wood; a light sanding is sufficient.
- Source inexpensive custom-cut wooden pieces from a hardware store.