Peeling paint is more than just an eyesore; it's a sign of underlying damage that can lead to costly repairs if left unchecked. Not only does it detract from your home's curb appeal, but it also compromises its structural integrity, allowing moisture to penetrate and causing further deterioration. This ultimately leads to rot, mold, and even structural weakness in walls and other surfaces. Beyond the purely aesthetic concerns, fixing peeling paint is crucial for preserving the value and longevity of your property. Ignoring the problem only exacerbates the issue, making the eventual repair far more extensive and expensive.
This ultimate guide provides a comprehensive, step-by-step approach to tackling peeling paint, focusing on effective waterproofing techniques to prevent future problems. We'll walk you through each stage of the process, from identifying the cause of the peeling to applying a long-lasting, protective finish. Prepare to learn the secrets to a beautiful, durable, and waterproof paint job that will protect your home for years to come, beginning with the detailed step-by-step process outlined below.
Preparation and Safety Guidelines
- Waterproofing membrane (H2O Tight)
- Paint (Fired Earth Breakthrough)
- Plaster primer
- Paint scraper
- Wire brush
- Scissors
- Crack filler (Fired Earth Dampex)
- Sandpaper
- Brushes
- Roller
- Paint tray
- Always wear appropriate safety gear, including gloves, eye protection, and a respirator, when working with paint, solvents, and cleaning agents. Fumes and chemicals can be harmful.
- Proper ventilation is crucial. Work in a well-ventilated area or use fans to prevent buildup of hazardous fumes. Consider using drop cloths to protect surrounding surfaces from spills.
- Before starting any repair, identify the cause of the peeling paint. Addressing underlying issues like moisture intrusion is key to preventing future peeling. Failure to do so will render your efforts ineffective.
Step-by-Step Instructions
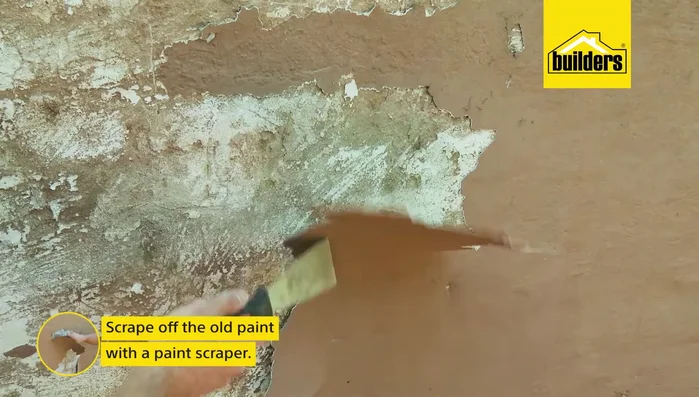
Surface Preparation
- Scrape off all peeling paint.
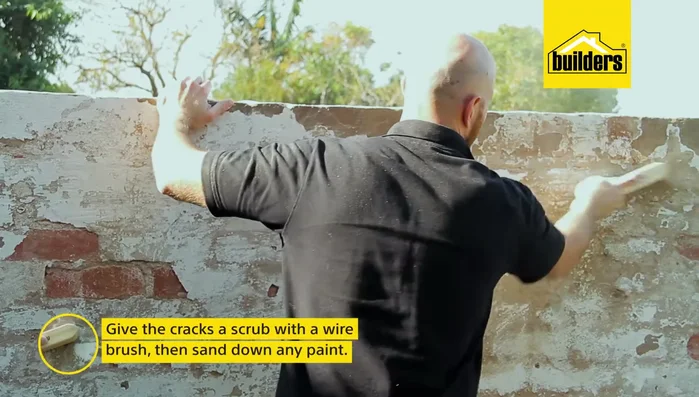
- Scrub cracks with a wire brush and sand down any remaining paint.

Surface Preparation Crack Repair
- Apply primer to cracks and let it dry.
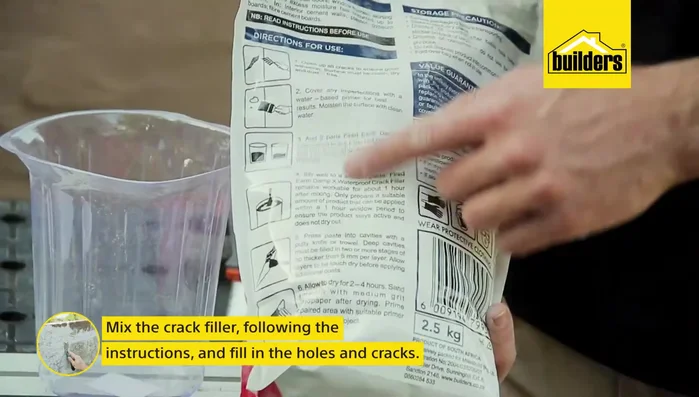
- Mix and apply crack filler (waterproof filler recommended for exterior walls).
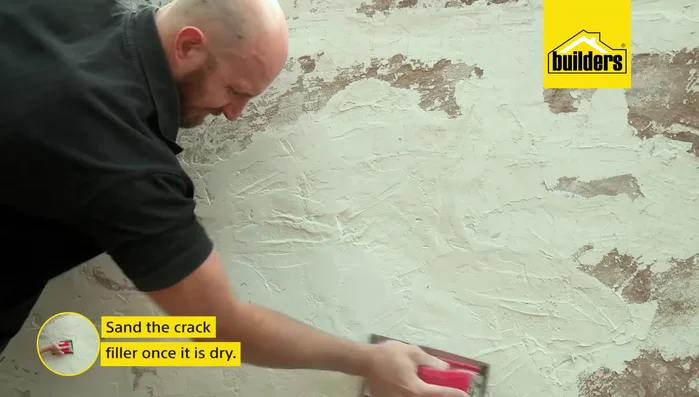
- Sand the dry crack filler to a smooth finish.
Crack Repair Waterproofing Application
- Apply a coat of waterproofing membrane (H2O Tight) over the capping of the wall. While still wet, apply the membrane on top, pushing it into the paint and apply another coat.
- Apply a coat of waterproofing paint to the entire wall to prevent future dampness.
Waterproofing Application Drying Time
- Let the waterproofing dry overnight.
Painting
- Paint the entire wall with two coats of a 5-in-1 paint (primer, waterproofer, undercoat, topcoat, and acrylic sealer), allowing four hours of drying time between coats.
Painting


Read more: Fixing Drywall Nail Pops: A Quick and Easy DIY Guide
Tips
- Peeling paint is often caused by poor preparation, poor product choice, or water damage.
- Use a waterproof crack filler for exterior walls.
- For rough walls, use a long-head rough roller.