A leaky roof can be a homeowner's worst nightmare, causing damage that spreads far beyond the initial drip. But before you panic and call an expensive contractor, understand that many roof leaks originate from faulty flashing – the crucial metal pieces that seal vulnerable areas like chimneys, vents, and valleys. Neglecting proper flashing installation or repair invites water intrusion, leading to costly structural damage, mold growth, and ruined interiors. This isn't just about patching a hole; it's about safeguarding your home's integrity and protecting your investment.
This ultimate guide provides you with the knowledge and techniques to become proficient in flashing repair, effectively preventing those dreaded roof leaks. We'll walk you through a step-by-step process, empowering you to tackle this often-overlooked aspect of home maintenance with confidence. From identifying problem areas to selecting the right materials and executing the repair, you'll learn everything you need to know to perform flashing repair like a pro.
Preparation and Safety Guidelines
- Flashing
- Hook blade
- Straight blade
- Flat bar (optional)
- Snips (optional)
- Trim nail or Caulk
- GSL 4500 sealant
- Always prioritize safety! Wear appropriate safety gear, including a hard hat, safety glasses, and fall protection equipment when working on a roof. Never work on a roof in inclement weather.
- Before starting any flashing repair, carefully assess the extent of the damage. A small leak might require a simple fix, while more extensive damage may necessitate professional help. Don't hesitate to call a roofing professional for complex repairs.
- Use appropriate materials for your flashing repairs. Improper materials can lead to future leaks and further damage. Ensure compatibility with your existing roofing materials.
Step-by-Step Instructions
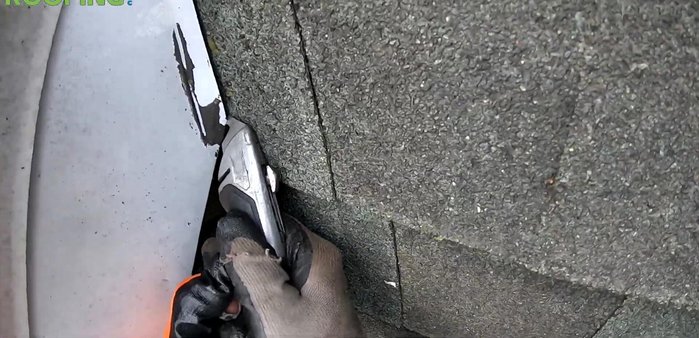
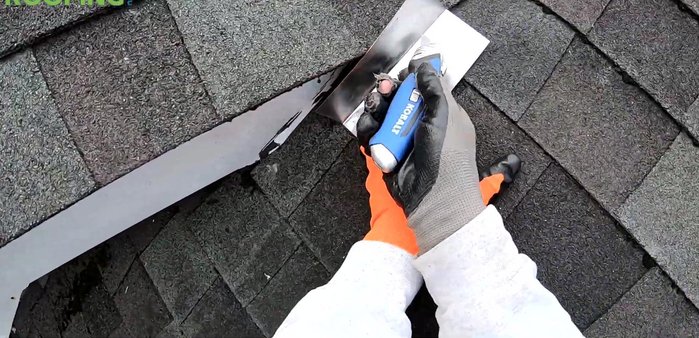
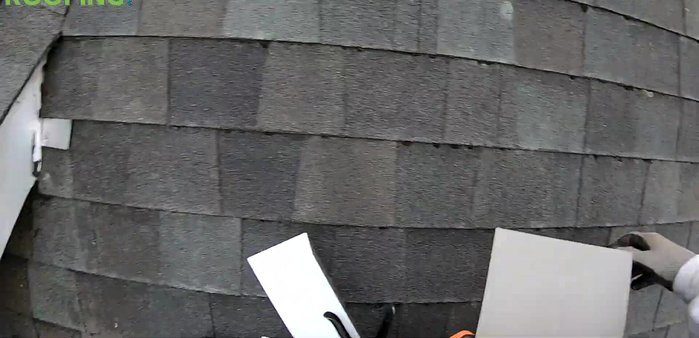
Prepare the Damaged Area
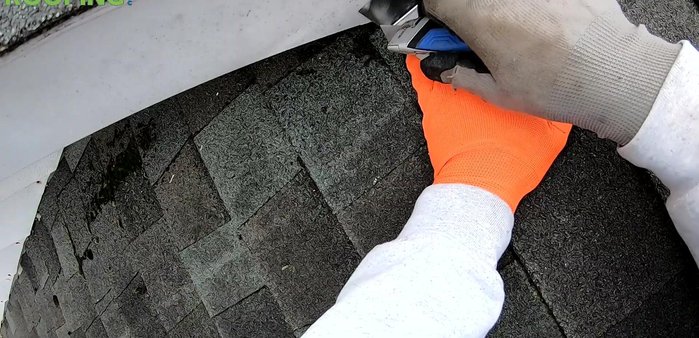
- Carefully slice the damaged fascia metal using a hook blade or straight blade. Be cautious not to cut yourself.
- If nails are present, carefully remove them. If you encounter resistance, use a hook blade to carefully lift the metal flashing.

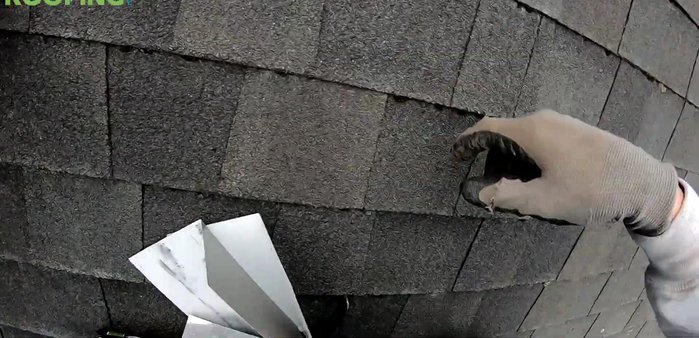
Prepare the Damaged Area Cut and Shape the Flashing
- Cut a custom piece of flashing to fit the damaged area. Make sure it extends beyond the damaged section.
- Perform a dry fit to ensure the flashing is the correct size and shape.
- If necessary, trim excess flashing using a straight blade or snips.
- Make additional cuts to ensure the flashing fits snugly and covers the damaged area completely.
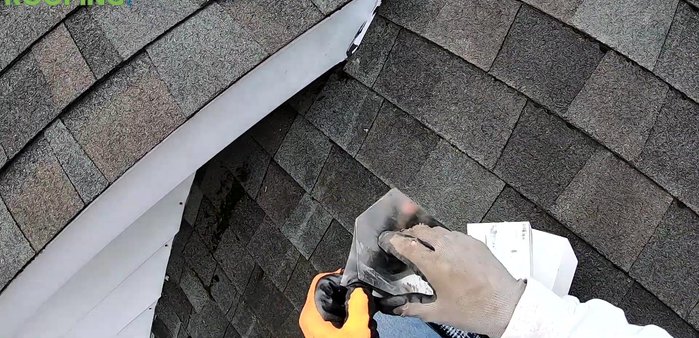
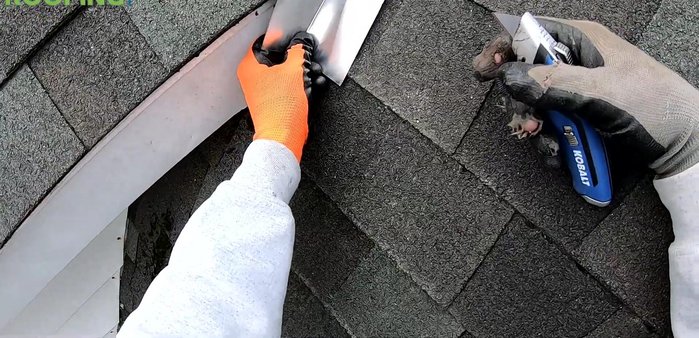
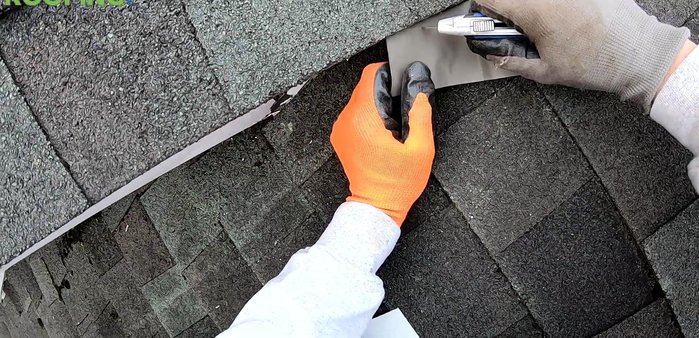
Cut and Shape the Flashing Install the Flashing
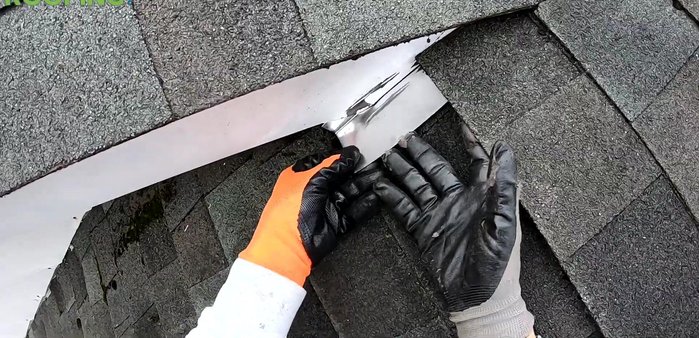
- Slide the flashing under the existing shingles, aiming for the highest point.
- Lift the shingles and carefully insert the flashing, ensuring it overlaps the existing flashing and covers the damaged area.
- Use a piece of bent flat metal as a wedge to help lift and position the flashing.
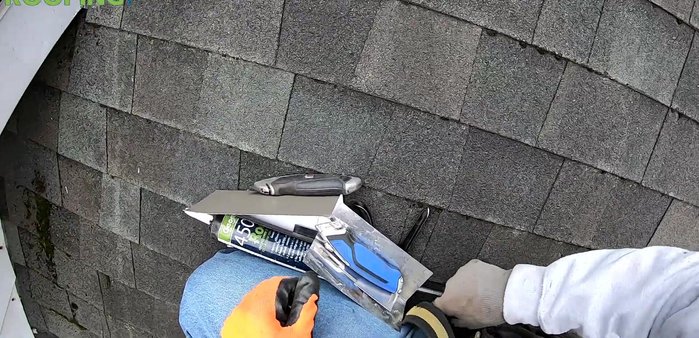
Install the Flashing Secure and Finish
- Secure the flashing by using a trim nail or caulk to prevent movement. Consider GSL 4500 for superior adhesion and weather resistance.
- Create a slight 'kick-out' at the bottom of the flashing to divert water away from the vulnerable area.
Secure and Finish
Read more: DIY Roof, Shingle, Fence, and Flashing Repair with Henry Wet Patch 208
Tips
- Always prioritize safety. Wear appropriate safety gear, including gloves, eye protection, and sturdy footwear.
- Use sharp blades for clean, precise cuts.
- A dry fit is crucial for ensuring the flashing is sized and shaped correctly before permanent installation.
- GSL 4500 sealant is a high-quality, durable sealant suitable for various roofing applications.