Flat commercial roofs, while efficient in design, are susceptible to leaks that can cause significant damage and costly repairs if left unaddressed. These leaks can stem from a variety of sources, ranging from minor cracks and deteriorated flashing to more serious issues like ponding water and structural damage. Identifying the precise location and cause of a leak is crucial for effective repair, and often requires a systematic approach beyond simple visual inspection. Ignoring even a small leak can quickly escalate into a major problem, impacting the building's integrity and potentially leading to expensive water damage remediation.
This guide, designed for roofing professionals, provides a comprehensive, step-by-step process for locating and repairing leaks in flat commercial roofs. We’ll walk you through proven techniques, from initial assessment and leak detection strategies to the proper selection and application of repair materials, ensuring a long-lasting and effective solution. Let's dive into the detailed procedures to help you effectively tackle those troublesome roof leaks.
Preparation and Safety Guidelines
- roof cement
- mesh/webbing
- wire brush
- blower
- measuring tape
- Always prioritize safety! Wear appropriate safety gear including hard hats, safety harnesses, and sturdy footwear when working on a roof. Never work alone; have a spotter present.
- Before starting any repairs, turn off any electrical equipment near the leak area to prevent electrocution. Be aware of potential dangers of falling debris or slipping on wet surfaces.
- If the leak is extensive, complex, or you are unsure about the cause, immediately call a qualified roofing professional. Attempting complex repairs without proper training can worsen the problem or lead to injury.
Step-by-Step Instructions
Locate the Leak
- Locate the leak inside the building. Measure from a wall reference point (e.g., windows) to pinpoint the leak's location relative to the building's interior.

Locate the Leak Initial Roof Inspection
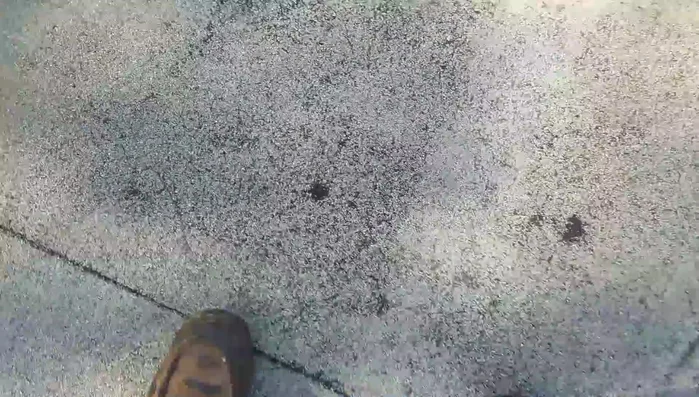
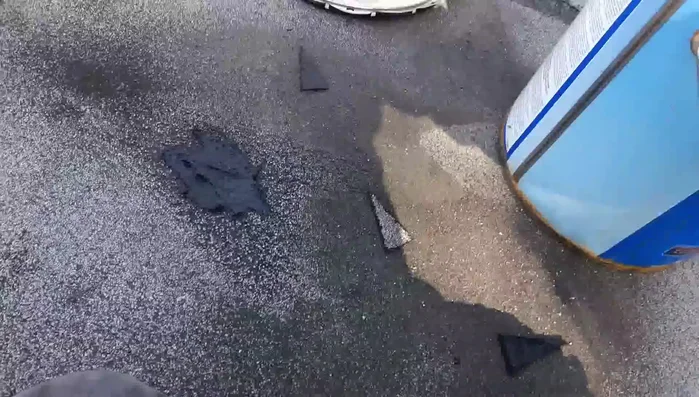
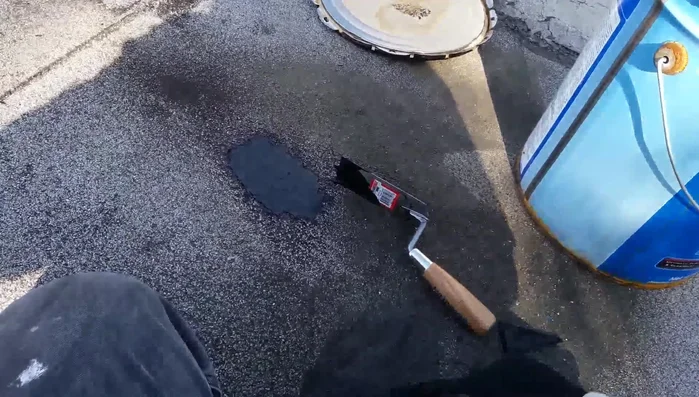
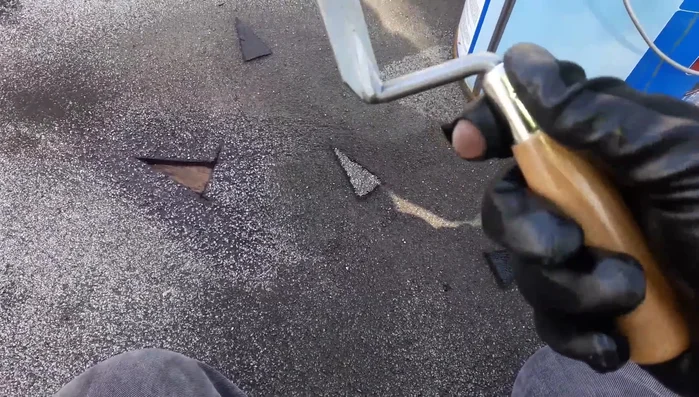
- Clean the suspected area on the roof.
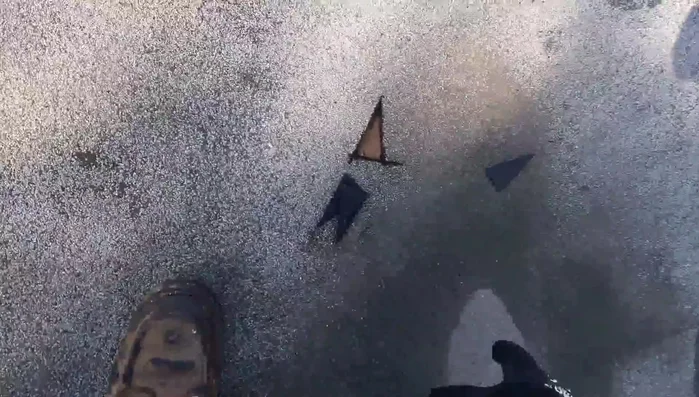
- Check for water damage on the plywood underneath the roofing material. A small triangle-shaped area around the suspected leak is sufficient. Dry plywood indicates that the leak is not directly from that spot. This helps determine if the water is coming through the roof itself or from a secondary source.
Initial Roof Inspection Investigate Surrounding Area
- If the plywood is dry, investigate the surrounding area (3-5 feet around the initial area) and check other potential entry points for the water (e.g., pipes, air conditioning units).
- Examine the roofing membrane for any holes or damage. The leak may be coming from a distance and traveling under the membrane before appearing at the initial suspected spot.
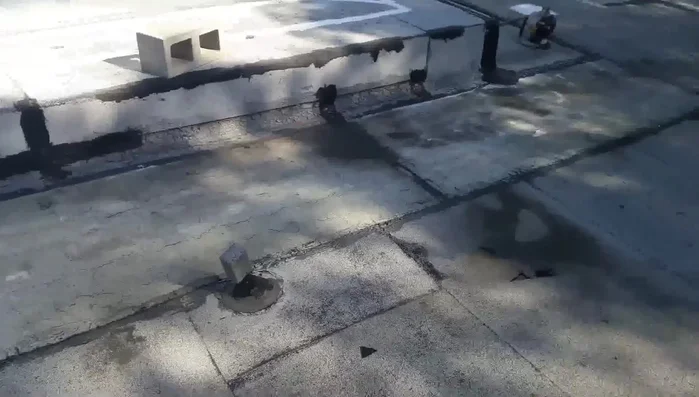
Investigate Surrounding Area Repair the Leak
- Fill holes with roof cement. Push the cement into the hole and add small pieces on top, pressing firmly to ensure adhesion.
- Apply mesh/webbing to reinforce the patch for a warranty-worthy finish.
Repair the Leak Patching Best Practices
- Ensure that patches are made with high-quality materials (metal-framed TR patches are recommended, and avoid those made entirely of plastic).
Patching Best Practices

Read more: DIY Roof, Shingle, Fence, and Flashing Repair with Henry Wet Patch 208
Tips
- Before billing a customer, always verify the actual leak source to avoid unnecessary repairs.
- Water stains on plywood often indicate a leak; however, the stain's location may not be directly above the leak. The water may be traveling under the roofing material.
- When patching nail holes, use a wire brush to clean and expose the underlying surface for better adhesion of the roof cement.
- Remove exposed nails before patching to prevent future leaks.
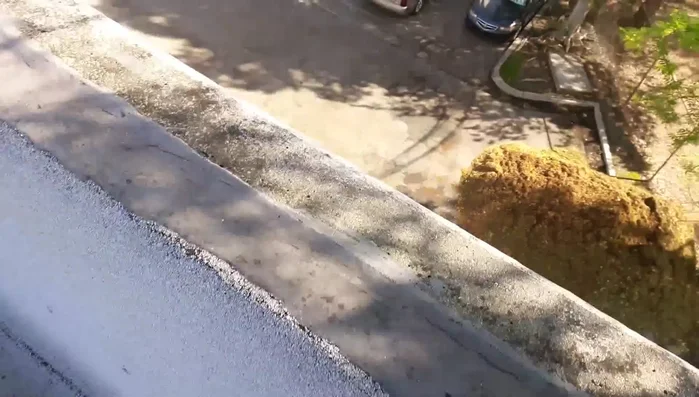
- Regularly clean drains and gutters, especially if trees are nearby, to prevent moisture buildup and roof damage.