Urban living often prioritizes efficiency and ease of maintenance, and flooring is no exception. Traditional flooring installation methods can be messy, disruptive, and time-consuming, often requiring skilled professionals. However, the floating method offers a compelling alternative for installing various floor types in urban apartments or houses, providing a quick, clean, and DIY-friendly solution. This approach minimizes disruption to your daily life, avoids the need for extensive demolition or adhesive, and ultimately saves you both time and money. It's a perfect choice for those seeking a practical approach to updating their floors without the hassle.
This guide will walk you through each step of the floating floor installation process, equipping you with the knowledge and confidence to tackle this project yourself. From preparing your subfloor to securing the final planks, we’ll cover everything you need to know to achieve a beautifully installed, long-lasting floor. Let's dive into the detailed, step-by-step instructions to transform your urban space.
Preparation and Safety Guidelines
- Tapping block
- Hammer
- Pry bar
- Spacers
- Glue
- Blue painters tape
- Table saw
- Chop saw
- Utility knife
- Small chisel
- Always ensure the subfloor is clean, dry, level, and free of debris before starting. Uneven surfaces can lead to uneven flooring and potential damage.
- Wear appropriate safety gear, including safety glasses and gloves, throughout the installation process to protect yourself from potential injuries.
- Accurately measure and cut the flooring planks to ensure a proper fit and avoid unnecessary waste. Improper cuts can compromise the structural integrity of the floor.
Step-by-Step Instructions
Prepare the Subfloor
- Check floor flatness (within 1/8 inch in 6 ft or 3/16 inch in 10 ft). A slight slope is acceptable, but flatness is crucial.
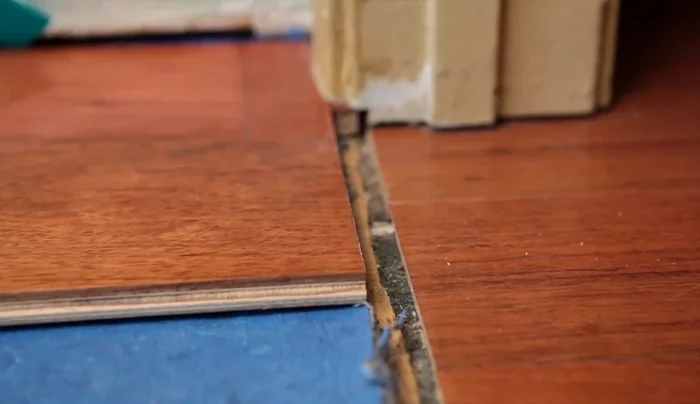
- Undercut door jams to allow flooring to fit underneath.
- Remove loose debris and any stubborn pieces of wood from the floor.

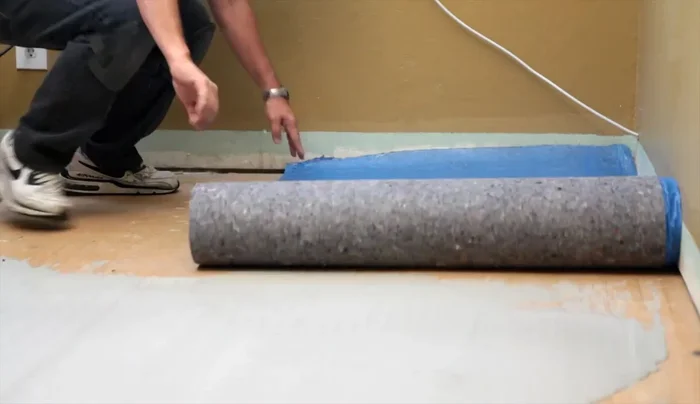
Prepare the Subfloor Install Underlayment
- Unroll underlayment and trim off excess.
Install Underlayment Install First Rows
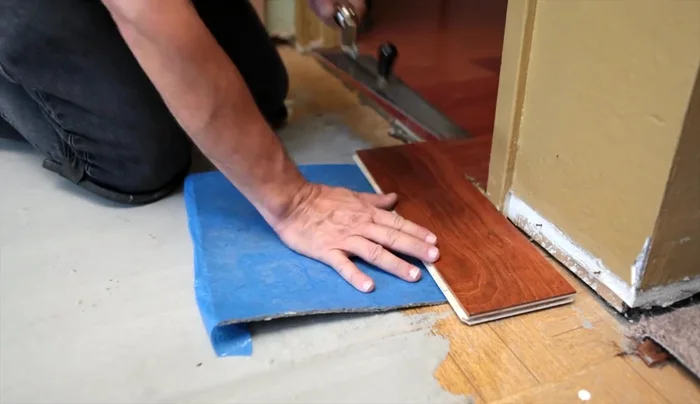
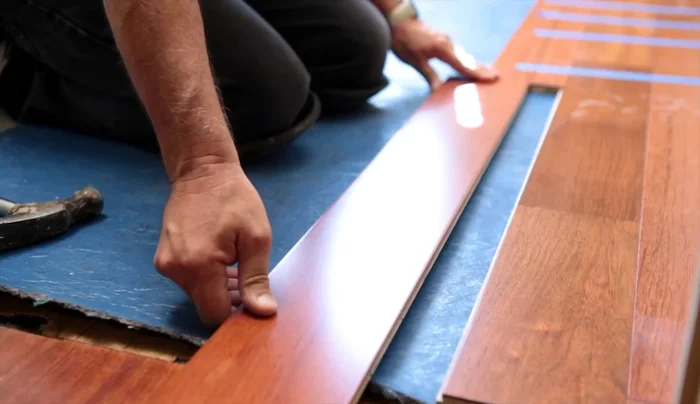
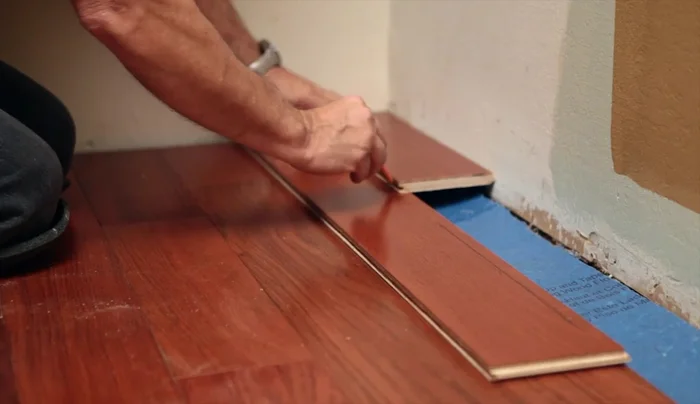
- Choose a starting point and work from left to right, using spacers to maintain expansion gaps (6-8 inches apart for staggered end joints).
- Apply a continuous bead of glue to the groove of each board (length and end joints).
- Install the first board of the second row into the first board of the first row.
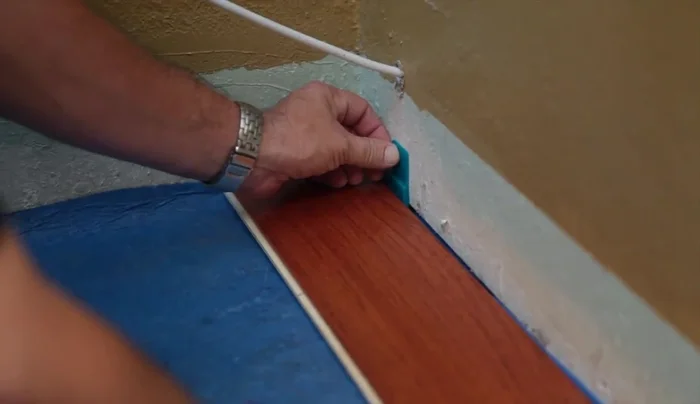
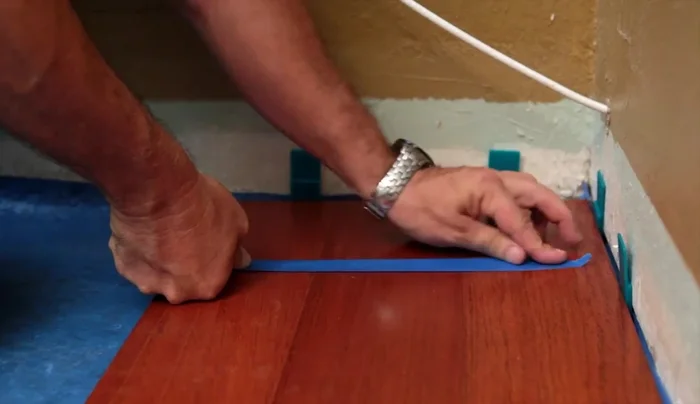
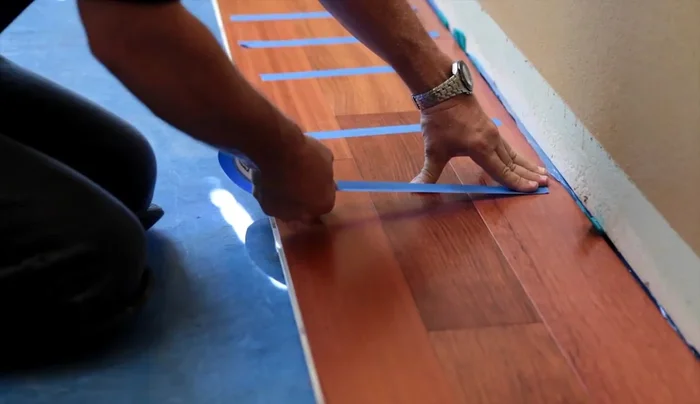
- Use blue painter's tape to hold the floor in place while the glue cures (Do not use regular masking tape).
Install First Rows - Mark and cut the last board for doorways, maintaining expansion gaps.
- Install reducer molding for transitions to lower adjacent floors.
- Allow glue to cure before continuing (consider a break).
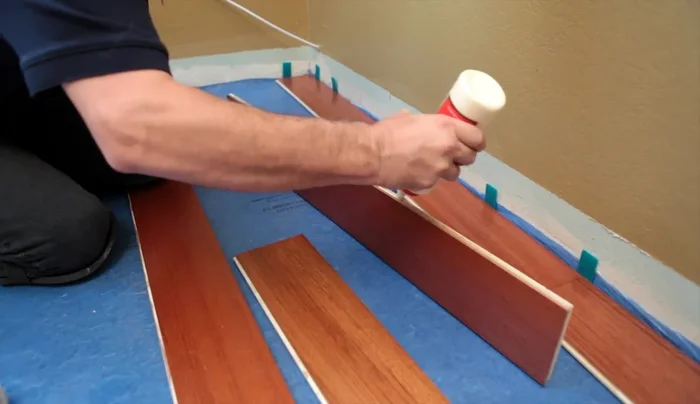
Install First Rows Continue Installation
- Continue installing rows, working from left to right, and using blue tape to prevent shifting.
- Cut and install the last row, maintaining expansion gaps. Use a pry bar to snug the floor tightly.
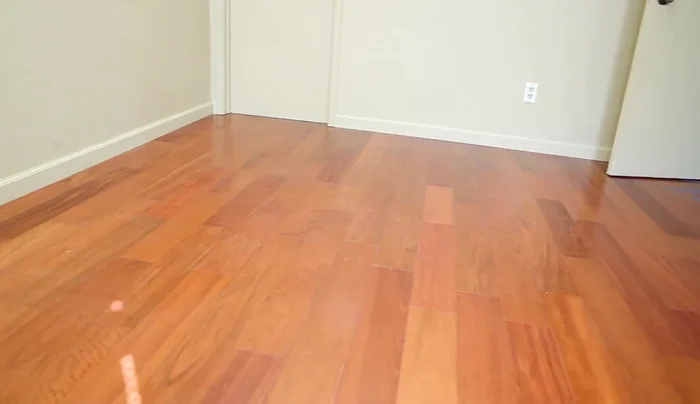
Continue Installation Finishing Touches
- Use construction adhesive (or brad nails and putty for wood subfloors) to install transition moldings.
- Install baseboards.
Finishing Touches


Read more: Fixing Drywall Nail Pops: A Quick and Easy DIY Guide
Tips
- Stagger end joints 6-8 inches apart for added strength and beauty.
- Wipe off excess glue as you go.
- Use spacers or wedges to prevent floor movement while glue dries.