A cracked floor joist is a serious structural issue that can lead to sagging floors, creaking noises, and even collapse if left unaddressed. Ignoring the problem only invites further damage and significantly increases the cost of repair down the line. This isn't a DIY project for the faint of heart, requiring precision and a good understanding of structural mechanics. However, with the right tools and careful execution, sistering a cracked joist – essentially reinforcing it with a new, matching piece of lumber – is a manageable repair that can restore your floor's integrity and your peace of mind.
This comprehensive guide provides a step-by-step approach to successfully sistering a cracked floor joist, covering everything from assessing the damage and selecting appropriate materials to safely installing the new joist and ensuring a lasting repair. Let's dive into the process and get your floor back to its strong, reliable self.
Preparation and Safety Guidelines
- Floor jack
- 2x4s
- Construction adhesive (Liquid Nails)
- Construction screws (2.5-3 inches)
- Clamps
- String line
- Saw
- Hammer
- Ladders
- Always wear appropriate safety gear, including safety glasses, gloves, and a dust mask. Working with wood and potentially damaged structures carries risks of eye injury, splinters, and inhaling harmful particles.
- Ensure the area is properly supported before attempting any repairs. Use temporary supports (e.g., jack stands or other strong supports) to prevent further sagging or collapse while working.
- If you are unsure about any aspect of this repair, consult a qualified structural engineer or carpenter. Improper repairs can compromise the structural integrity of your floor and lead to serious consequences.
Step-by-Step Instructions
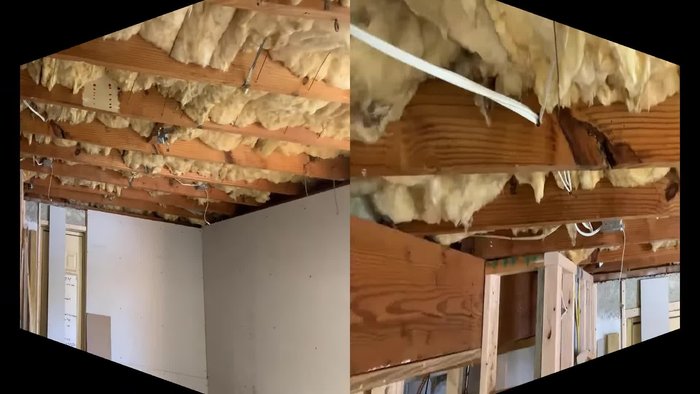
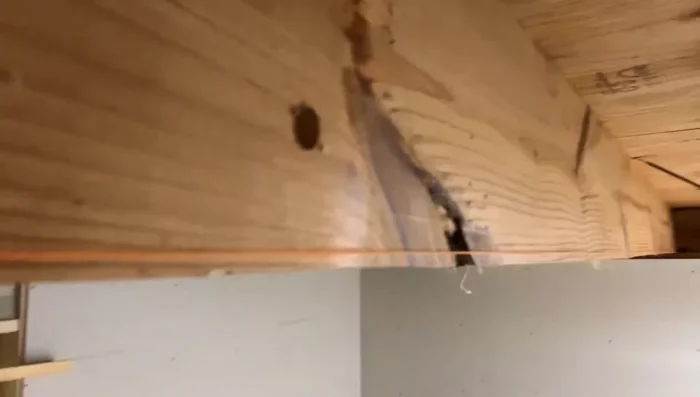
Assessment and Preparation
- Assess the damage and identify the cracked floor joist.
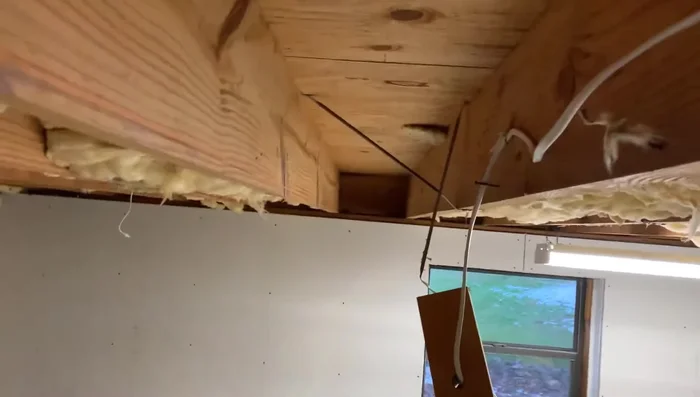
- Use a string line to determine the extent of the sag in the joist.
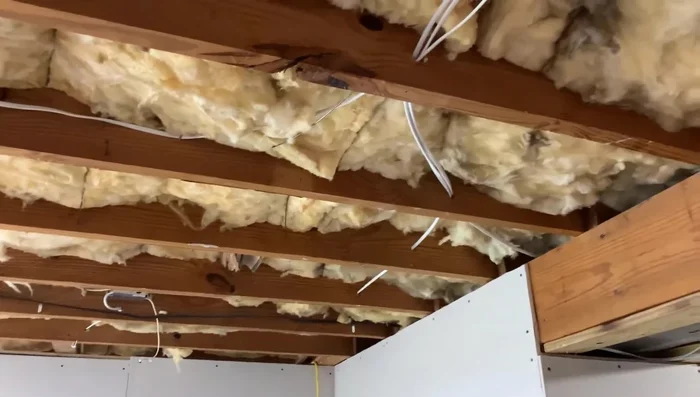
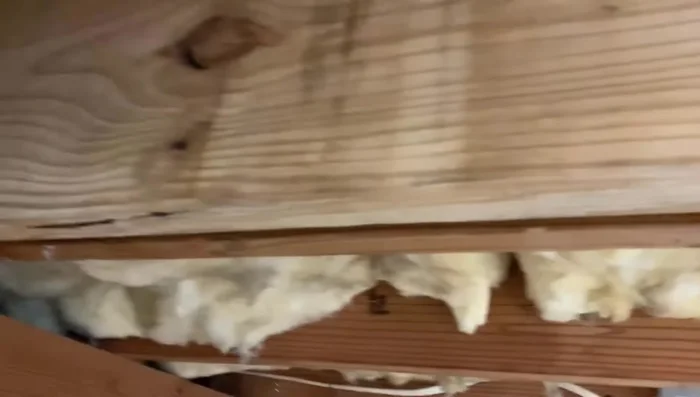
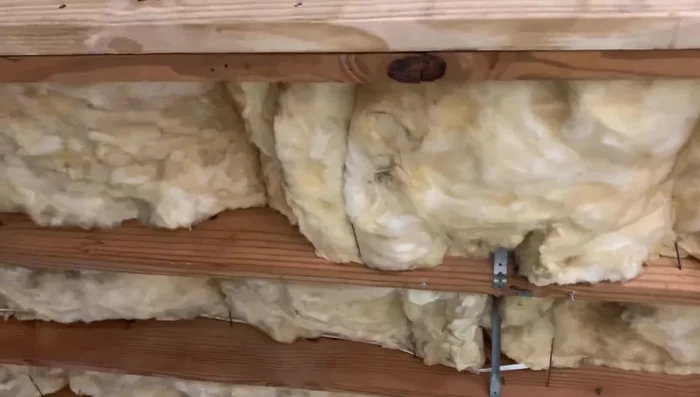
- Remove any obstructions (wiring, insulation) from the area where the new joist will be installed.

Assessment and Preparation Joist Support and Leveling
- Jack up the sagging joist using a floor jack and 2x4 supports until it's level with a string line.
Joist Support and Leveling New Joist Preparation
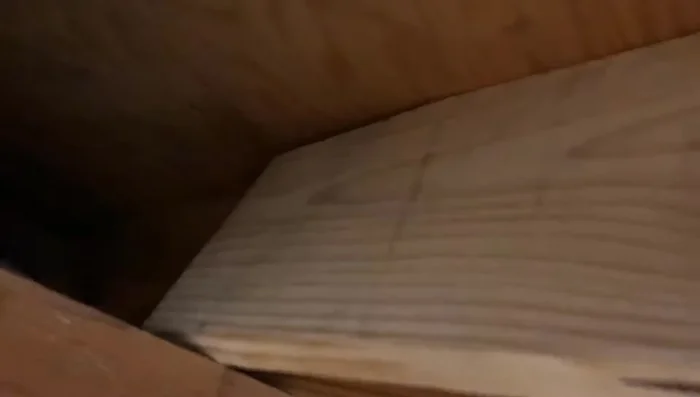
- Identify and mark the crown (natural curve of the wood) ensuring the crown faces upwards during installation. Optionally, cut small wedges from the ends to aid installation.
New Joist Preparation Sister Joist Installation
- Apply construction adhesive liberally to the surface of the existing joist where the new joist will be attached. Focus on areas of greatest stress.
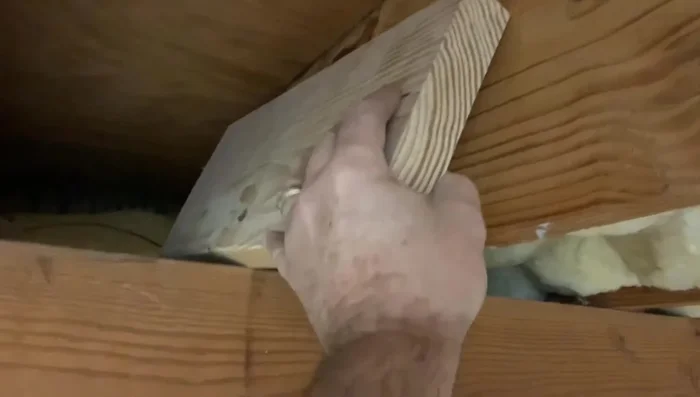
- Carefully lift and position the new joist alongside the damaged one, ensuring the crown is upward. Start by inserting the end closest to the support beam.
- Tap the new joist into position using a hammer. This method minimizes friction compared to tapping from the top.
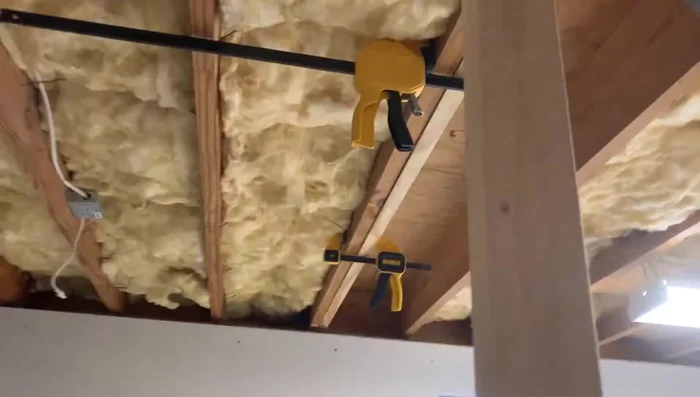
- Clamp the new joist securely to the existing one.
Sister Joist Installation Securing the Sister Joist
- Attach the new joist to the existing joist using construction screws in a staggered pattern.
Securing the Sister Joist Final Adjustments and Restoration
- Release the jack and allow the joist to settle under its own weight.
- Replace insulation and wiring.
Final Adjustments and Restoration


Read more: Fixing Drywall Nail Pops: A Quick and Easy DIY Guide
Tips
- Use a string line to ensure the joist is level before and after jacking.
- Orient the new joist with its crown facing upwards to maximize strength.
- Cut notches at the ends of the new joist to ease installation.
- Apply construction adhesive liberally, focusing on areas of greatest stress.
- Use a staggered pattern when screwing the joists together.