Controlling a single light fixture from multiple locations adds convenience and flexibility to any home. This is achieved using a four-way switch system, a seemingly complex but ultimately manageable electrical setup. While the idea of multiple switches might seem daunting, understanding the underlying principles and following a clear methodology simplifies the process considerably. Many homeowners shy away from this type of wiring, opting instead for more expensive solutions or accepting the limitations of single-switch control. This, however, is unnecessary with the right guidance.
This guide will demystify the process of wiring a four-way switch system, offering a comprehensive and easy-to-follow step-by-step approach, even for novice DIY enthusiasts. We’ll cover everything from identifying the necessary components and understanding the wiring diagram to safely completing the installation and testing your new multi-location lighting system. Let's get started with our step-by-step guide to successfully wiring your four-way switch.
Preparation and Safety Guidelines
- Three-way switches
- Four-way switch
- 14-3 with ground cable
- 14-2 with ground cable
- Wire nuts (green and other colors)
- Wire strippers
- Voltage tester
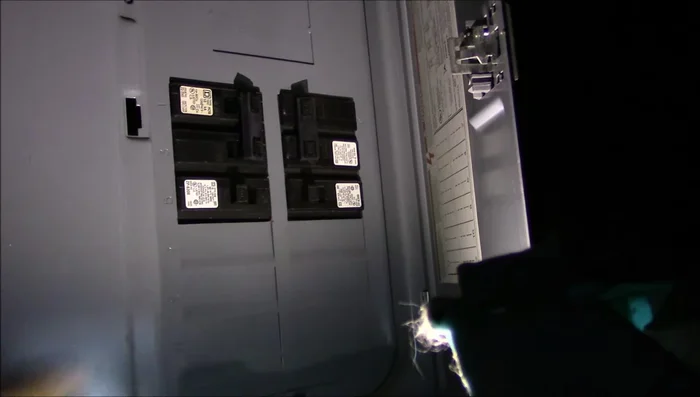
- Always turn off the power at the breaker box before working with any electrical wiring. Double-check that the power is off using a non-contact voltage tester.
- Use appropriate wire nuts and ensure all connections are secure and properly insulated to prevent shorts and fire hazards.
- If you are not comfortable working with electrical wiring, consult a qualified electrician. Improper wiring can lead to serious injury or death.
Step-by-Step Instructions
Safety First: Power Off
- Turn off the circuit breaker.
- Test all wires to ensure power is off.

Safety First: Power Off Prepare the Wires
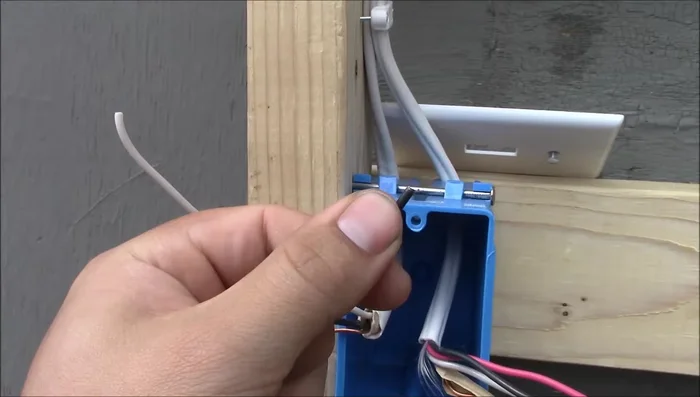
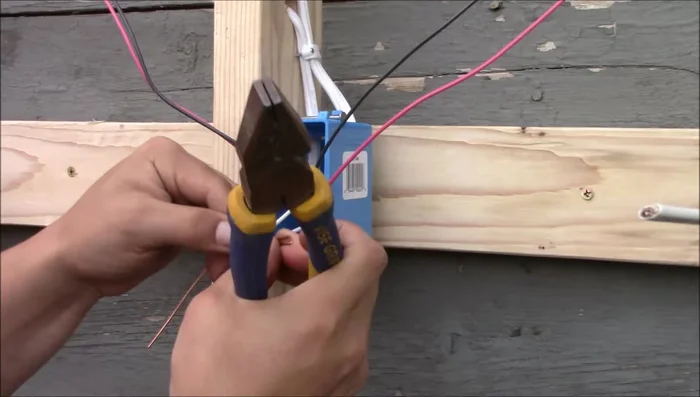
- Strip insulation from wires. Identify 14-3 and 14-2 cables.
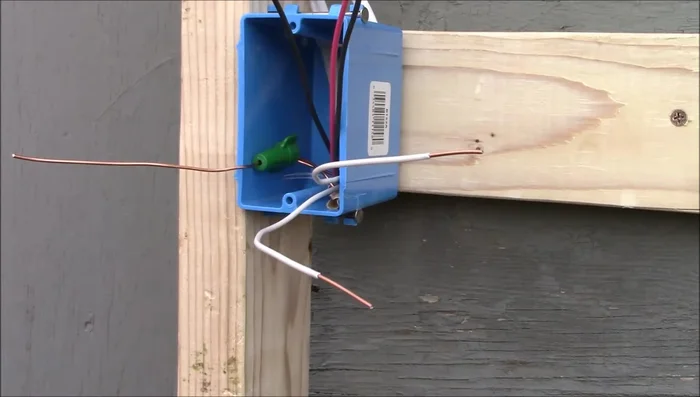
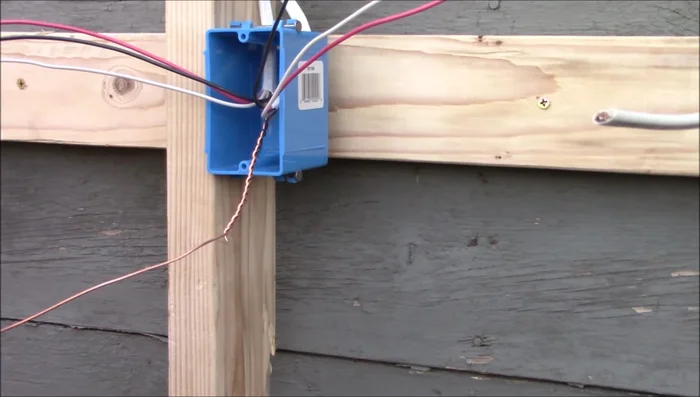
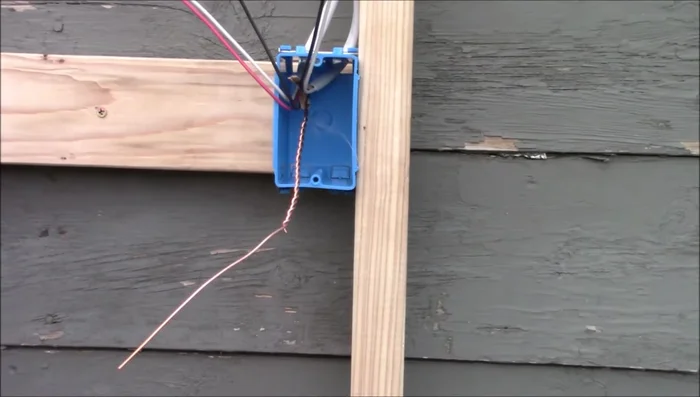
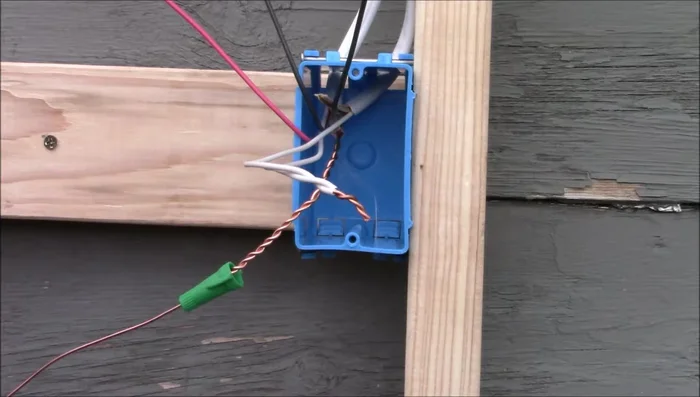
Prepare the Wires First Switch Box: Ground and Neutral
- Connect ground wires together using a green wire nut.
- Connect neutral wires together using a wire nut (neutrals are not used in the switching mechanism but are required in the box).
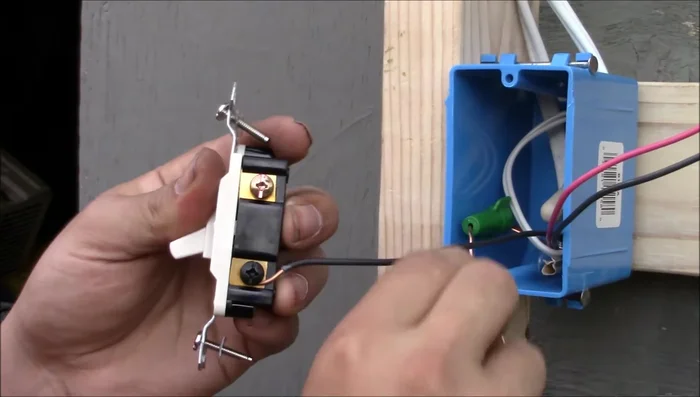
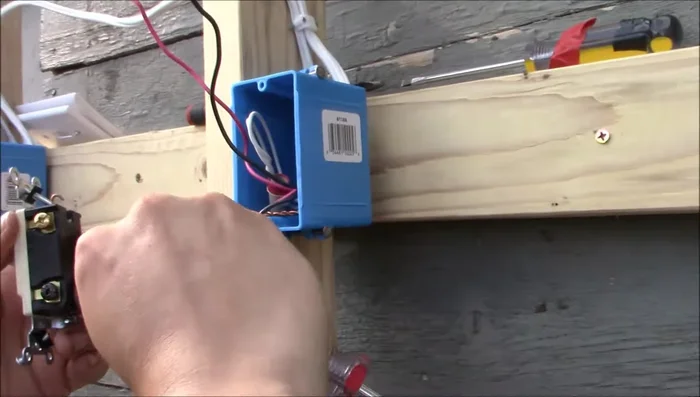
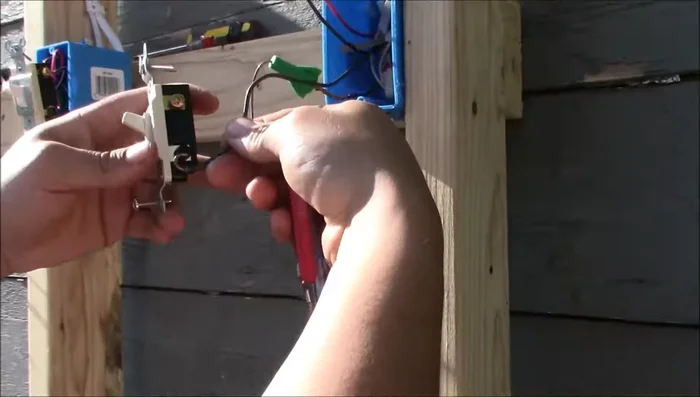
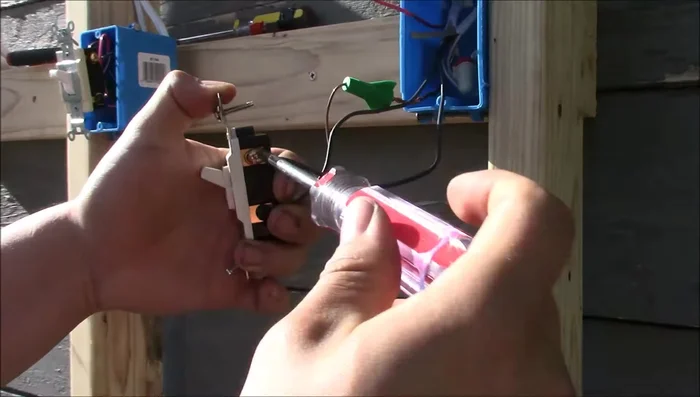
First Switch Box: Ground and Neutral First Switch Box: Connect Three-Way Switch
- Connect the black line wire (power cable) to the black common terminal of the three-way switch.
- Connect the ground wire to the green grounding terminal of the three-way switch.
- Connect the two traveler wires to the bronze terminals of the three-way switch (order doesn't matter).
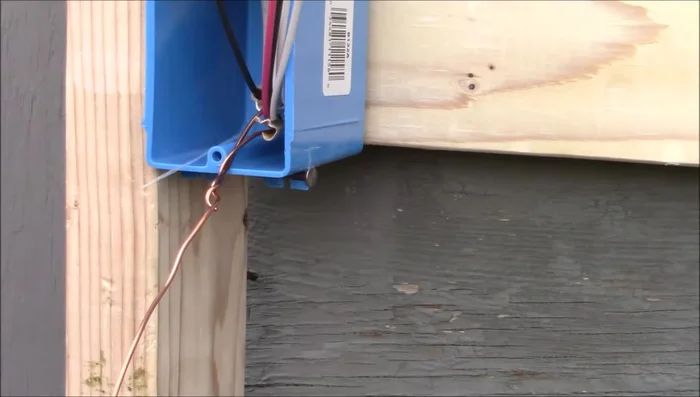
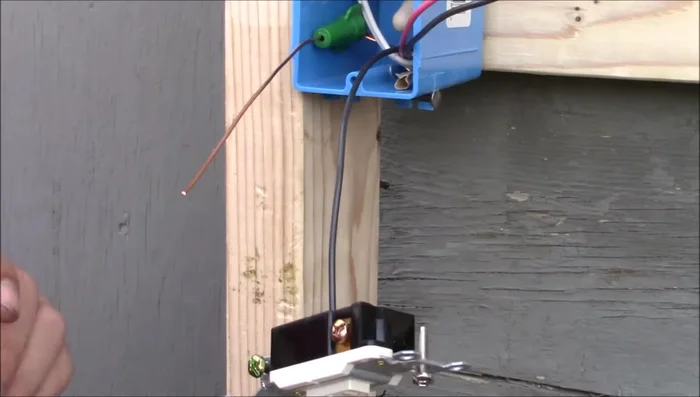
First Switch Box: Connect Three-Way Switch Four-Way Switch Box: Ground and Neutral
- Connect ground wires together and attach to the switch.
- Connect neutral wires together and place them in the back of the box.
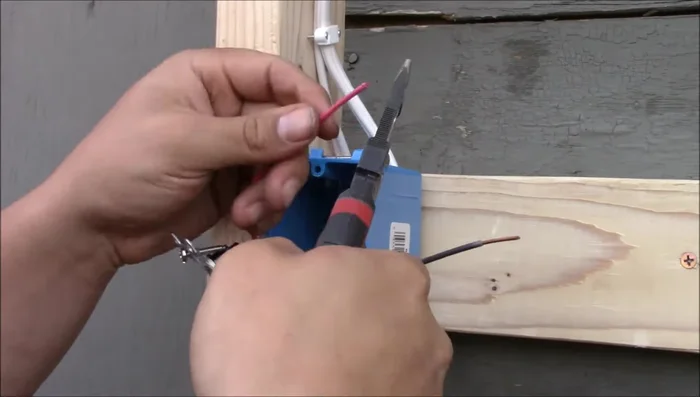
Four-Way Switch Box: Ground and Neutral Four-Way Switch Box: Connect Four-Way Switch
- Connect the two incoming wires to the black common terminals of the four-way switch.
- Connect the two outgoing traveler wires to the bronze terminals of the four-way switch (order doesn't matter).
Four-Way Switch Box: Connect Four-Way Switch Second Switch Box: Ground and Neutral
- Connect ground wires together and attach to the switch.
- Connect neutral wires together and place them in the back of the box.
Second Switch Box: Ground and Neutral Second Switch Box: Connect Three-Way Switch
- Connect the hot wire to the black common terminal of the three-way switch.
- Connect the traveler wires to the bronze terminals of the three-way switch.
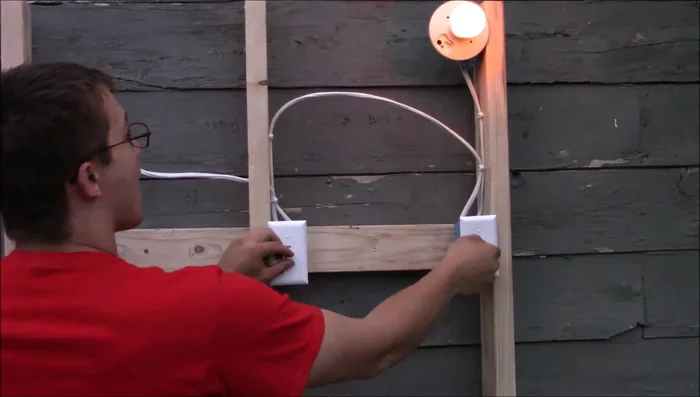
Second Switch Box: Connect Three-Way Switch Final Test
- Turn the circuit breaker back on and test the switches.
Final Test

Read more: Installing an Outdoor GFCI Receptacle: A Step-by-Step Guide
Tips
- Always turn off the circuit breaker before working with electrical wiring.
- Test all wires with a voltage tester to ensure the power is off.
- Use wire nuts to securely connect wires.
- Ensure all connections are tight.
- Traveler wires in a four-way system only connect to the bronze terminals (marked OUT).