Gable ends, those triangular sections crowning the exterior walls of your home, are often overlooked in regular maintenance routines. However, these architectural features are crucial for protecting your property from the elements, especially relentless wind and rain. Neglecting their upkeep can lead to serious, costly water damage, compromising the structural integrity of your home and potentially fostering mold growth. A compromised gable end is more than just an unsightly blemish; it's a significant vulnerability that can escalate into extensive and expensive repairs.
Water ingress through a failing gable end can manifest in subtle ways, initially appearing as minor damp patches that gradually worsen. Understanding how to identify these early warning signs and implementing preventative measures is key to safeguarding your investment. This comprehensive guide will equip you with the knowledge and practical steps necessary to inspect, repair, and protect your gable end from water damage, ensuring the longevity and beauty of your home. Let's begin our step-by-step process to a watertight gable end.
Preparation and Safety Guidelines
- Galvanized flashing
- Fibro sheets
- Sand and cement mix (4:1 ratio)
- Grinder
- Wire brush
- Trowel
- Flexible pointing
- Always disconnect power to any electrical components (lights, outlets) in the gable end before starting any work. Electrocution is a serious risk.
- Use appropriate safety equipment, including eye protection, gloves, and a sturdy ladder. Working at heights is inherently dangerous.
- If you're unsure about any aspect of the repair, consult a qualified professional. Improper repairs can worsen water damage and create safety hazards.
Step-by-Step Instructions
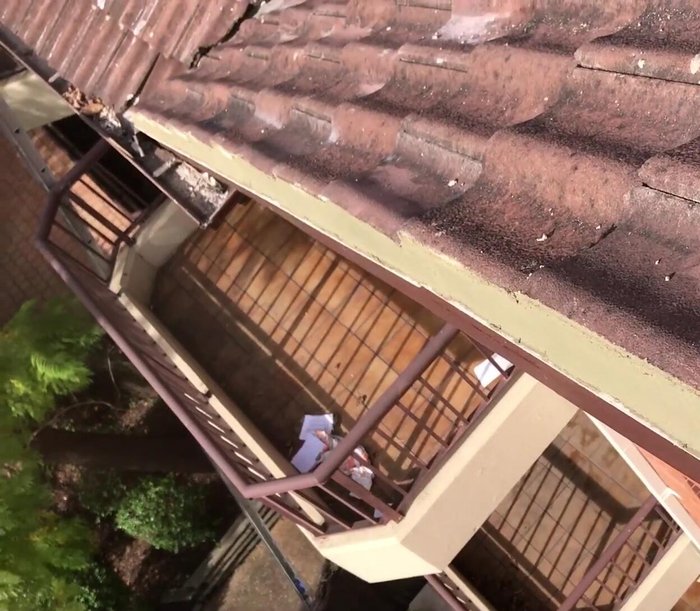
Preparation
- Remove all old mortar and fibro from the gable end.

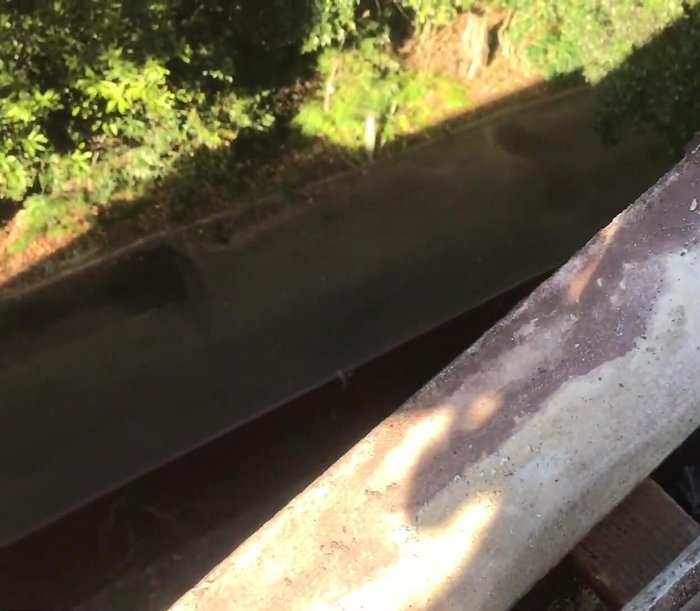
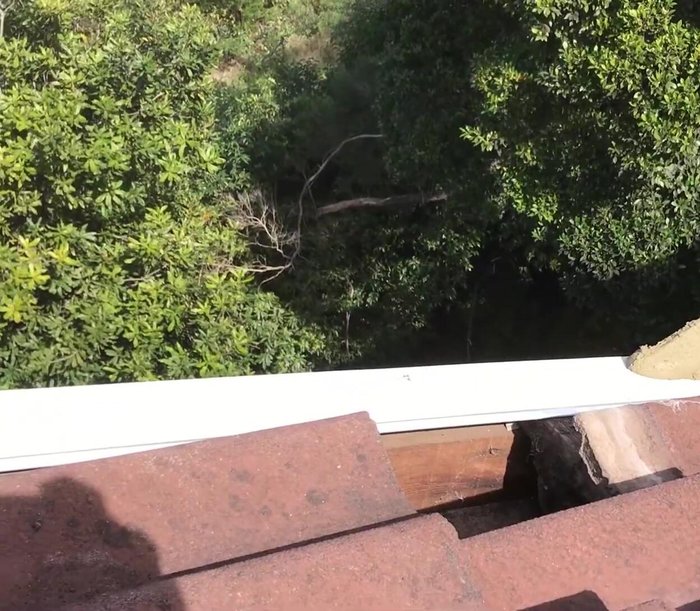
Preparation Install Flashing
- Install galvanized flashing on top of the barge board to create a channel for water runoff.
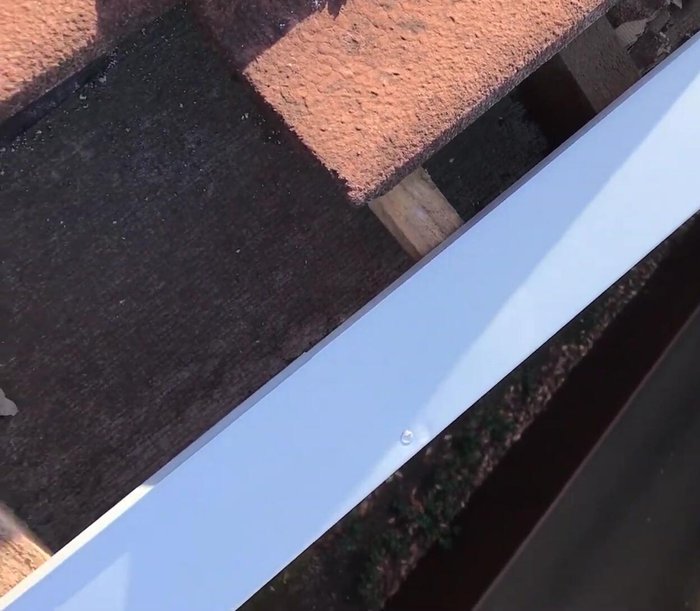
Install Flashing Install Fibro
- Install fibro sheets on top of the galvanized flashing.
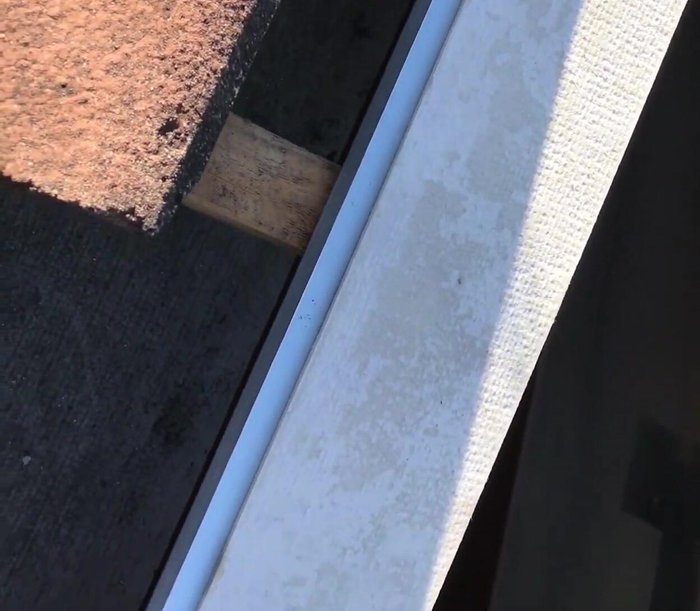
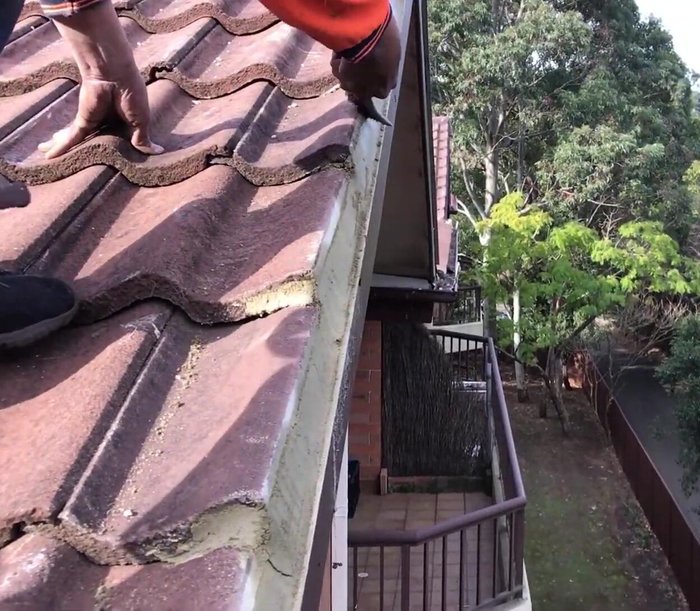
Install Fibro Tile Preparation
- Tidy up the edge of the existing tiles to create a smooth surface for the new pointing. Use a grinder to cut excess tile if needed.
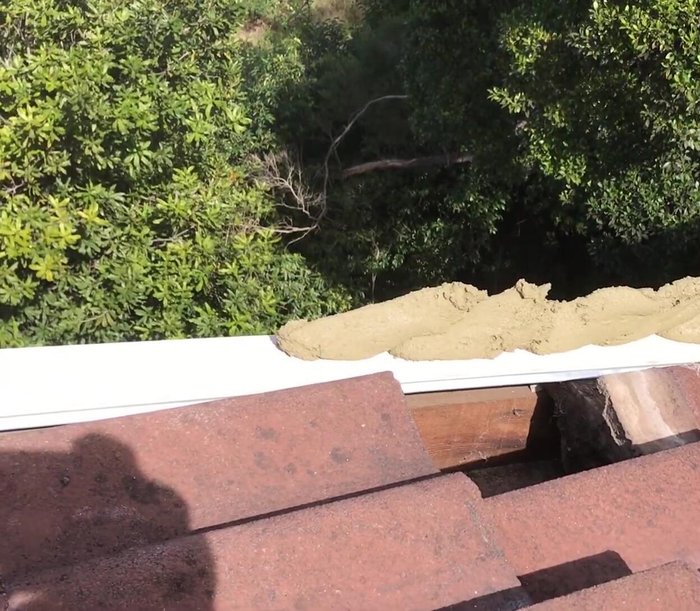
Tile Preparation Tile Bedding
- Bed the tiles down with a 4:1 sand and cement mix.
- Cut back the bedding to ensure adequate space for pointing.
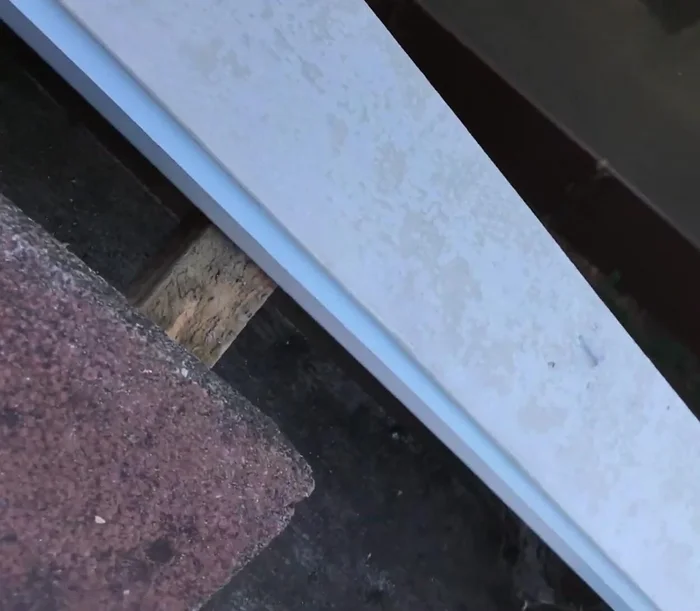
Tile Bedding Cleaning and Finishing
- After the mortar dries, wire brush all mortar off the edge of the tiles and fibro.
- Apply flexible pointing, ensuring the edge of the fibro and the front edge of the tiles are covered.
Cleaning and Finishing
Read more: DIY Roof, Shingle, Fence, and Flashing Repair with Henry Wet Patch 208
Tips
- The galvanized flashing prevents moisture buildup on the timber barge boards, eliminating rot.
- Creating a smooth surface on the tiles before applying pointing ensures a better bond and a long-lasting repair.