A GE dryer refusing to start can be incredibly frustrating, leaving you with a pile of damp laundry and a looming sense of inconvenience. This frustrating issue, however, is often solvable with some simple troubleshooting, saving you the cost and hassle of immediate professional repair. From easily overlooked power connections to more complex internal components, the reasons for a non-starting GE dryer are surprisingly varied. This is especially true with GE's wide range of models and features. Understanding the potential culprits empowers you to efficiently diagnose the problem and potentially fix it yourself.
This guide provides a clear and concise step-by-step process to help you quickly identify and resolve the cause of your GE dryer's refusal to cooperate. We'll walk you through a series of checks, progressing from the simplest solutions to more involved diagnostic steps. By following these straightforward instructions, you'll be well on your way to restoring your laundry routine in no time.
Preparation and Safety Guidelines
- Multimeter
- Screwdriver (Phillips and 1/4" HEX head)
- Drill (optional)
- Always unplug the dryer from the power outlet before attempting any repairs. Electricity is dangerous and can cause serious injury or death.
- Never attempt repairs if you are not comfortable working with electrical appliances. If unsure, contact a qualified appliance repair technician.
- Do not operate the dryer if you smell gas or smoke. Immediately turn off the power and contact your gas company or a qualified technician.
Step-by-Step Instructions
Initial Checks (No Disassembly)
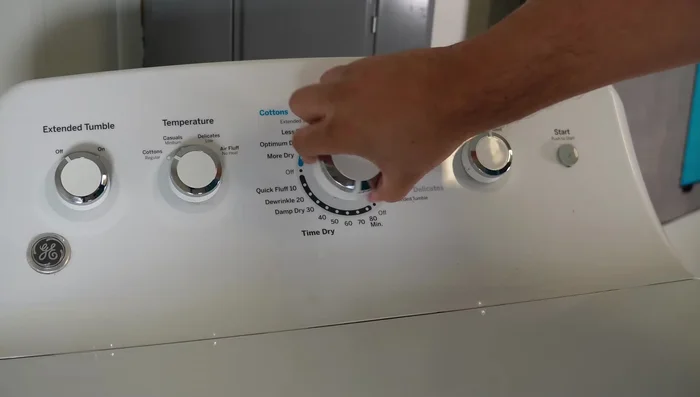
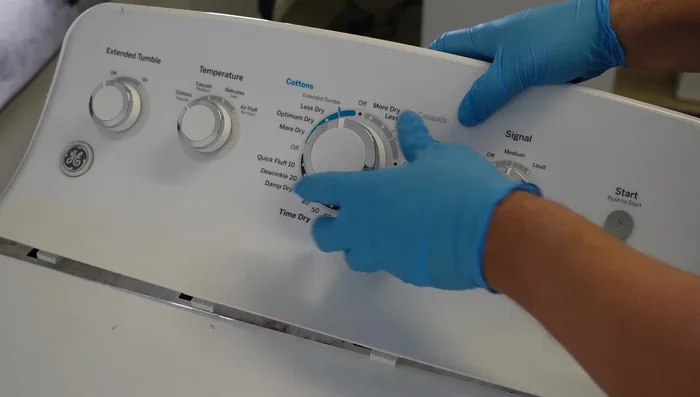
- Check if the timer makes cranking or clicking noises when rotated. Inspect the timer shaft and knob for damage.
- Gently pry off the start switch and check for any damage. Test it by pressing in to see if it engages.
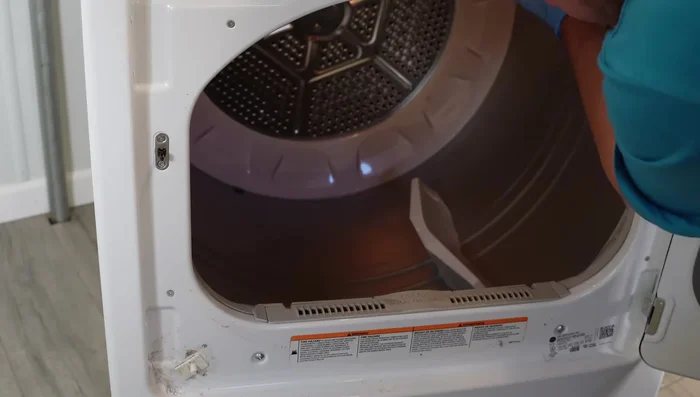
- Tape the door switch closed (simulating a closed door) and spin the drum counter-clockwise while pressing start. If it works, the start windings on the drum motor are likely bad.
- If there's significant resistance when turning the drum, an obstruction might be present.

Initial Checks (No Disassembly) Power Supply and Fuse Check
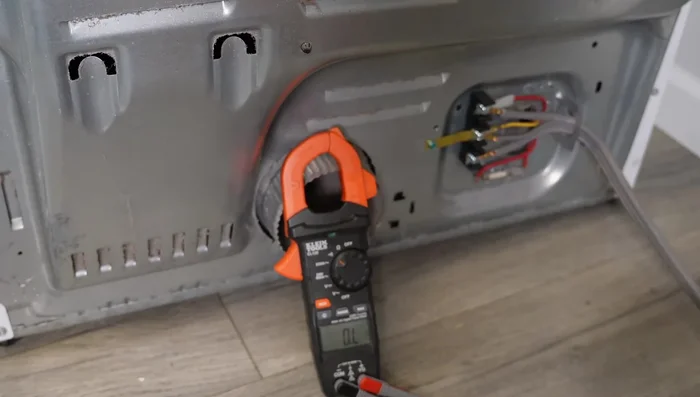
- Unplug the dryer, access the back panel, and check for damage to the power cord or terminal block. Use a multimeter to test voltage.
- Locate the fuse at the bottom of the housing and test its continuity with a multimeter.
Power Supply and Fuse Check Control Panel Access and Testing
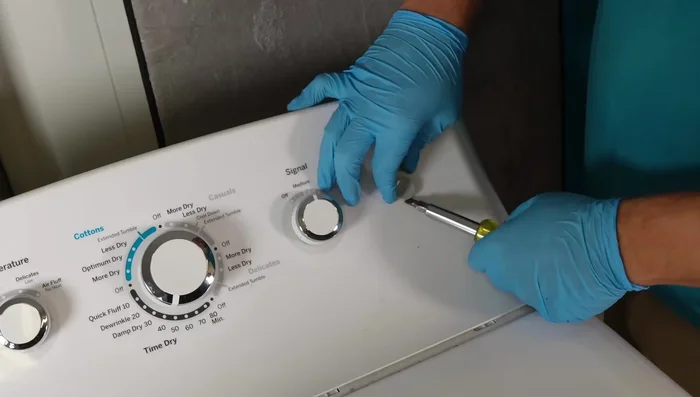
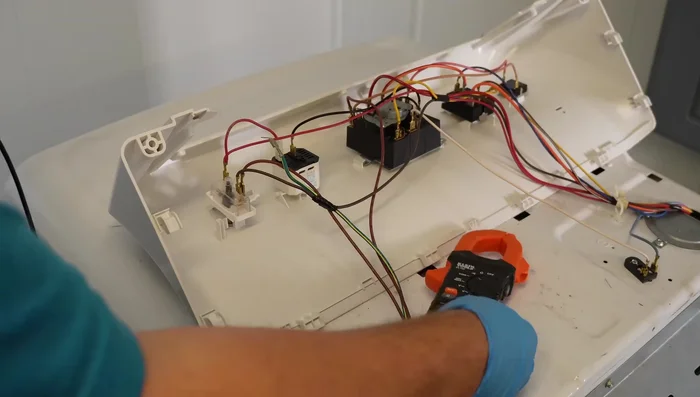
- Remove the control panel and test the push-to-start switch using a multimeter for continuity. Press the switch during testing.
- If necessary, test the dryer timer for continuity according to the schematic.
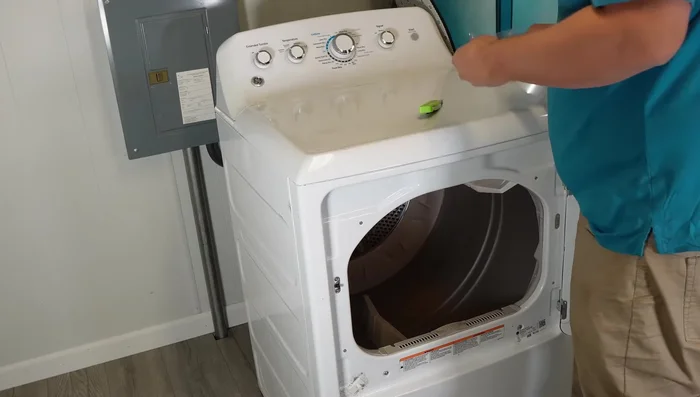
Control Panel Access and Testing Door and Drum Access
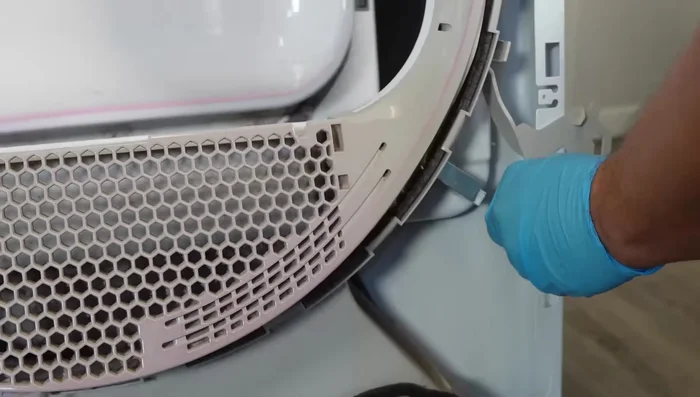
- Remove the dryer door and inspect the door switch thoroughly. Check its functionality using a multimeter and replace if needed.
Door and Drum Access

Read more: Installing an Outdoor GFCI Receptacle: A Step-by-Step Guide
Tips
- Wear latex gloves when working with electrical components.
- Use a dryer cleaning kit to thoroughly clean the lint from the motor and blower housing. This is crucial for preventing future issues and ensuring safety.
- Refer to the schematic located on the inside of the dryer for wiring diagrams and component locations.