Upgrading your home's electrical system can feel daunting, but adding a crucial safety feature like a 20-amp GFCI outlet to your electrical panel is a manageable DIY project for the moderately handy homeowner. A Ground Fault Circuit Interrupter (GFCI) outlet provides vital protection against electric shock, significantly reducing the risk of injury or even fatality in areas like bathrooms, kitchens, and garages. This is particularly important for older homes lacking this essential safety feature, or for those looking to enhance existing protection. Investing a little time and effort in this upgrade offers considerable peace of mind for you and your family.
This guide will walk you through the process of safely installing a 20-amp GFCI outlet in your electrical panel, step-by-step. We'll cover everything from essential safety precautions and necessary tools to the precise wiring techniques required for a successful and code-compliant installation. Following these instructions carefully will ensure you complete the project correctly and confidently, enjoying the increased safety your new GFCI provides.
Preparation and Safety Guidelines
- 4-inch metal box
- GFCI cover
- 20-amp breaker
- 12-gauge wire
- box spacers
- clamp light
- headlamp
- screwdriver
- slotted screwdriver
- **Turn off the main power breaker before starting any work.** Failure to do so can result in serious injury or death from electric shock.
- **Verify the power is off using a non-contact voltage tester.** Don't rely solely on the breaker being switched off. A faulty breaker could still supply power.
- **If you are unsure about any part of this process, consult a qualified electrician.** Improper electrical work can lead to fire hazards and other serious risks.
Step-by-Step Instructions
Safety Precautions and Preparation
- Check local codes and restrictions with your village before starting.
- Turn off the main breaker. A shock can be deadly.
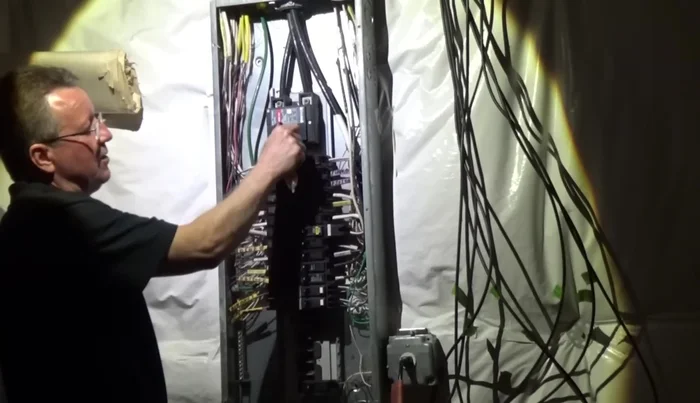
- Carefully remove the electrical panel cover, supporting it to prevent damage.
- Stay away from main wires and lugs even when the main breaker is off; they may still be live.

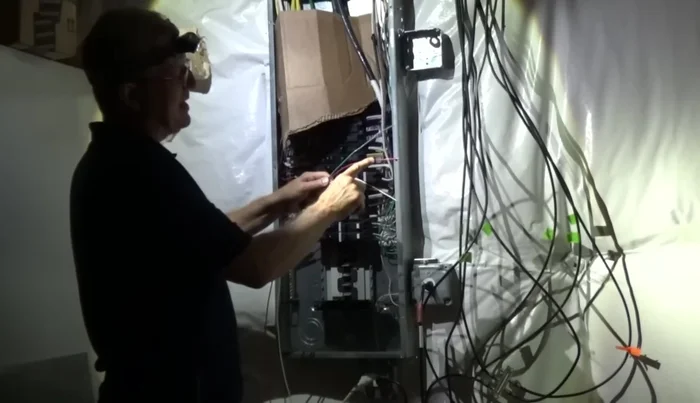
Safety Precautions and Preparation Mounting the Electrical Box
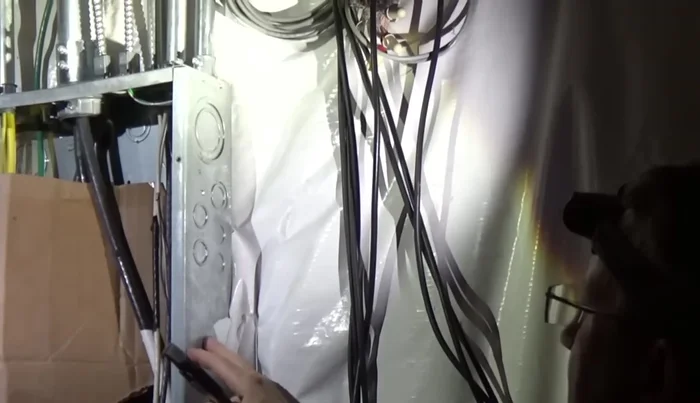
- Connect the electrical box to the service panel using knockouts.
- Attach box spacers to the electrical box and tighten them.
- Slide the box spacers into the service panel and connect with nuts.
Mounting the Electrical Box Installing the Breaker
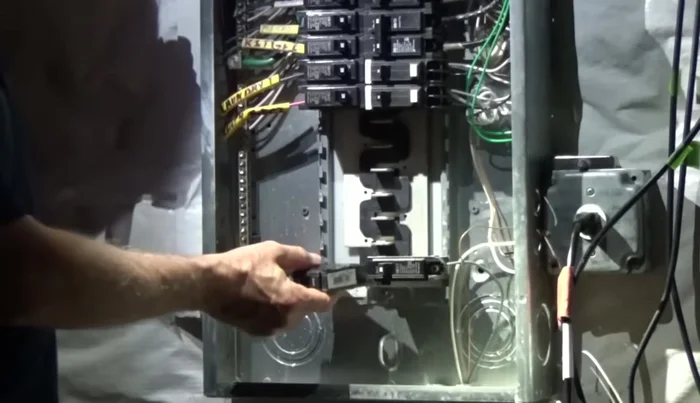
- Add the new 20-amp breaker to the breaker bus bar.
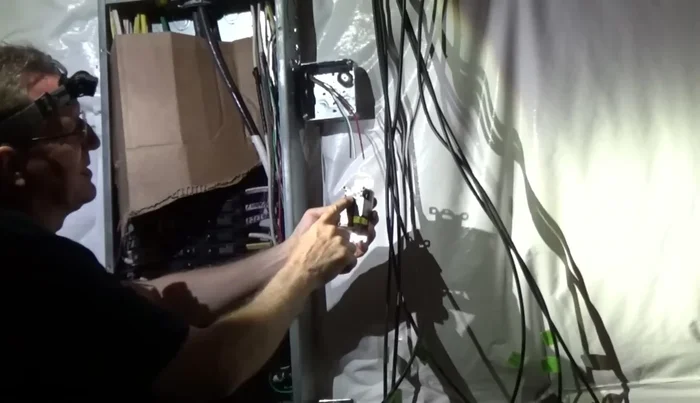
Installing the Breaker Wiring the GFCI Outlet
- Run the 12-gauge wire (red-hot, green-ground, white-neutral) into the box, leaving 6-7 inches exposed.
- Connect the wires to the GFCI's line side (hot to brass, neutral to silver, ground to green).
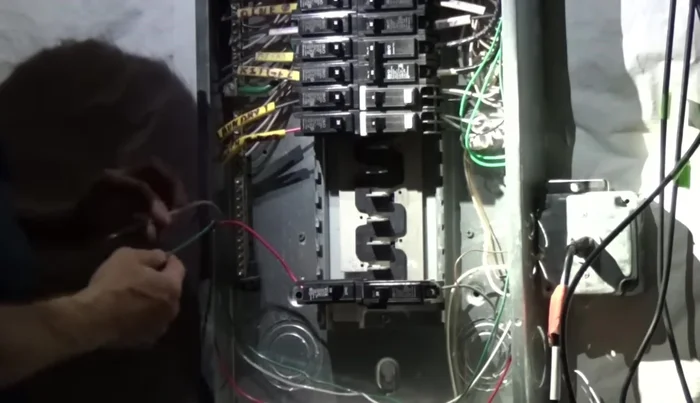
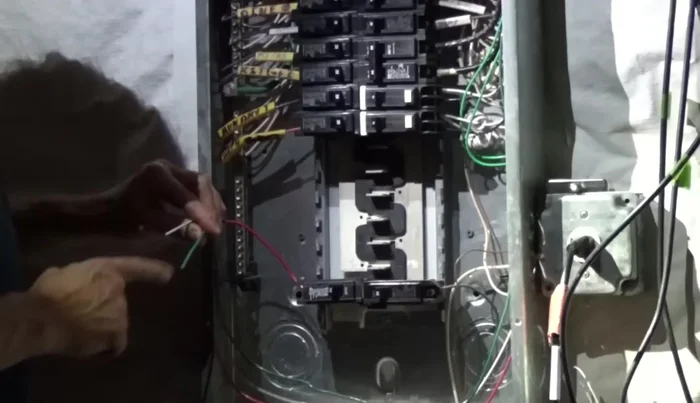
Wiring the GFCI Outlet Connecting to the Panel
- Connect the hot wire to the breaker, stripping about half an inch of insulation.
- Connect the neutral and ground wires to the neutral busbar, each in a separate slot.
- Remove the knockout for the new breaker.
Connecting to the Panel Final Assembly
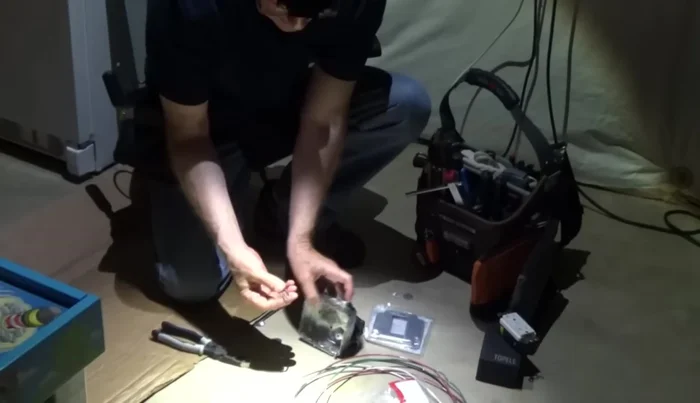
- Attach the GFCI to the cover plate.
- Replace the electrical panel cover.
- Turn the main breaker back on.
Final Assembly


Read more: Installing an Outdoor GFCI Receptacle: A Step-by-Step Guide
Tips
- Consult a professional if unsure about any step.
- Use a clamp light and headlamp for better visibility.
- Cover main lugs with cardboard to prevent accidental contact.
- If the outlet is 36 inches or higher, the ground must be connected upwards.