Working outdoors often involves the use of power tools and appliances, making access to safe and reliable electricity crucial. However, outdoor electrical outlets present unique safety challenges due to exposure to the elements and potential for water damage. A Ground Fault Circuit Interrupter (GFCI) outlet is essential for protecting yourself and others from potentially lethal electric shocks. This vital safety feature instantly cuts off the power if it detects an imbalance, preventing serious injury or even death. Improper installation, however, can negate these benefits and create even greater hazards.
This guide provides a comprehensive, step-by-step process for safely installing a DIY outdoor GFCI outlet, ensuring your outdoor electrical needs are met with maximum safety and peace of mind. Follow along as we navigate the intricacies of wiring, mounting, and testing to guarantee a correctly and safely installed GFCI outlet in your outdoor space.
Preparation and Safety Guidelines
- Hammer
- Flathead screwdriver
- Drill with long bit
- Wire cutters
- Wire strippers
- Keyhole or saber saw
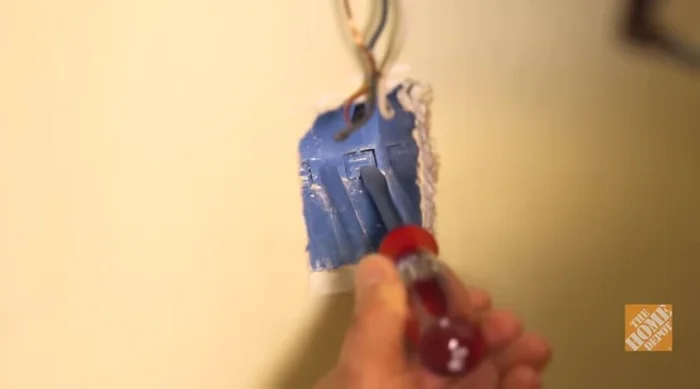
- Voltage tester
- Romex cable
- GFCI outlet
- Electrical box (potentially a larger one)
- Screws
- Wire nuts
- Electrical tape
- Strain relief plug (optional)
- Always turn off the power at the breaker box before starting any work. Failure to do so can result in serious injury or death.
- Use appropriate personal protective equipment (PPE), including safety glasses and work gloves. Moisture can increase the risk of shock.
- Verify the outlet is correctly wired and grounded before turning the power back on. Improper wiring can cause malfunction and fire hazards.
Step-by-Step Instructions
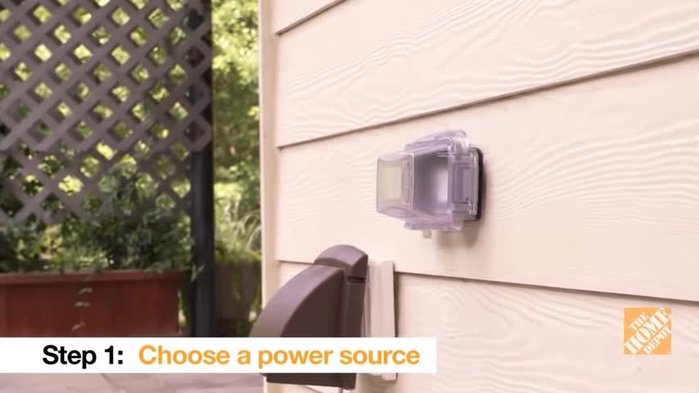
Power Source & Safety
- Find an existing exterior fixture or an indoor outlet on the opposite side of the wall.
- Ensure the circuit can handle the new outlet without overloading. Verify polarity and ground of the interior outlet.
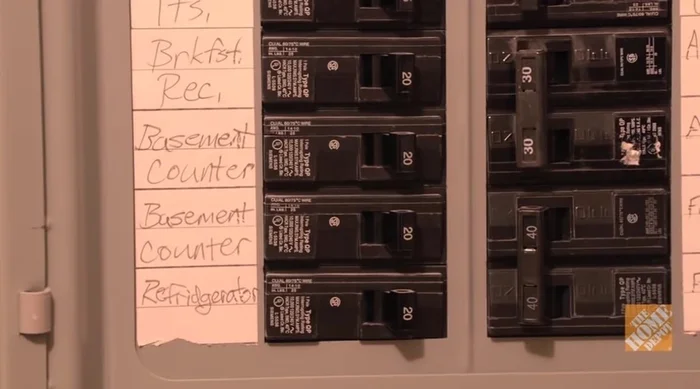
- Shut off the circuit breaker and clearly mark it as out of service.

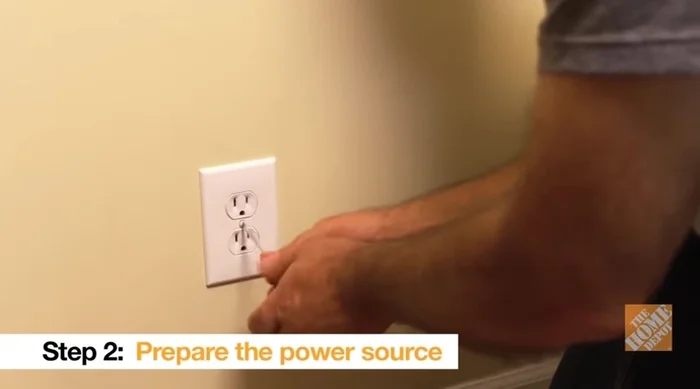
Power Source & Safety Interior Outlet Preparation
- Make sure the electrical box can accommodate the new wires; replace if necessary.
- Take off the wall plate and remove the receptacle from the electrical box. Disconnect wires.
Interior Outlet Preparation Wall Penetration & Cable Routing
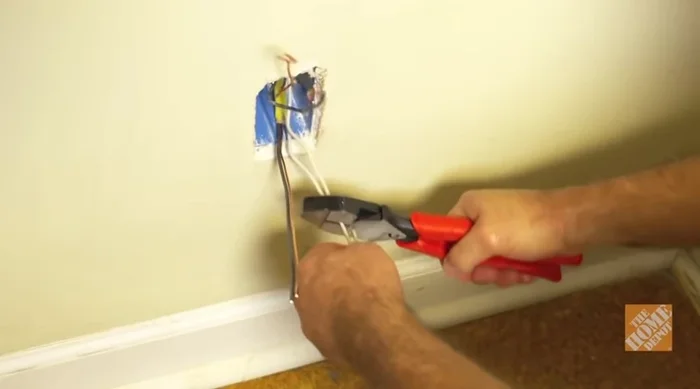
- Knock out a hole in the back of the existing box and drill through the wall to the exterior.
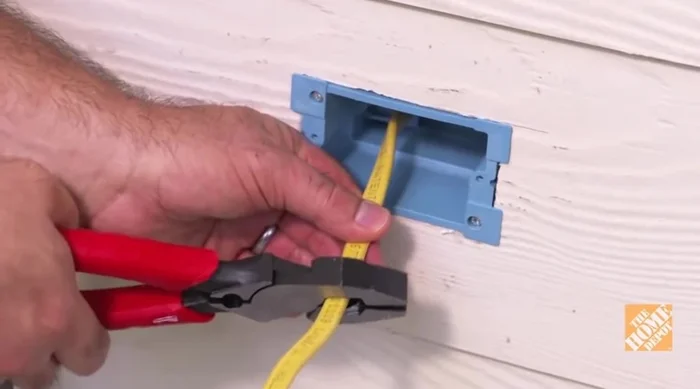
- Run Romex cable through the hole, leaving about a foot on each side.
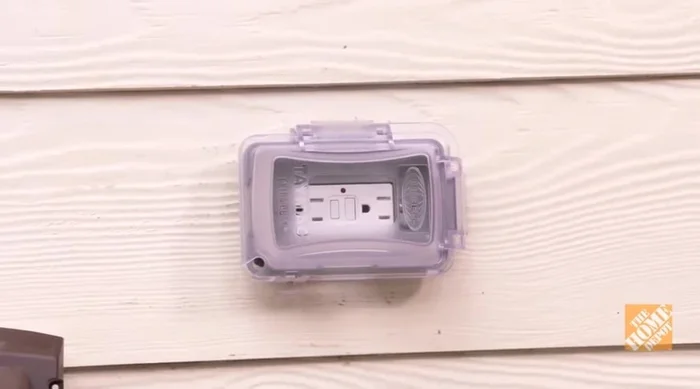
Wall Penetration & Cable Routing Exterior Box Installation
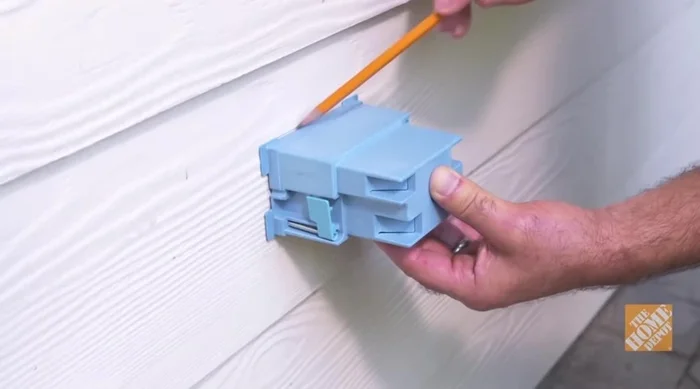
- Mark, drill holes, and cut out a recess for the outdoor GFCI box.
- Secure the box to the exterior wall.
Exterior Box Installation Wiring Preparation & Connection
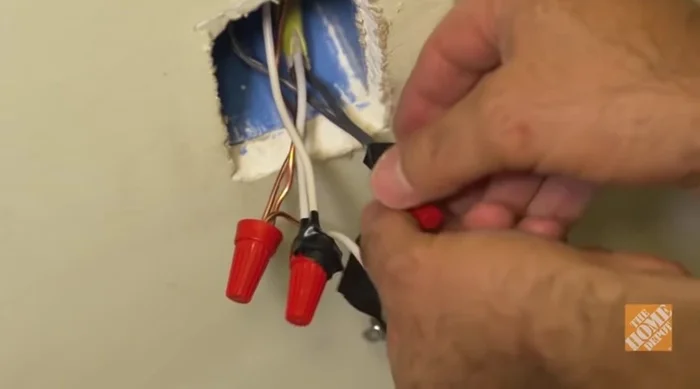
- Strip sheathing and insulation from the Romex cable ends.
- Pigtail and connect the corresponding wires (ground, white, black) from the interior and exterior using wire nuts.
Wiring Preparation & Connection GFCI Outlet Installation
- Attach wires (ground, white, black) to the appropriate terminals.
Finalization & Testing
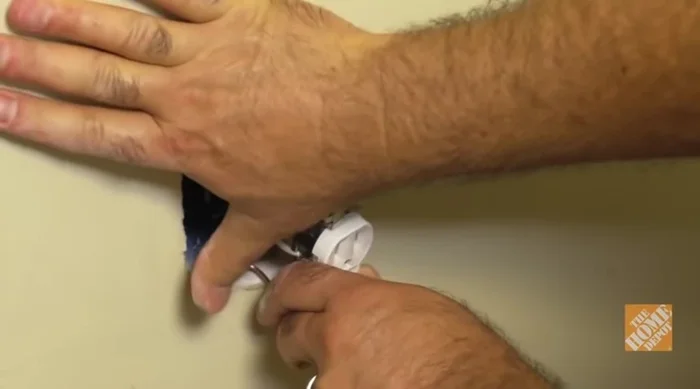
- Use electrical tape to secure wire connections.
- Push wires into the box, screw the outlet in place, and reattach the cover plate.
- Turn power back on, test outlets with a voltage tester, and confirm GFCI functionality.
Finalization & Testing


Read more: Installing an Outdoor GFCI Receptacle: A Step-by-Step Guide
Tips
- It's better to have excess cable length than too little.
- Use a tamper-resistant receptacle, especially for locations accessible to children.