Electrical safety is paramount in any home, and Ground Fault Circuit Interrupters (GFCIs) provide crucial protection against dangerous electrical shocks, especially in areas prone to moisture like bathrooms and kitchens. Replacing a standard receptacle with a GFCI outlet is a relatively straightforward DIY project that can significantly enhance your home's safety and peace of mind. While it may seem daunting, this upgrade offers a significant return on investment in terms of protection and potentially avoiding costly repairs or even injury.
This improvement not only protects against shocks but can also help prevent electrical fires. Understanding how to perform this upgrade correctly is essential, however, to ensure both safety and proper functionality. To guide you through this process, we've compiled a detailed, step-by-step guide on how to safely replace your standard outlet with a GFCI outlet. Let's begin!
Preparation and Safety Guidelines
- Voltage tester
- Philips screwdriver
- Flathead screwdriver
- Needle-nose pliers
- Drill with Philips bit
- Always turn off the power to the circuit at the breaker box before beginning any work. Failure to do so could result in serious injury or death.
- Verify the power is off using a non-contact voltage tester before touching any wires.
- If you are uncomfortable performing this task, consult a qualified electrician. Improper wiring can create fire hazards.
Step-by-Step Instructions
Safety First: Power Off
- Turn off the power to the circuit at the breaker box.
- Test to ensure power is off using a voltage tester.

Safety First: Power Off Remove the Old Receptacle
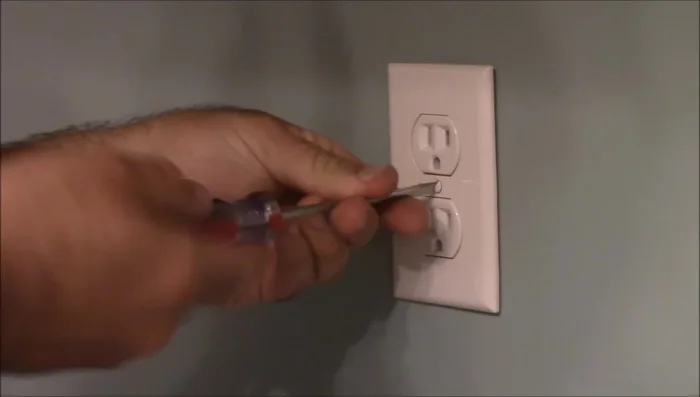
- Remove the receptacle cover using a flathead screwdriver.
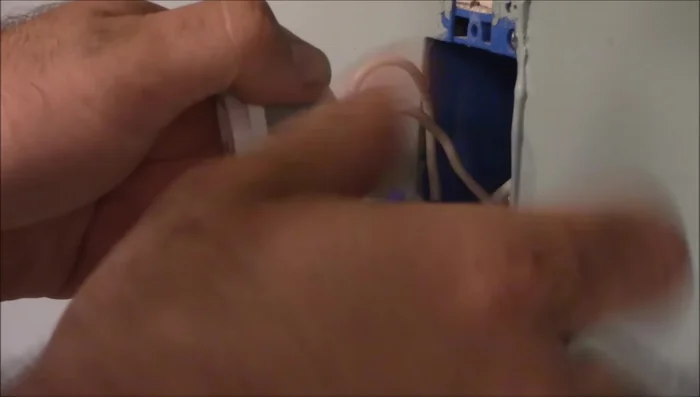
- Remove the receptacle from the electrical box.
- Disconnect the wires from the receptacle.
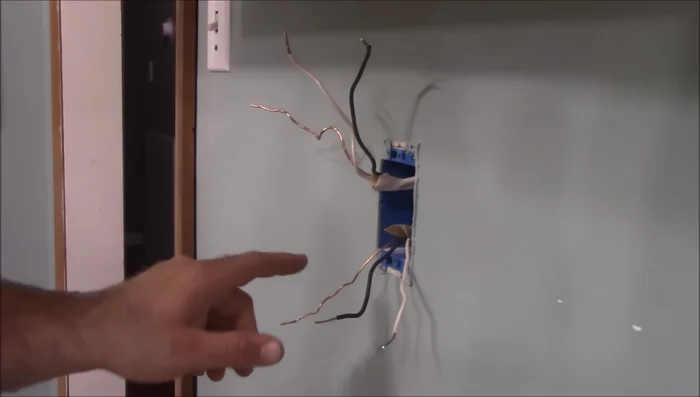
Remove the Old Receptacle Identify Wiring
- Identify the line and load wires (hot and neutral). If unsure, carefully turn power back on (with extreme caution!) and use a voltage tester to determine which wires are hot.
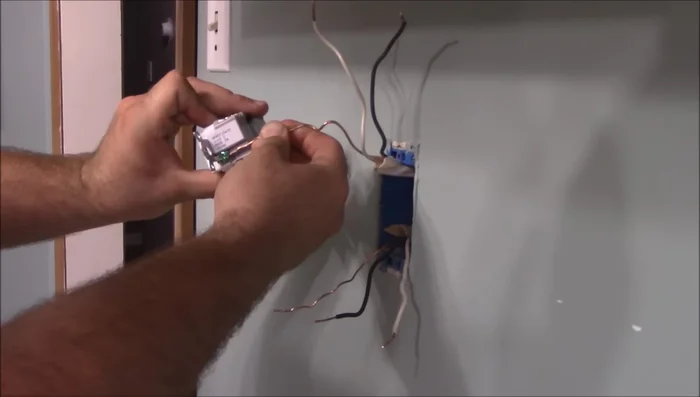
Identify Wiring Connect the GFCI Outlet
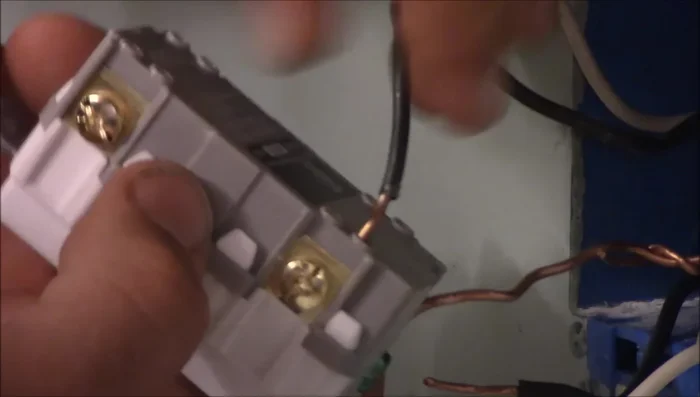
- Connect the ground wires to the GFCI outlet.
- Connect the line and load wires to the GFCI outlet, ensuring hot wires go to the brass terminals and neutral wires to the silver terminals.
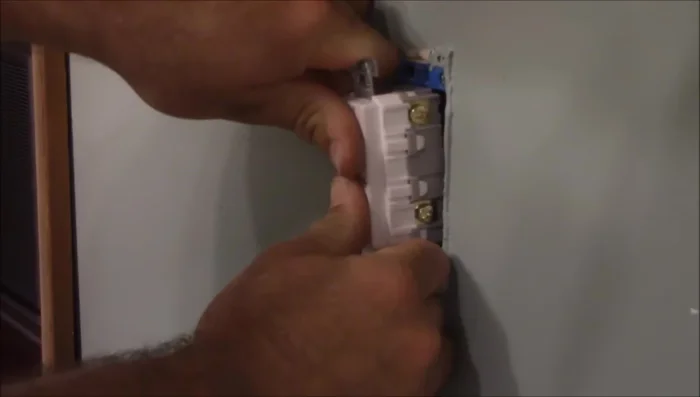
Connect the GFCI Outlet Secure and Replace
- Secure the GFCI outlet in the electrical box.
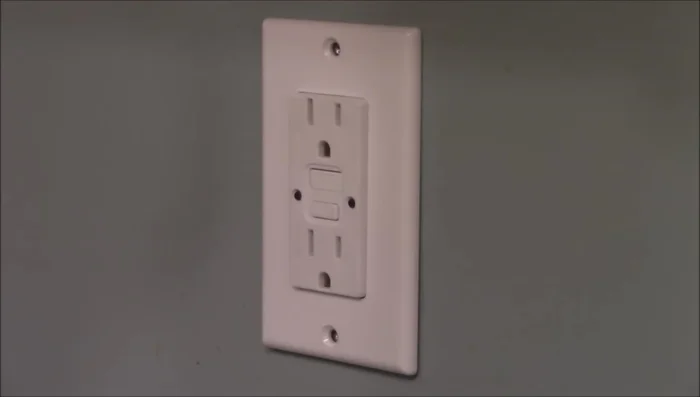
- Replace the receptacle cover.
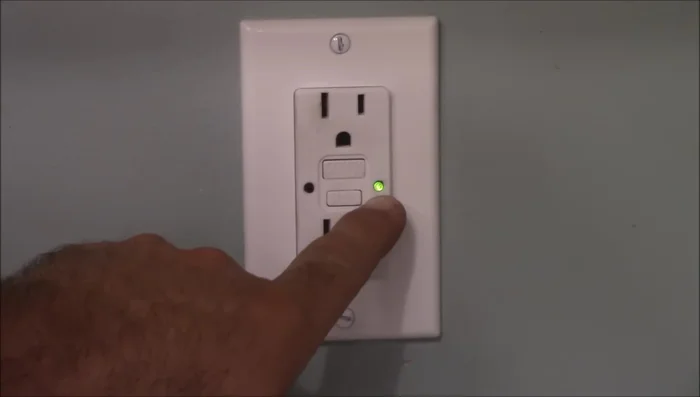
Secure and Replace Final Test and Power On
- Turn the power back on and test the GFCI outlet using the test and reset buttons.
Final Test and Power On


Read more: Installing an Outdoor GFCI Receptacle: A Step-by-Step Guide
Tips
- Always turn off the power at the breaker box before working with electrical wiring.
- Double-check that the power is off using a voltage tester.
- If unsure about line and load wire identification, carefully test with a voltage tester while power is temporarily on. Proceed with extreme caution!
- Do not overtighten wire connections.