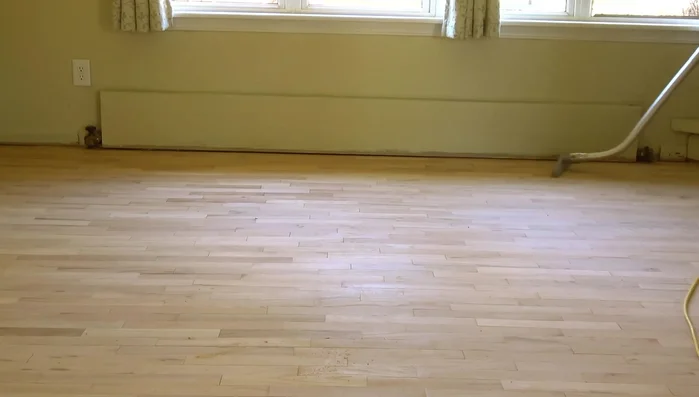
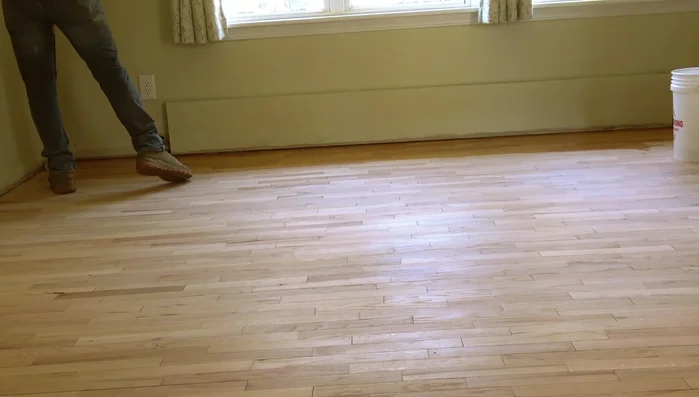
Hardwood floors, with their timeless elegance and enduring durability, are a prized feature in many homes. However, the passage of time, along with everyday wear and tear, can leave even the most beautiful floors looking dull and damaged. Scratches, dents, and discoloration can significantly diminish their aesthetic appeal, making them seem tired and outdated. Restoring your hardwood floors to their former glory is achievable, and often more affordable than replacement, with the process of sanding and refinishing. A beautifully restored floor dramatically increases a home's value and creates a warm, inviting atmosphere.
But tackling this project yourself requires the right knowledge and technique. Improper sanding can lead to irreversible damage, making a professional finish impossible. This step-by-step guide will equip you with the essential skills and information needed to achieve efficient and effective hardwood floor sanding, resulting in a stunning, revitalized floor. Let's dive into the process.
Preparation and Safety Guidelines
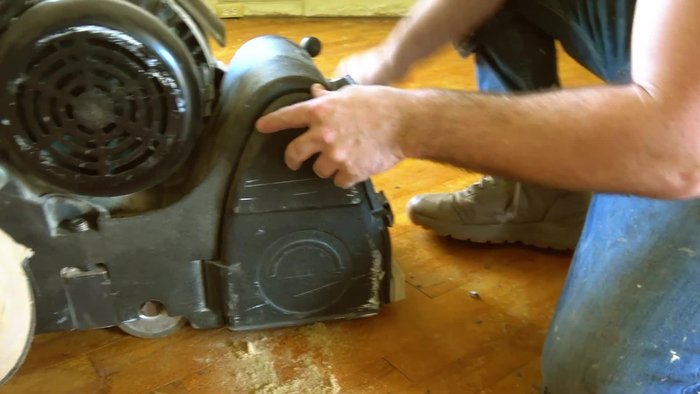
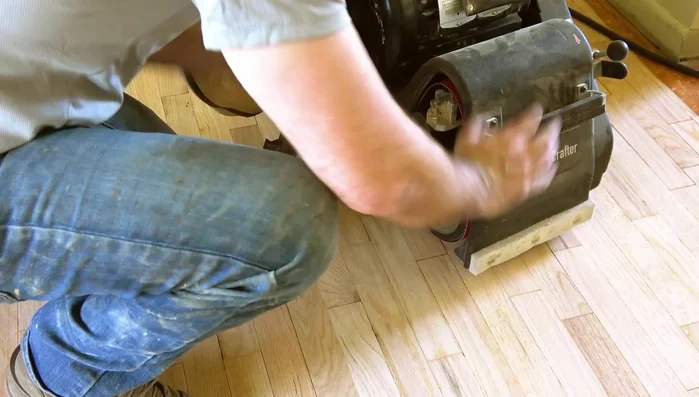
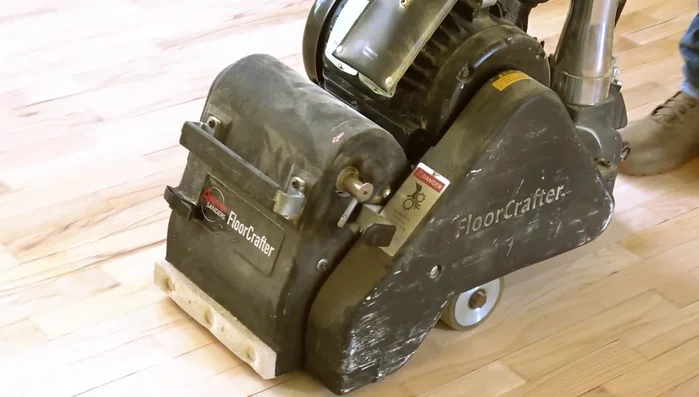
- Belt Sander
- Buffer with Sander Head
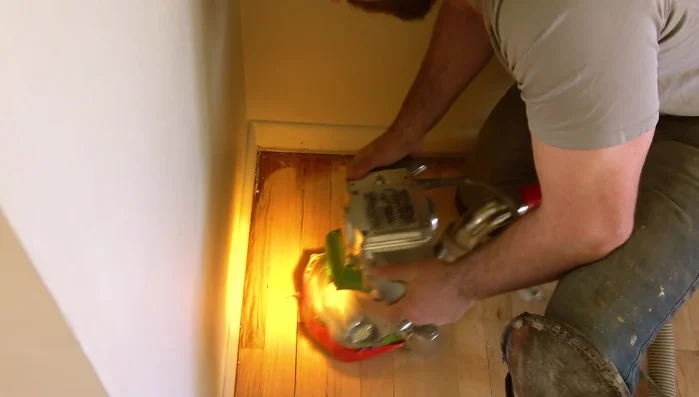
- Edger (Super 7 type)
- Scraper
- Microfiber roller (9-inch)
- Low-end brush (2-3 inch)
- Powerful vacuum with felt/horsehair head
- Cordless light (optional)
- Always wear a dust mask and eye protection. Hardwood sanding produces fine dust that is harmful to your lungs and eyes.
- Use caution when operating sanding equipment. These machines are powerful and can cause serious injury if not handled properly. Follow manufacturer instructions carefully.
- Ensure adequate ventilation. Open windows and doors, or use a dust collection system to remove sanding dust from the air.
Step-by-Step Instructions
Rough Sanding
- Work the entire room with the grain, keeping the sander moving constantly to avoid gouging the floor.
- Repeat the belt sanding process with 60-grit sandpaper for a smoother finish.

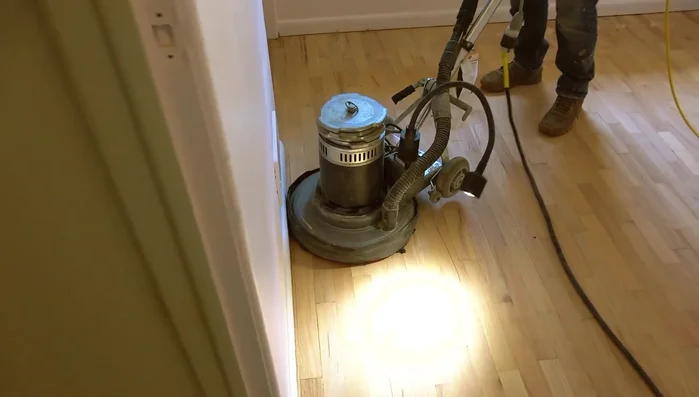
Rough Sanding Perimeter Sanding
- Use a buffer with a sander head to sand the perimeter of the room. This significantly reduces the effort required for edging.
Perimeter Sanding Edge Sanding
- Use an edger to sand the final inch or so around the edges that the buffer couldn't reach. The prior buffering step minimizes the work here.
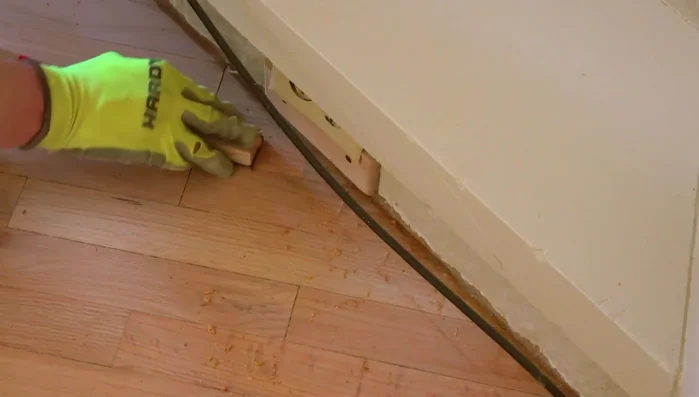
Edge Sanding Detail Sanding
- Use a scraper to address corners and hard-to-reach areas.
Detail Sanding Fine Sanding
- Use the buffer again with 80 grit sandpaper for a smooth, even finish across the entire floor. Check for imperfections using a light.
- Perform another pass with 100-grit sandpaper for an extra-smooth surface.
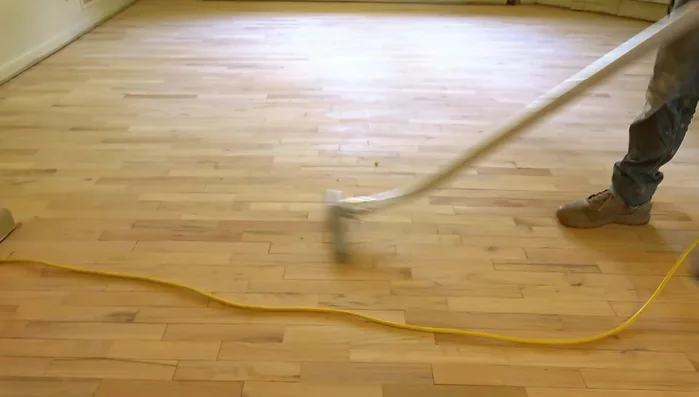
Fine Sanding Cleaning
- Thoroughly vacuum the floor with a powerful vacuum featuring a felt or horsehair head to remove all sanding dust.
Cleaning Finishing
- Apply the finish using a microfiber roller, working in the direction of the grain. Use a small brush for edges and corners.
Finishing
Read more: Fixing Drywall Nail Pops: A Quick and Easy DIY Guide
Tips
- Always keep the belt sander moving to prevent gouging.
- Using a buffer before edging significantly reduces the back-breaking work of edging.
- Avoid jumping too many grits between sanding stages.
- Use a light to check for imperfections during the final buffering stage.
- Use a powerful vacuum with a felt or horsehair head for thorough dust removal.