Heirloom chairs, passed down through generations, often carry more than just sentimental value; they hold memories, stories, and a tangible connection to family history. These cherished pieces, however, are susceptible to the wear and tear of time, requiring careful restoration to preserve their beauty and legacy. From loose joints and worn upholstery to cracked wood and damaged finishes, various issues can compromise their structural integrity and aesthetic appeal. Ignoring these problems can lead to irreversible damage, ultimately losing a treasured family heirloom.
This guide provides a comprehensive, step-by-step approach to repairing your heirloom chairs, empowering you to tackle common repairs with confidence and precision. Whether you're dealing with minor cosmetic flaws or significant structural damage, we'll equip you with the knowledge and techniques necessary to breathe new life into these irreplaceable pieces of furniture. Let’s begin with the first step in our journey to restoring your family's legacy.
Preparation and Safety Guidelines
- Rubber mallet
- Soap and water
- Old sock
- Wood file/Sandpaper
- Dowels
- Drill
- Wood glue
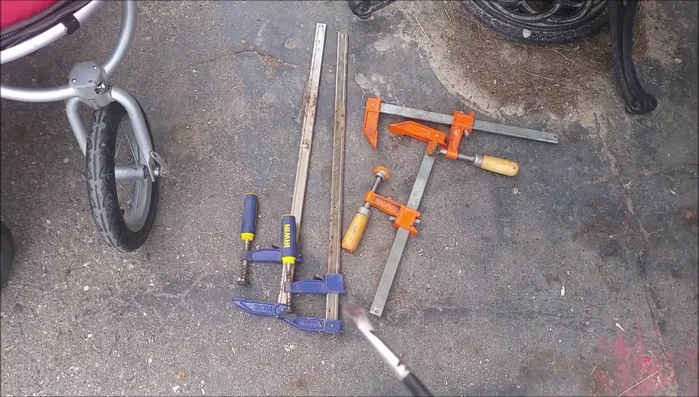
- Clamps/Ratchet straps
- Restore-a-Finish
- Old English Finish (optional)
- Always prioritize safety. Wear appropriate safety glasses and a dust mask when sanding or working with potentially harmful materials.
- Take detailed photos before starting any repairs. This will help you remember the original assembly and placement of parts.
- If unsure about a repair, consult a professional furniture restorer. Improper repairs can cause further damage to your heirloom.
Step-by-Step Instructions
Disassembly and Cleaning
- Disassemble the chair carefully using a rubber mallet.
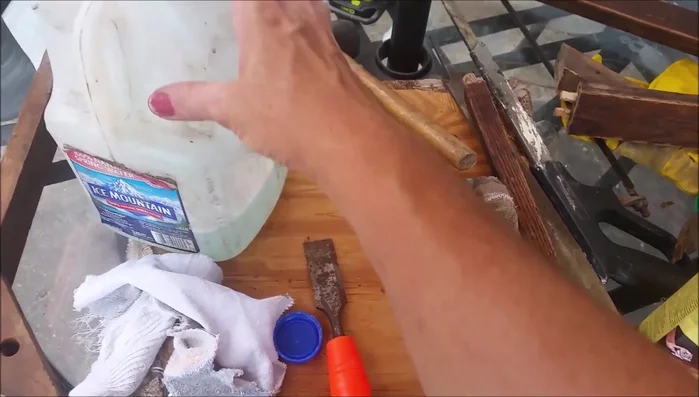
- Clean each piece thoroughly with soap and water.
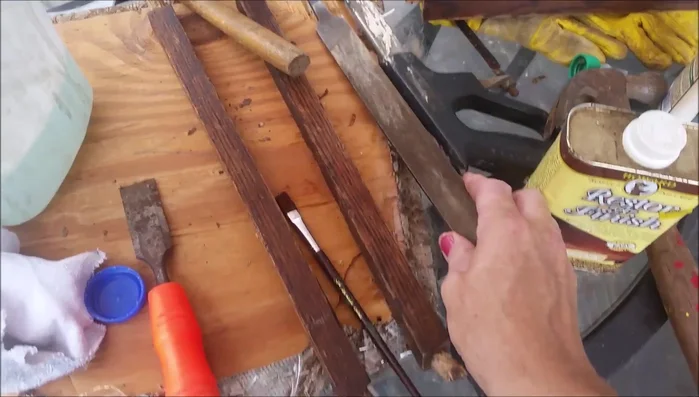
- Remove old glue using a wood file or sandpaper.

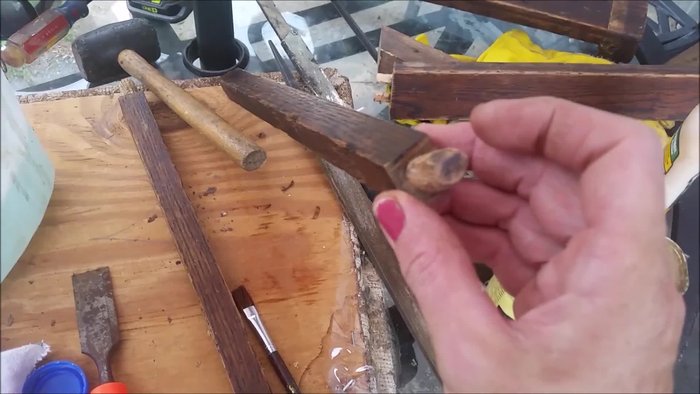
Disassembly and Cleaning Dowel Repair
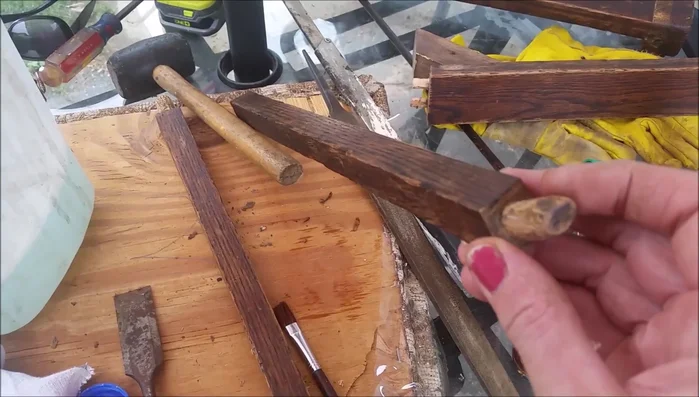
- Replace broken dowels by drilling out the old ones and gluing in new, appropriately sized dowels.
Dowel Repair Glue and Reassembly
- Apply wood glue sparingly to the joints, avoiding excessive glue.
- Reassemble the chair, using clamps or ratchet straps to ensure tight joints.
Glue and Reassembly Finishing
- Apply a finish (e.g., Restore-a-Finish) to protect and enhance the wood.

Read more: Silence that Squeaky Bed: A Complete Fix-It Guide
Tips
- Spiraled dowels provide a better bond with glue.
- Don't over-glue the joints; allow for some give.
- Use clamps or straps to ensure tight joints during reassembly.
- Old English Finish can be used for a quick touch-up.
- Clean the chair thoroughly before applying any finish.