Keeping your feline friend safe is a top priority for any cat owner, and a crucial part of that is ensuring your home is protected from fire hazards. Smoke alarms are a vital piece of safety equipment, providing crucial early warning in case of a fire, giving you precious time to evacuate your home, including your beloved kitty. Many pet owners, however, are intimidated by the prospect of installing these life-saving devices, assuming it's a complex and time-consuming process. But the truth is, installing a smoke alarm can be surprisingly straightforward.
This quick and easy guide will walk you through the simple steps of installing a smoke alarm, ensuring your home – and your cat – are protected from fire. Forget complicated instructions and confusing diagrams; we'll break down the entire process into clear, concise steps, making installation a breeze. Let's get started with the step-by-step instructions below so you can quickly safeguard your furry friend and your home.
Preparation and Safety Guidelines
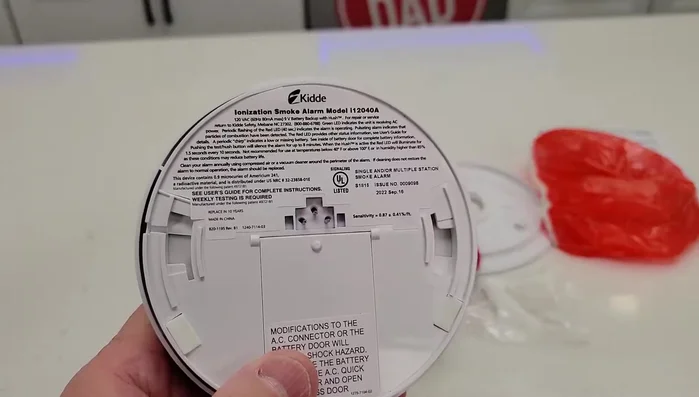
- Kitty Smoke Alarm (Part Number 210-29727)
- Screwdriver
- Nine-volt battery (if needed)
- Optional: Key to prevent tampering
- Always test the alarm after installation to ensure it's functioning correctly. Follow the manufacturer's instructions for testing.
- Never install the alarm near sources of steam, dust, or other elements that might trigger false alarms. Maintain a clear space around the detector.
- If you are unsure about any aspect of the installation, consult a qualified electrician or follow the manufacturer's detailed instructions. Improper installation can compromise safety.
Step-by-Step Instructions
Preparation
- Check the expiration date. Replace every 10-11 years.
- Apply dust cover during construction to prevent false alarms.

Preparation Battery Activation and Installation
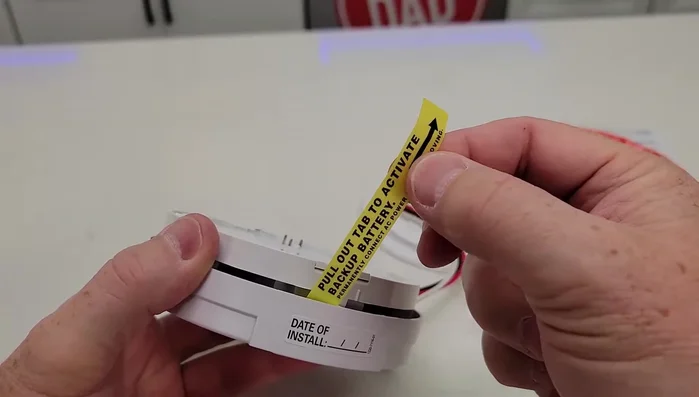
- Activate the battery by pulling out the tab.
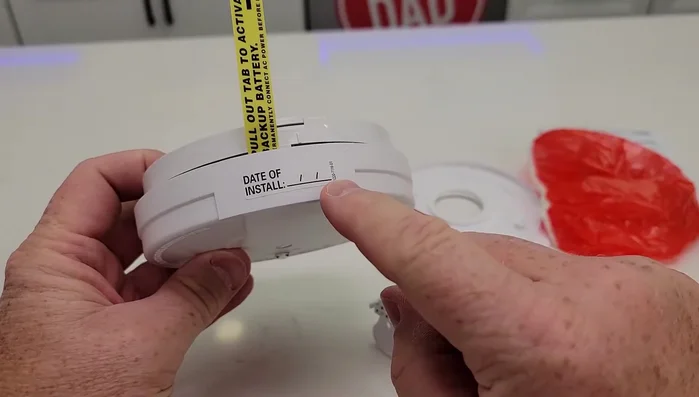
- Record the installation date.
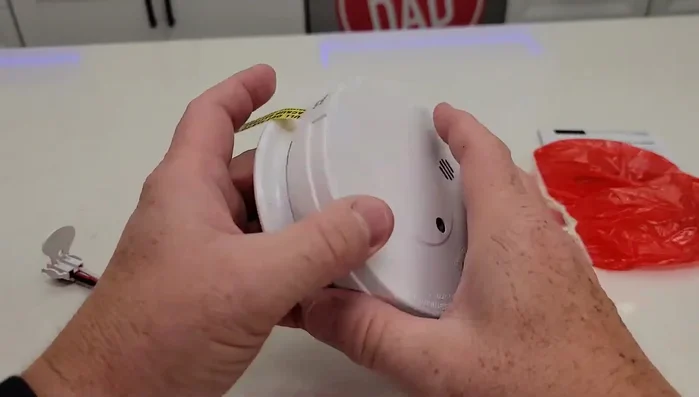
Battery Activation and Installation Wiring and Base Installation
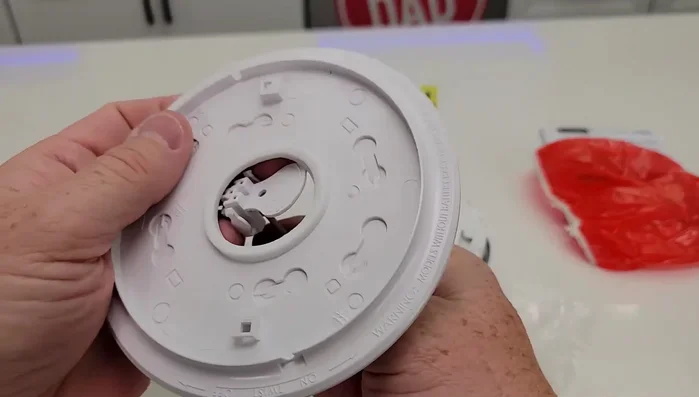
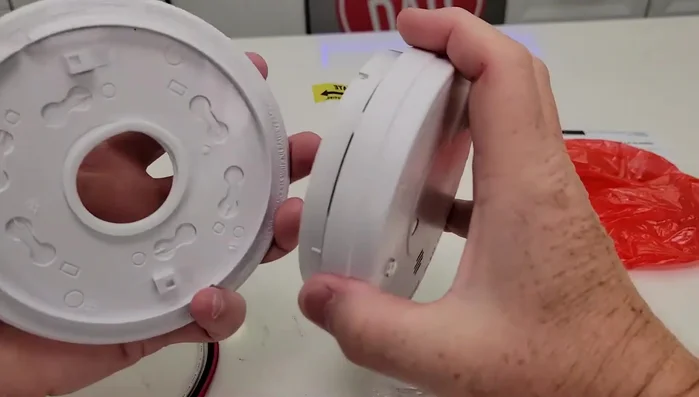
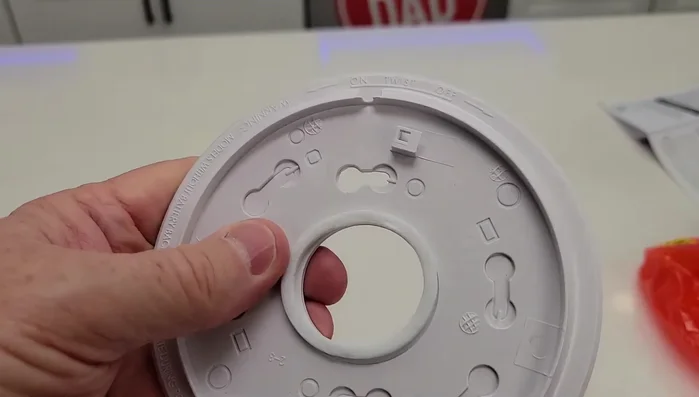
- Connect the alarm's wires to the base. Ensure proper alignment of the three pins and that it snaps into place with the little ears.
- Align the notch on the alarm with the notch on the base for secure installation.
- Install the new base, ensuring proper wire connection.
Wiring and Base Installation Testing and Verification
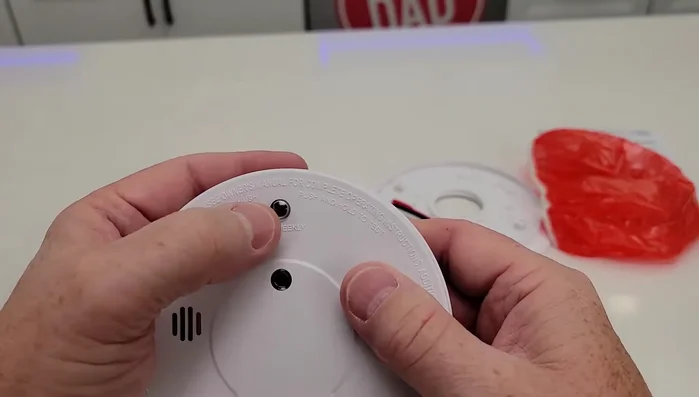
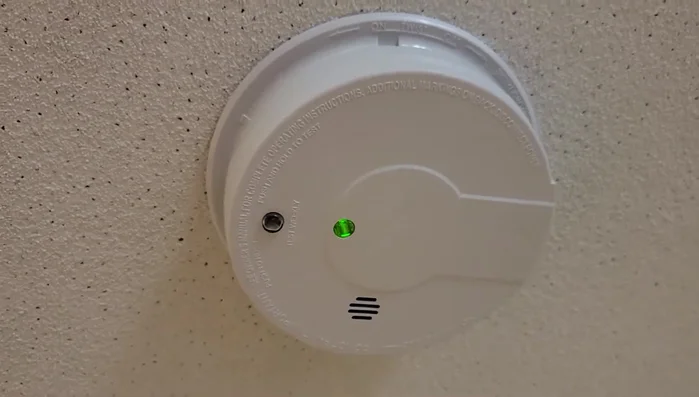
- Test the alarm using the test button.
- Check for a green light and occasional red flashes indicating power and functionality.
Testing and Verification Tamper Prevention (Optional)
- Install the key (optional) to prevent tampering.
Tamper Prevention (Optional) Post-Installation
- Remove the dust cover once construction is complete.
Post-Installation


Read more: Installing an Outdoor GFCI Receptacle: A Step-by-Step Guide
Tips
- Don't forget to replace the battery every 10-11 years, or when the alarm starts chirping.
- Use the key to prevent unauthorized removal of the alarm.
- Apply dust covers during construction to prevent false alarms caused by dust.