Leather couches, with their timeless elegance and enduring comfort, are a cherished addition to any home. However, the inevitable wear and tear of daily life can sometimes lead to unsightly cracks marring their beautiful surface. A cracked leather couch doesn't necessarily mean the end of its lifespan; with the right care and techniques, you can restore its former glory. This is especially true with the help of the Konics Leather CarePro, a product designed to effectively repair and revitalize damaged leather. Scratches and minor tears are no match for this powerful tool, allowing you to extend the life and beauty of your favorite piece of furniture.
This tutorial will guide you through a step-by-step process of repairing cracked leather using the Konics Leather CarePro, offering a practical solution to a common problem. We'll cover everything from preparing the damaged area to applying the final coat, ensuring a professional-looking finish that seamlessly blends with the existing leather. Let's get started and breathe new life into your beloved couch!
Preparation and Safety Guidelines
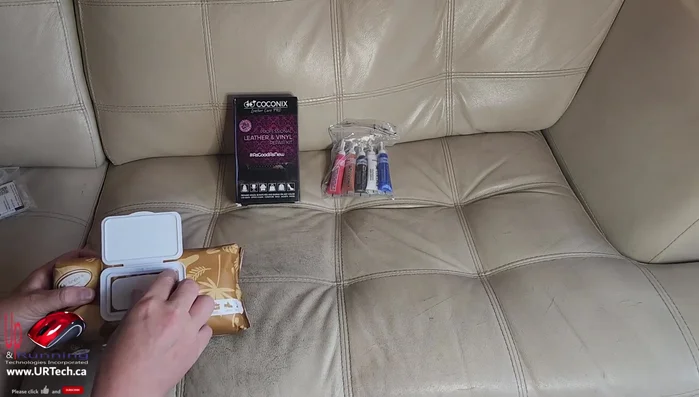
- Konics Leather CarePro Kit
- Clean cloths
- Cardboard (optional)
- Leather wipes (optional)
- Always test any cleaning or repair product on a hidden area of the couch first to ensure it doesn't damage the leather or discolor it.
- Avoid using harsh chemicals or abrasive materials, as these can further damage the leather and make the crack worse.
- If the crack is deep or extensive, professional repair may be necessary. Attempting extensive repairs yourself could worsen the damage.
Step-by-Step Instructions
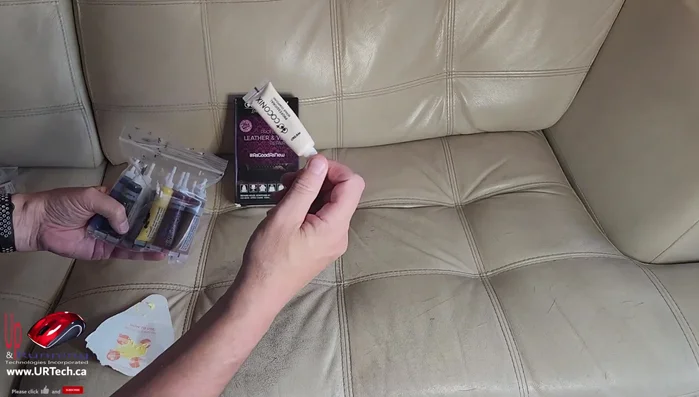
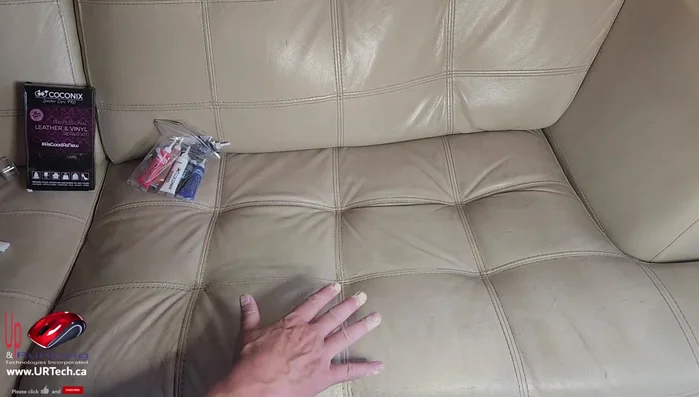
Preparation and Color Matching
- Clean the leather surface thoroughly to remove dirt and debris. This prevents grinding dirt into the leather during the repair process.
- Select a color from the Konics kit that closely matches the leather's original color. You may need to mix colors to achieve a precise match.

Preparation and Color Matching Initial Color Application
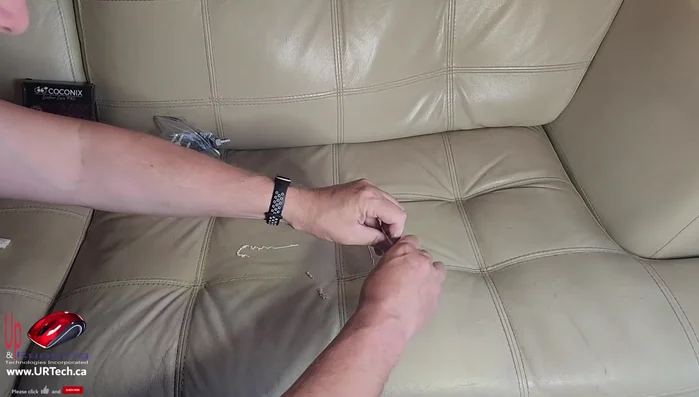
- Apply the chosen color(s) directly to the damaged area. Don't worry if it seems too much at first.
- Gently smudge the applied color using circular motions. This helps the color penetrate the leather cracks and crevices. Work the color into the seams.
Initial Color Application Color Adjustment and Penetration
- Let the applied color sit for 5-10 minutes. Then add more color if needed, applying across the cuts to push the color into the leather, not along the cut.
Color Adjustment and Penetration Blending and Excess Removal
- After another 5 minutes, use a clean, damp cloth to gently even out the color and remove any excess or clumps. Use circular motions.
Blending and Excess Removal Drying
- Allow the repair to dry for approximately 2 hours.
Drying


Read more: Silence that Squeaky Bed: A Complete Fix-It Guide
Tips
- Purchase the Konics Leather CarePro kit with multiple colors for greater versatility. Mixing colors allows for a more precise match to your leather.
- Use circular motions to work the color into the leather's texture, ensuring it penetrates cracks and crevices.
- Apply the color across the cuts, not along them, to push it deep into the leather and prevent clumping.
- Use a clean, damp cloth for the final wipe to achieve a smooth, even finish.