A leaky roof is more than just an annoyance; it can lead to significant structural damage and costly repairs if left unaddressed. Water damage can weaken rafters, cause mold growth, and compromise the overall integrity of your home. Identifying the source of the leak in your tiled roof can be challenging, requiring careful inspection and a methodical approach. Fortunately, many leaks can be fixed with some DIY skills and the right tools, saving you a substantial amount of money compared to hiring a professional.
This guide will walk you through a comprehensive, step-by-step process to effectively locate and repair a leak in your tile roof. From initial inspection and necessary safety precautions, to the crucial task of identifying the leak's origin and applying the appropriate repair, this guide will empower you to tackle this common homeowner problem. Let's get started!
Preparation and Safety Guidelines
- Crowbar (handy bar)
- Hammer
- Broom
- New felt sheets
- New tiles (if needed)
- Roof work is dangerous. If you're uncomfortable working at heights or lack experience, hire a professional roofer. Falls can cause serious injury or death.
- Always use appropriate safety equipment, including a sturdy ladder, safety harness, and work gloves. Wear protective eyewear to prevent eye injuries from falling debris.
- Check the weather forecast before starting repairs. Working on a wet or windy roof is extremely hazardous.
Step-by-Step Instructions
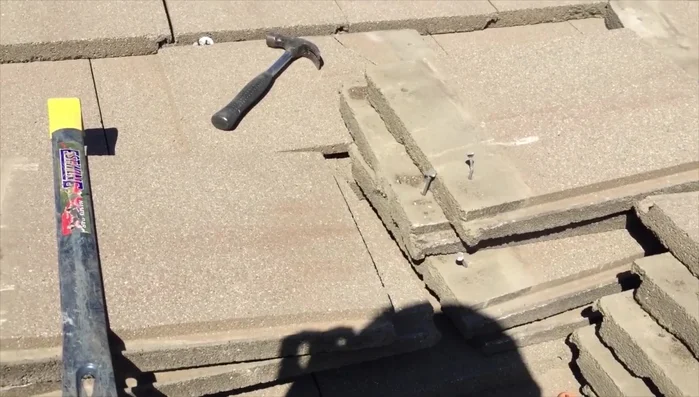
Locate and Assess the Leak
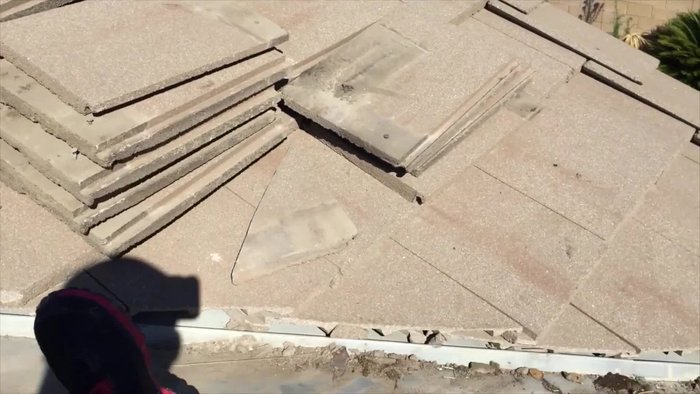
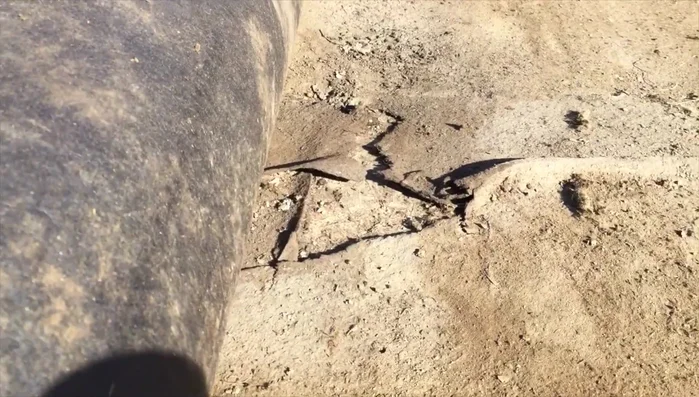
- Identify the leak. Locate the source of the leak; in this case, a broken tile was found next to a valley.

Locate and Assess the Leak Remove Damaged Tiles
- Remove damaged tiles. Carefully remove the broken tiles and any surrounding tiles that might be loose or damaged using a crowbar to pry them up.
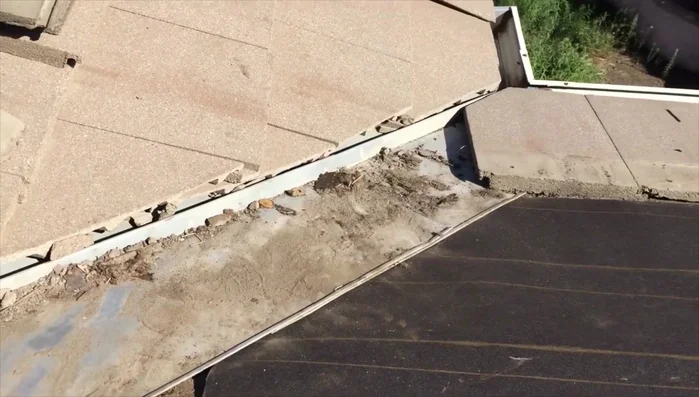
Remove Damaged Tiles Prepare the Repair Area
- Prepare the area. Remove any nails or debris from the affected area. Clean the valley to prevent further leaks.
Prepare the Repair Area Install Underlayment
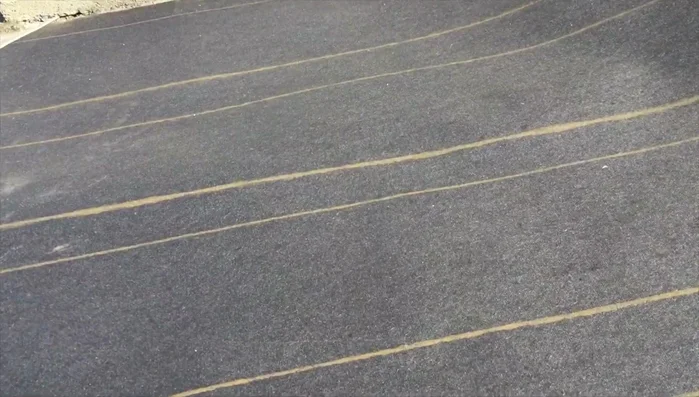
- Install new felt. Lay down new felt sheets, overlapping them to ensure water-tight coverage. Tuck the felt underneath the surrounding tiles to create a seamless seal.
Install Underlayment Replace Tiles
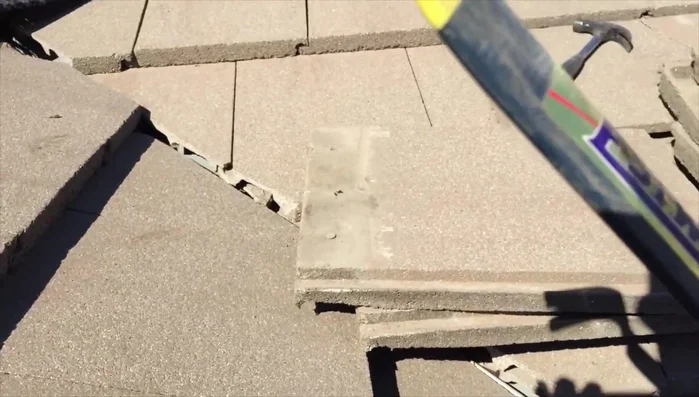
- Replace tiles. Carefully replace the tiles, ensuring they are properly aligned and secured with nails.
Replace Tiles Final Cleanup
- Clean up. Sweep away any remaining debris.
Final Cleanup
Read more: DIY Roof, Shingle, Fence, and Flashing Repair with Henry Wet Patch 208
Tips
- Check for additional damaged tiles while on the roof.
- Ensure proper felt overlap to prevent water seepage.
- Use a handy bar to help remove tiles efficiently.
- Be mindful of nail placement; some roofs have nails every 1-3 tiles.