Flickering LED recessed lights can be a frustrating and persistent annoyance, disrupting the ambiance of a room and potentially indicating a deeper electrical issue. While the problem might seem daunting, in many cases, the culprit is a simple, inexpensive component: the capacitor. This seemingly minor part plays a crucial role in stabilizing the LED's power supply, and its failure often manifests as a bothersome flicker. A flickering light isn't just aesthetically displeasing; it can also signal a larger problem developing within your electrical system if left unaddressed.
This guide offers a straightforward solution to this common problem: replacing the faulty capacitor. We'll walk you through the process step-by-step, providing clear instructions and helpful visuals to make the repair accessible even to those with limited DIY experience. Let's dive into the simple steps that will restore your LED recessed light to its former glory and eliminate that irritating flicker.
Preparation and Safety Guidelines
- Soldering iron
- Solder
- Flux
- Wire cutters
- Always turn off the power to the circuit at the breaker box before attempting any repairs. Failure to do so could result in serious injury or death.
- Capacitors can store a dangerous electrical charge even after the power is off. Discharge the capacitor by carefully shorting the terminals with an insulated screwdriver before handling.
- Use a replacement capacitor with the same voltage and capacitance rating as the original. Incorrectly sized capacitors can damage the light fixture or cause further issues.
Step-by-Step Instructions
Identify and Assess the Problem
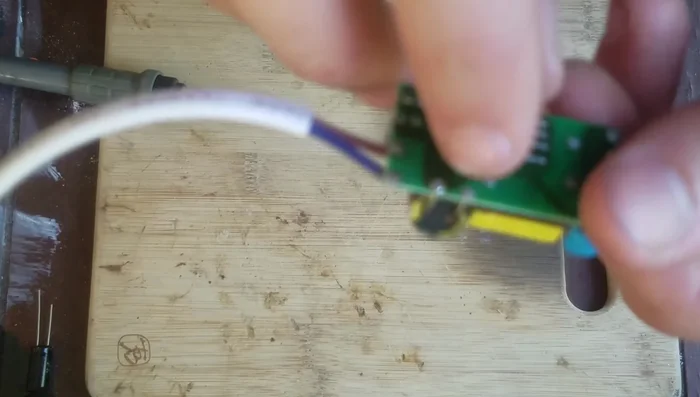
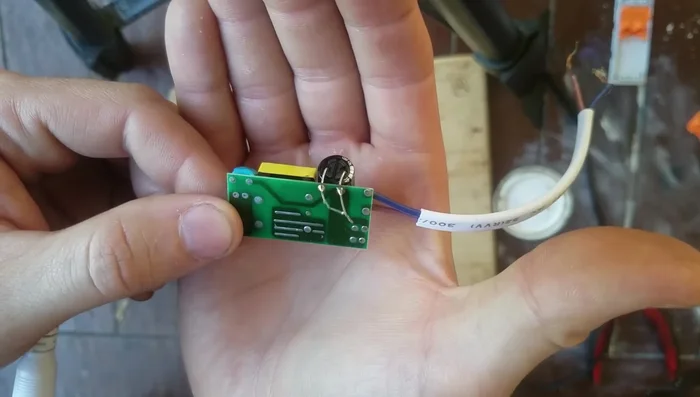
- Identify the faulty capacitor. Look for a puffed-up capacitor, often near a transformer.
- Note the capacitor's specifications (voltage and capacitance). In this case, it's a 400V 10µF capacitor.
- Order a replacement capacitor with the same or higher voltage and capacitance rating. Consider a higher temperature rating (e.g., 105°C) for better longevity, especially in hot environments like attics.
Remove the Faulty Capacitor
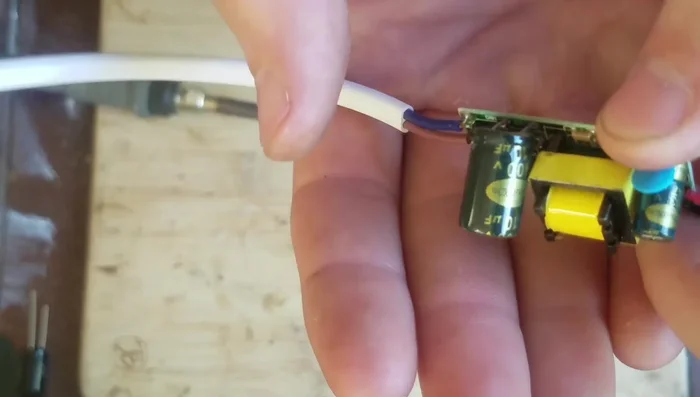
- Remove the old capacitor. Apply flux to the solder points to aid in removal. Use your soldering iron to heat the solder joints and carefully remove the capacitor.
- Note the capacitor's polarity (positive and negative leads). Often indicated by a stripe.

Remove the Faulty Capacitor Install the New Capacitor
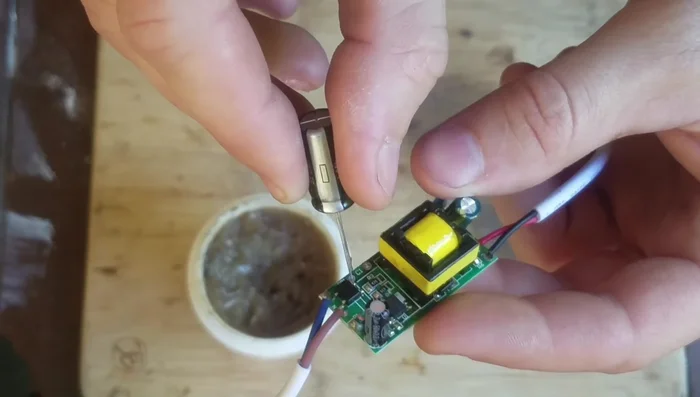
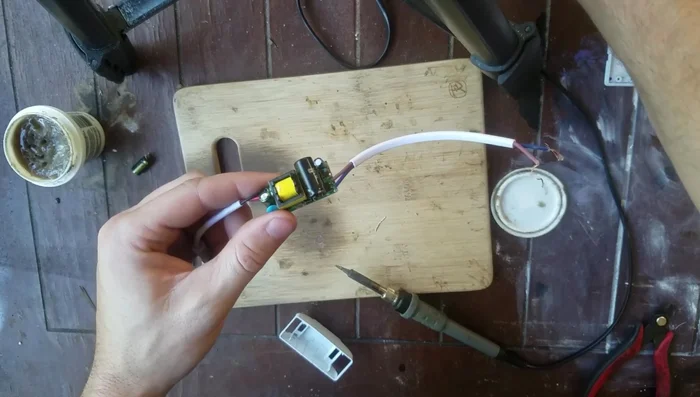
- Install the new capacitor, ensuring correct polarity. Bend the leads to secure it.
- Solder the new capacitor in place.
Install the New Capacitor Complete and Test
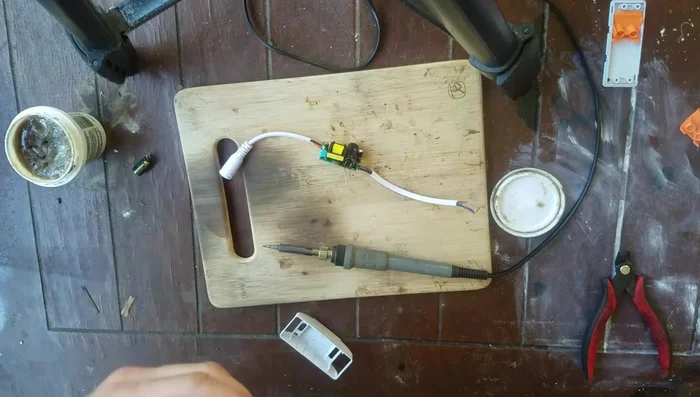
- Trim excess leads and reassemble the light fixture.
- Test the light fixture to verify the flicker is resolved.
Complete and Test
Read more: Installing an Outdoor GFCI Receptacle: A Step-by-Step Guide
Tips
- Using flux makes soldering significantly easier.
- In hot environments, choose a capacitor with a higher temperature rating to increase its lifespan and prevent premature failure.