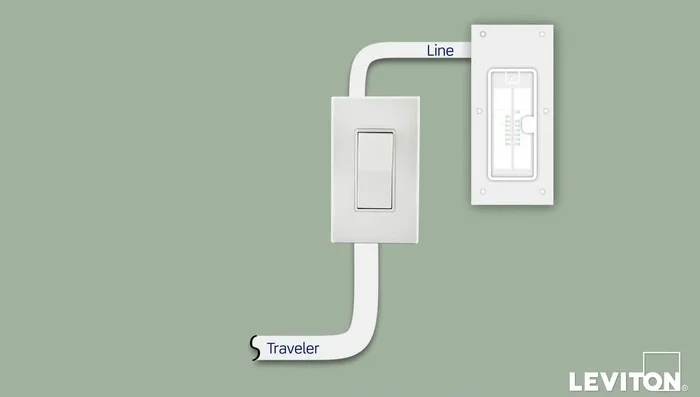
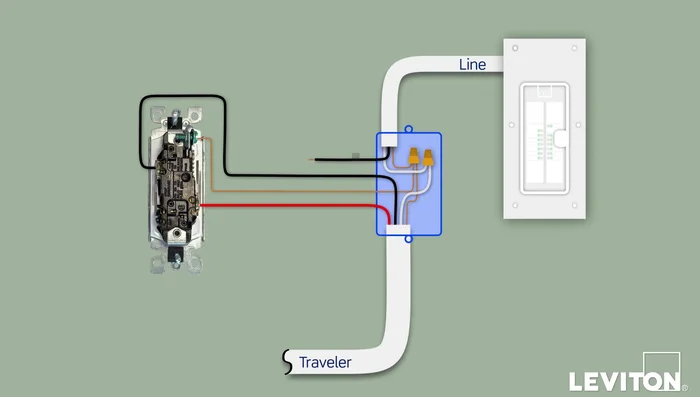
Three-way switches, those allowing light control from two different locations, add convenience and flexibility to your home's electrical system. However, installing a dimmer switch in a three-way setup, especially a popular model like the Leviton dimmer, can seem daunting if you're unfamiliar with the wiring intricacies involved. This seemingly complex task is actually manageable with the right instructions and a methodical approach. Unlike standard single-pole dimmer installations, three-way circuits demand careful attention to traveler wires and the correct placement of neutral wires, making a detailed understanding crucial for a successful and safe installation.
This guide will walk you through the process of installing a Leviton dimmer switch in a three-way application, step by step. We'll cover everything from safely turning off the power and identifying the correct wires to connecting the dimmer and testing your finished installation. By following these clear instructions and safety precautions, you'll be able to upgrade your lighting control with confidence, adding both convenience and style to your home.
Preparation and Safety Guidelines
- Flathead screwdriver
- Phillips head screwdriver
- Electrician's pliers
- Wire stripper
- Electrical tape
- Handheld voltage tester
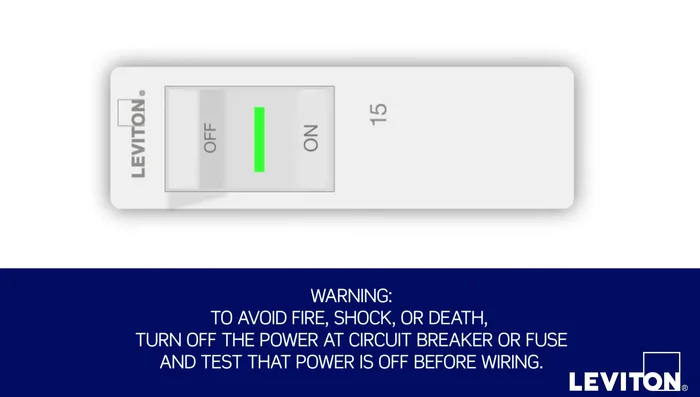
- Always turn off the power at the breaker box before working with any electrical wiring. Failure to do so can result in serious injury or death.
- Identify and carefully label all wires before disconnecting them. Use a voltage tester to verify the power is off before touching any wires.
- If you are unsure about any step of the installation process, consult a qualified electrician. Incorrect wiring can damage your electrical system or cause a fire hazard.
Step-by-Step Instructions
Power Off and Device Removal
- Turn off the power at the circuit breaker.
- Remove the switch plate and unscrew the existing device from the wall box.
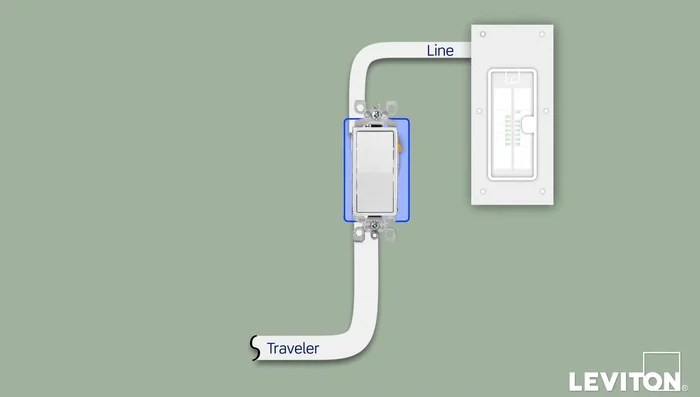
- Carefully pull the device out to see the wires.

Power Off and Device Removal Safety Check and Wire Identification
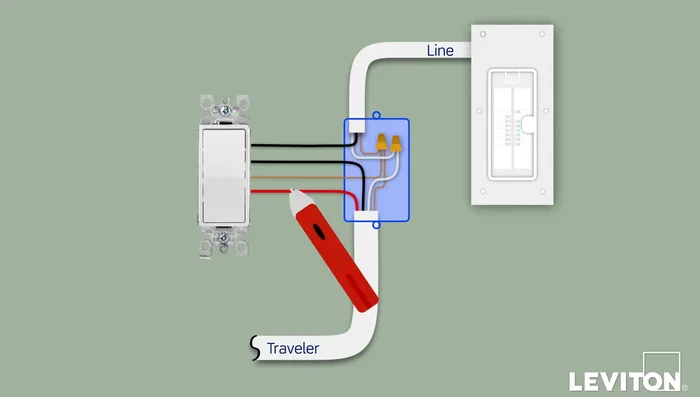
- Use a voltage tester to ensure no power is present.
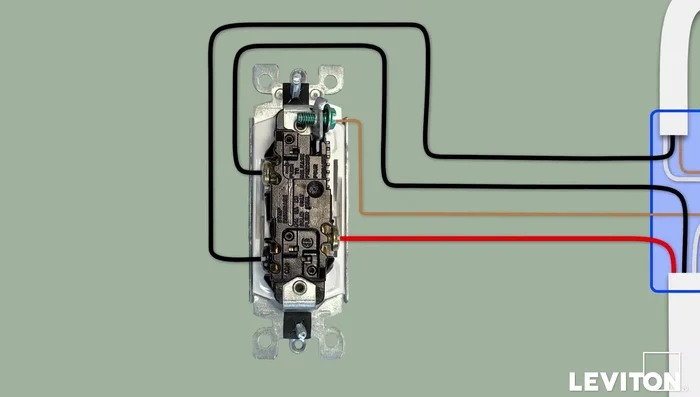
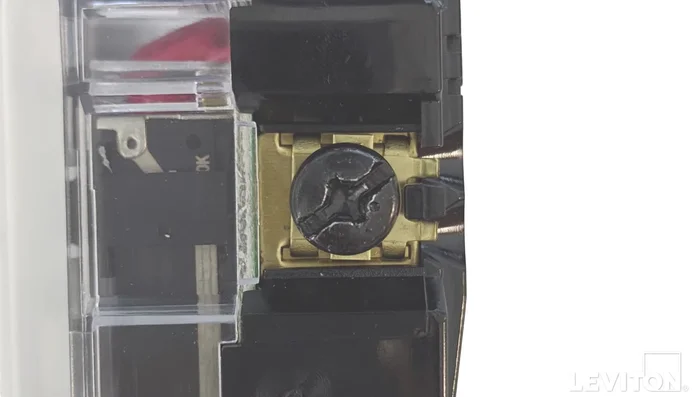
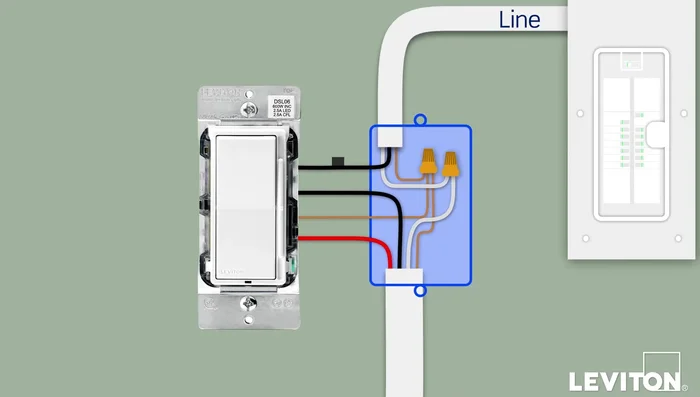
- Identify the common wire (connected to the black screw terminal on the existing switch). Label it with electrical tape.
Safety Check and Wire Identification Wiring Removal and Preparation
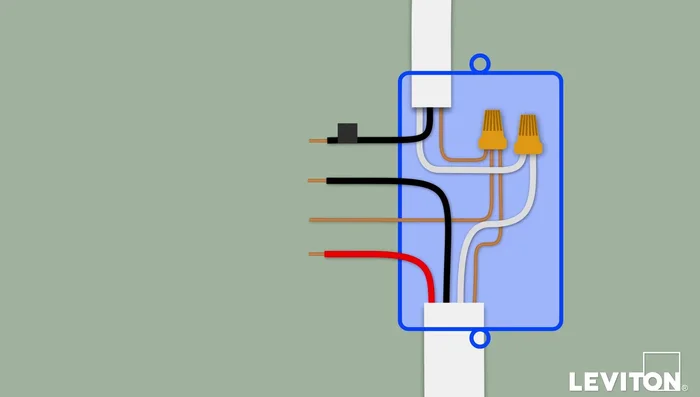
- Disconnect all wiring and remove the existing device.
- Straighten and separate wires; ensure exposed metal ends don't touch.
- Strip wire ends approximately 5/8 of an inch.
Wiring Removal and Preparation Wire Connections to Dimmer
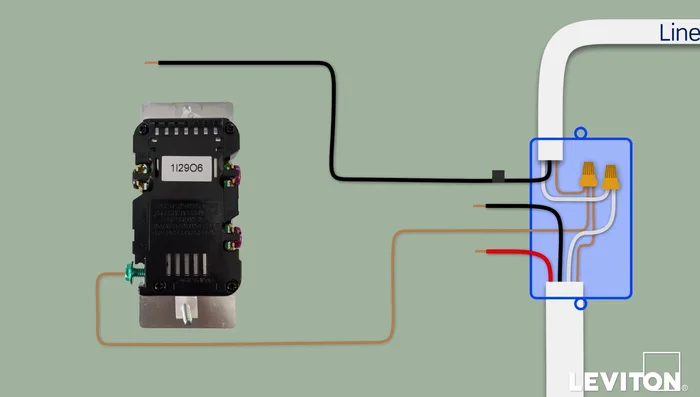
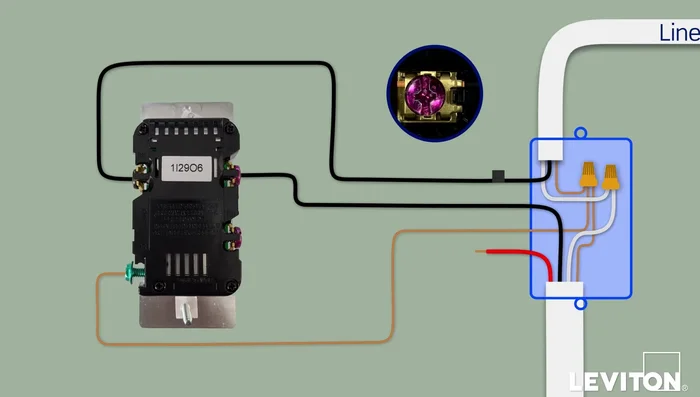
- Place wires under the screw terminal plate and tighten.
- Connect the ground wire to the green terminal screw.
- Connect the common wire to the terminal marked 'BK'.
- Connect traveler wires to terminals marked 'RD' and the remaining terminal.
Wire Connections to Dimmer Dimmer Testing
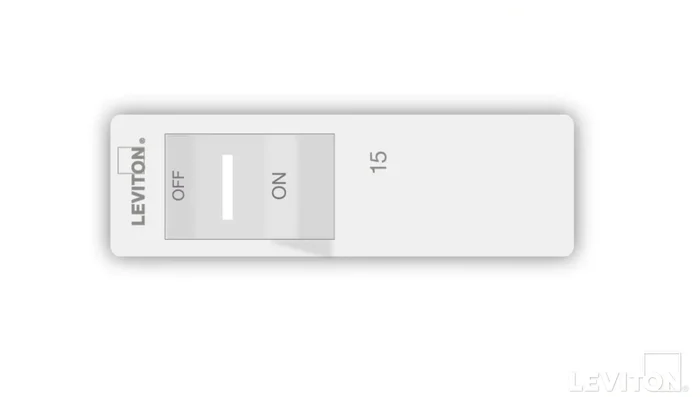
- Restore power and check if the light turns on to the brightest level.
- If the light doesn't turn on, refer to the instruction sheet's troubleshooting section. Turn off power.
Dimmer Testing Final Installation
- Mount the dimmer in the wall box and attach the wall plate.
- Turn the power back on.
Final Installation


Read more: Installing an Outdoor GFCI Receptacle: A Step-by-Step Guide
Tips
- Wire colors can vary. If unsure, consult an electrician.
- Always test for power before working with wires.