Live edge tables, with their unique, natural beauty, often command a premium. However, their inherent character, stemming from the raw, unprocessed edge of the wood, also makes them susceptible to cracking. A seemingly irreparable crack can significantly detract from the table's aesthetic appeal and structural integrity. Fortunately, many cracks can be successfully repaired, restoring both beauty and function. One effective and relatively straightforward method involves using dowels, a technique that blends seamlessly with the wood's organic form.
This article will guide you through a step-by-step process for repairing a cracked live edge table using the dowel method, offering practical advice and tips to ensure a strong and visually appealing repair. From preparing the crack to finishing the mended surface, we'll equip you with the knowledge to confidently tackle this common woodworking challenge and breathe new life into your cherished piece.
Preparation and Safety Guidelines
- Pipe clamps
- Wood glue
- Spade bit
- Drill
- Saw (Vaughn Bear Saw)
- Oak dowels
- Chisel
- Wood screw clamps
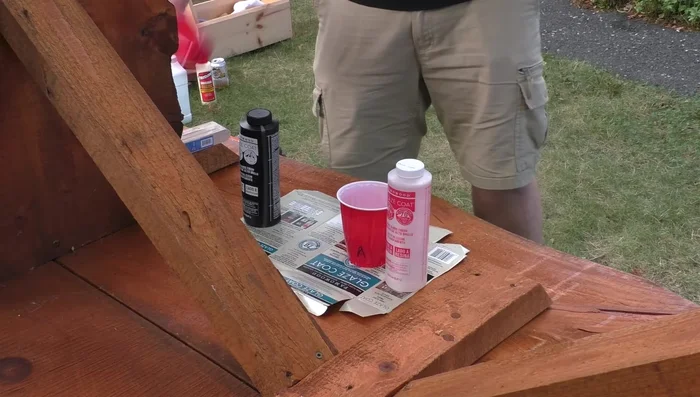
- Epoxy
- Blue tape
- Mineral spirits
- Sandpaper
- Stain
- Hammer
- Always wear safety glasses and a dust mask when working with wood and power tools. Wood dust is harmful to your lungs.
- Use clamps to firmly secure the pieces while the glue dries. Insufficient clamping can lead to a weak repair.
- Work in a well-ventilated area. Wood glue fumes can be irritating.
Step-by-Step Instructions
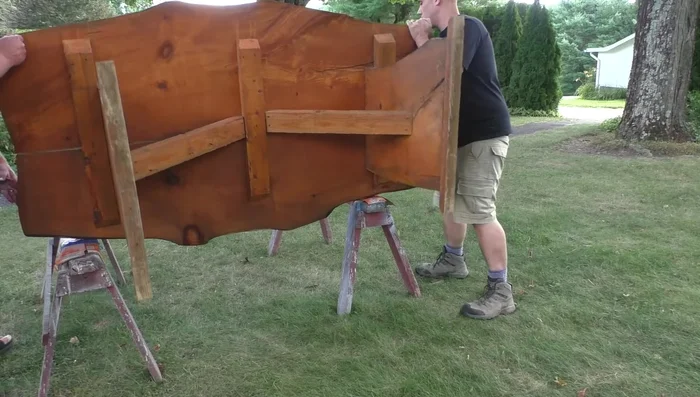
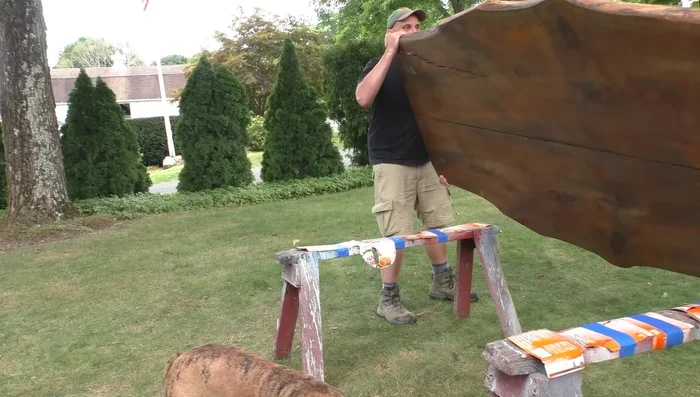
Prepare the Table
- Flip the table over to access the underside.

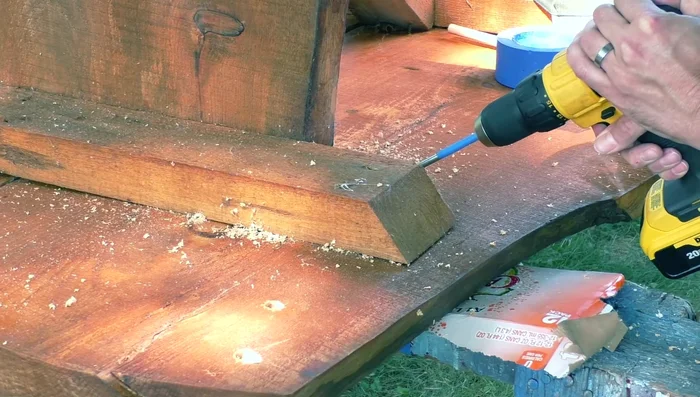
Prepare the Table Drill and Prepare Dowels
- Drill holes through the crack using a spade bit, ensuring the bit starts perpendicular and then angles into the crack.
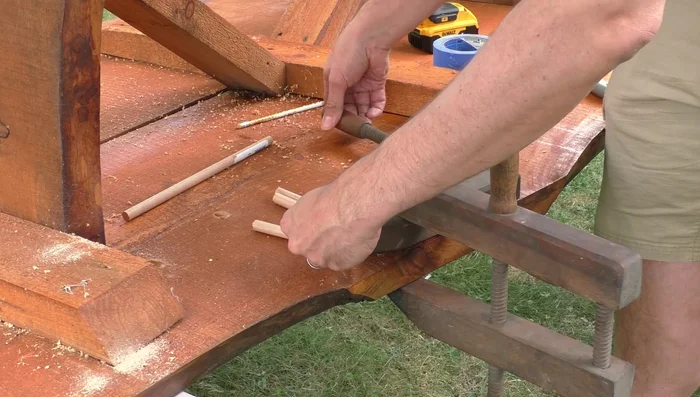
- Cut oak dowels to length to fit the drilled holes. Number and mark the dowels and their corresponding holes on the tabletop for accurate glue-up.
- Cut a slit along the side of each dowel to prevent air pockets when gluing.
Drill and Prepare Dowels Glue and Set Dowels
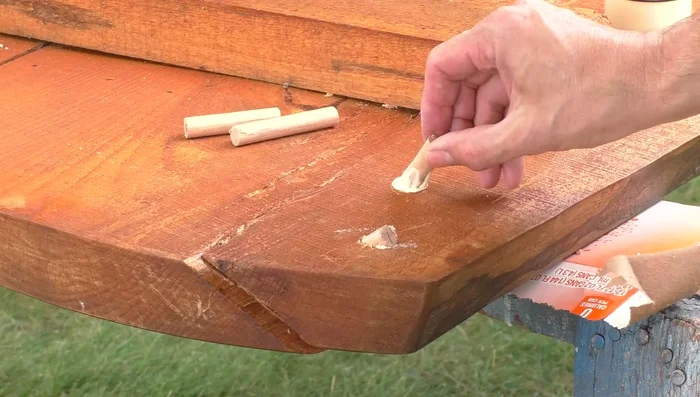
- Apply a generous amount of wood glue to each dowel and insert it into its corresponding hole, rotating to ensure glue distribution.
- Let the glue dry for 30 minutes.
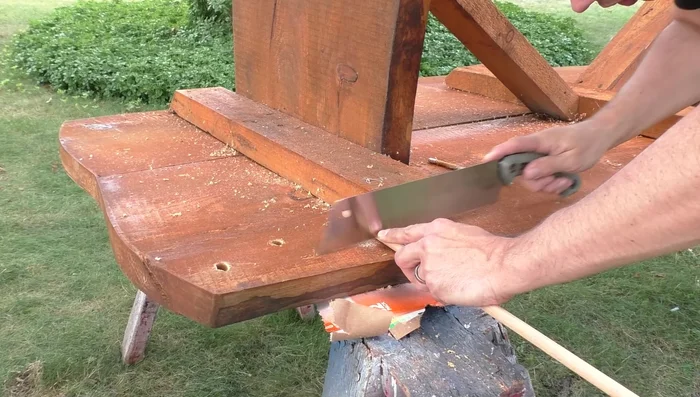
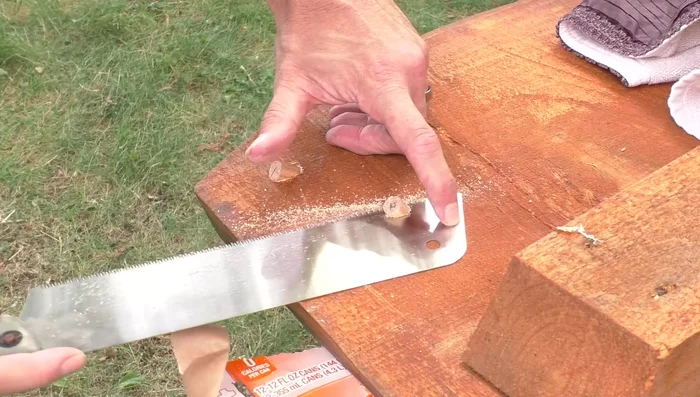
Glue and Set Dowels Flush Cut Dowels
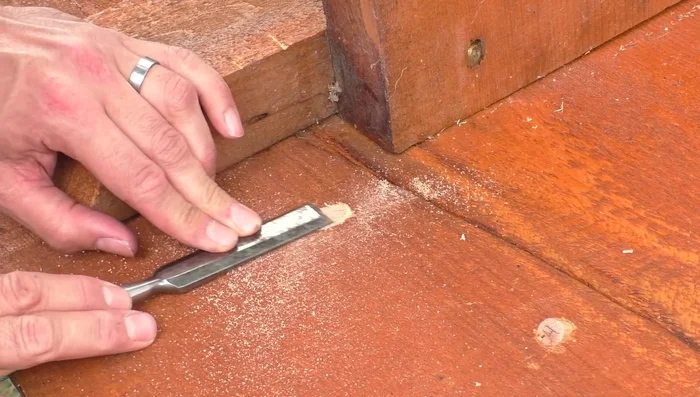
- Flush cut the dowels and use a chisel to ensure they are perfectly flat.
Flush Cut Dowels Clean and Prepare for Epoxy
- Clean the tabletop with mineral spirits.
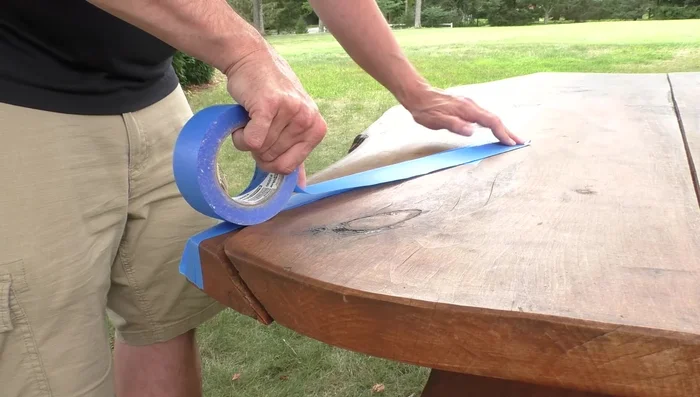
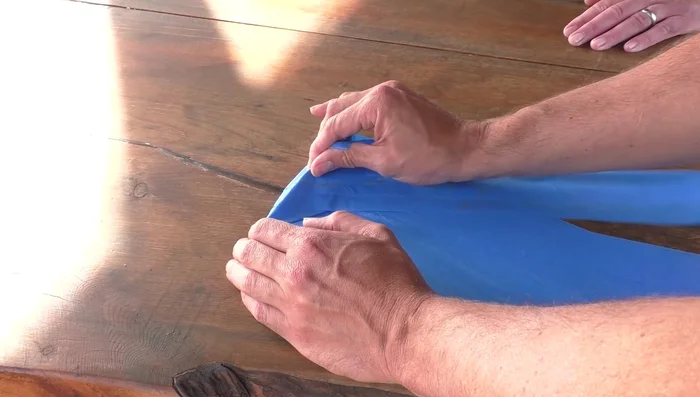
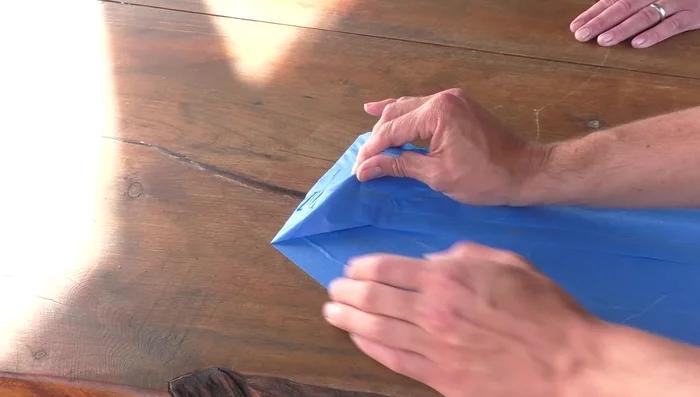
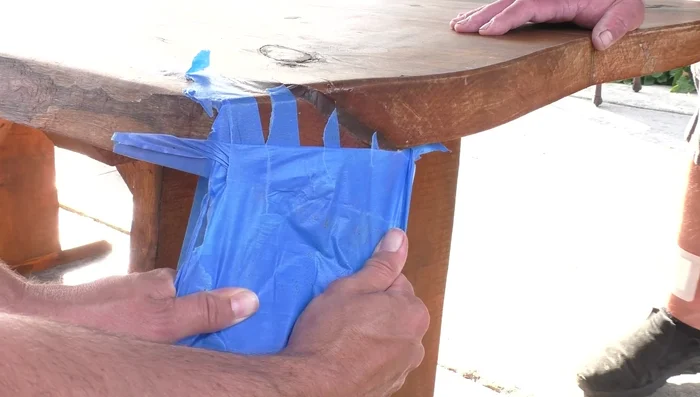
- Seal the crack with blue tape, paying close attention to prevent epoxy leakage.
Clean and Prepare for Epoxy Apply and Cure Epoxy
- Pour epoxy slowly in small increments, allowing it to settle between additions.
- Allow the epoxy to cure completely.
Apply and Cure Epoxy Finish and Refinement
- Peel off the tape and sand the surface smooth to blend the repair.
- Apply a new coat of stain.
Finish and Refinement
Read more: Silence that Squeaky Bed: A Complete Fix-It Guide
Tips
- Use a spade bit and start drilling perpendicular to the surface, then angle the drill into the crack to prevent the bit from slipping.
- To prevent air seals and easier dowel insertion, cut a slit down the side of each dowel.
- Use ample blue tape to prevent epoxy leakage during the pouring process.