Tired of fumbling for light switches in the dark, or constantly forgetting to turn off lights in unoccupied rooms? Lutron's motion-sensing light switches offer a convenient and energy-efficient solution, automating your lighting and adding a touch of modern convenience to your home. These smart switches not only enhance your home's functionality but can also increase its value, making them a worthwhile investment for homeowners looking to upgrade their lighting systems. They're surprisingly easy to install, too, requiring only basic electrical knowledge and a few simple tools.
This guide provides a clear and concise walkthrough, covering everything from preparing your workspace and turning off the power to connecting the wires and testing your new installation. Whether you're a seasoned DIY enthusiast or a complete beginner, follow our step-by-step instructions to seamlessly integrate a Lutron motion-sensing light switch into your home and enjoy the benefits of automated lighting.
Preparation and Safety Guidelines
- Lutron motion sensing light switch
- Screwdriver
- Wire cutters
- Electrical caps
- Electrical tape
- Longer screws (if needed)
- Always turn off the power at the breaker box before beginning any wiring work. Failure to do so could result in serious injury or death.
- Familiarize yourself with your home's wiring and the specific wiring diagram for your Lutron switch model before starting the installation. Incorrect wiring can damage the switch or cause electrical problems.
- If you are not comfortable working with electricity, consult a qualified electrician. Improper installation can create fire hazards or electrical shocks.
Step-by-Step Instructions
Power Down and Prepare
- Turn off the power at the breaker.
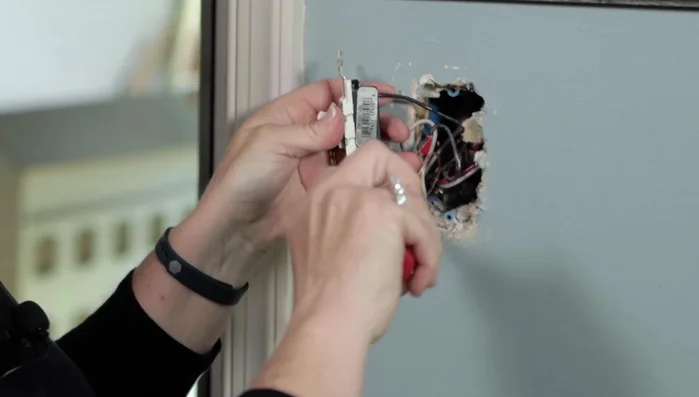
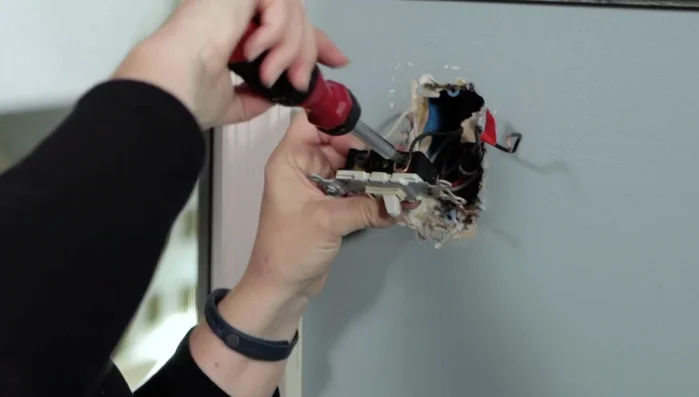
- Remove the old switch plate cover and unscrew the old switch from the box.
Disconnect Old Switch
- Remove the copper wires from the green ground screw.
- Remove the wires from the terminal screw heads.

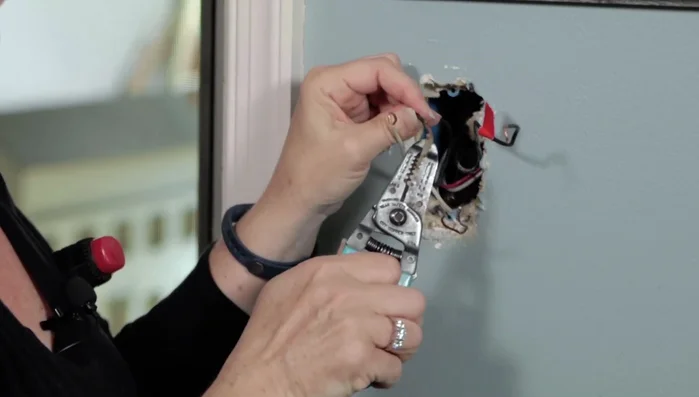
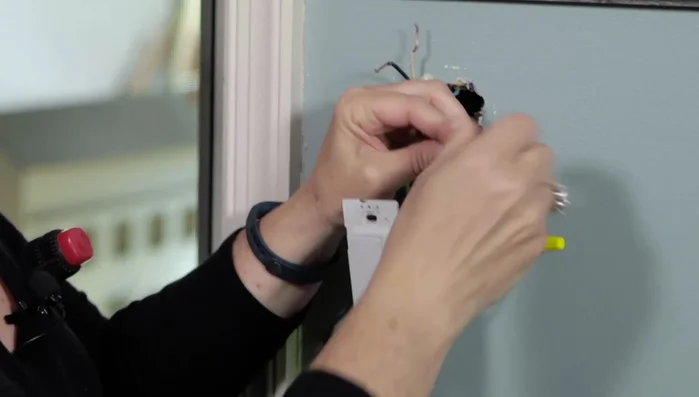
Disconnect Old Switch Prepare Wires for New Switch
- Straighten the wires from the shepherd's hooks.
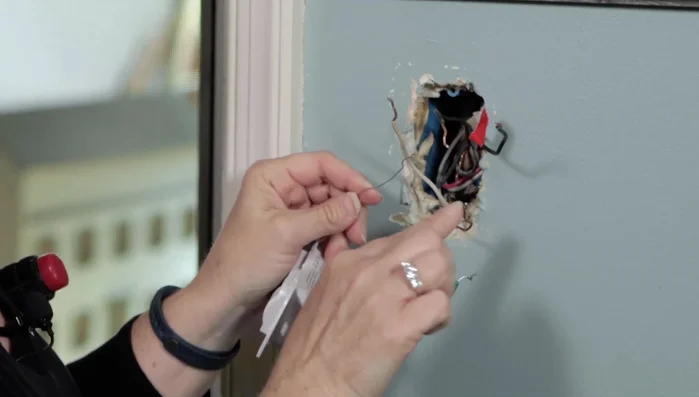
Prepare Wires for New Switch Ground Wire Connection
- Connect the ground wires (including the secondary ground if present) together, wrap around the copper ground from the house, and secure with an electrical cap and tape.
Ground Wire Connection Connect Remaining Wires
- Connect the remaining wires (following the instructions provided with your specific switch) using electrical caps and tape. Ensure wires are tucked in and no metal is exposed.
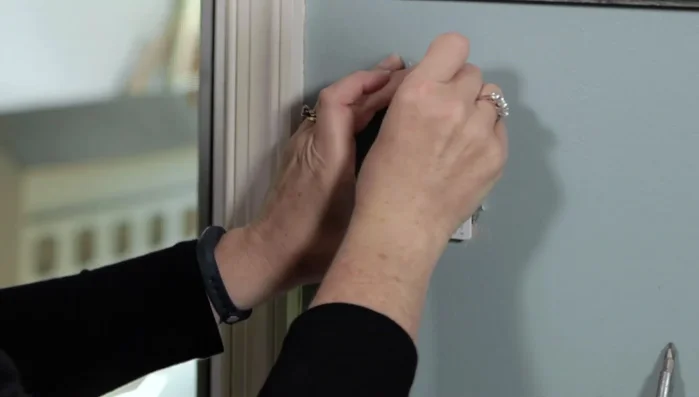
Connect Remaining Wires Install New Switch
- Tuck the wires neatly into the box.
- Secure the new switch to the box using screws.
Install New Switch Power Up and Configure
- Turn the power back on at the breaker and check the lights.
- Configure the motion sensor settings according to your preferences (refer to the manufacturer's instructions).
Read more: Installing an Outdoor GFCI Receptacle: A Step-by-Step Guide
Tips
- When buying a Lutron motion sensing light switch, ensure it has all the functions you need (single-pole, multiple-pole, three-way, etc.).
- Use longer screws if the ones provided with the switch are too short.
- Consult additional resources (YouTube videos, manufacturer instructions) if you encounter difficulties.